Borderlands 3’s Guns, Love and Tentacles DLC has many intriguing main missions filled with intriguing moments and engaging side-characters. Borderlands 3 On the Mountain of Mayhem is one such mission where you go through an emotional roller coaster as you cut through waves of enemies and attempt to kill an Empowered Grawn.
On the Mountain of Mayhem quest itself isn’t that hard for the most part, but if you’ve found yourself stuck in some part of the mission; then this guide should detail every objective in chronological order so you can find your way easily through this Guns, Love and Tentacles DLC mission.
Borderlands 3 On the Mountain of Mayhem
Enter Negul Neshai and Enter the Abandoned Facility
Starting off with the quest, you will be heading into the abandoned research facility found in Negul Neshai. Scaling your way further and further to the top of the icy mountain, you will find yourself at the Winterdrift Outpost guarded by enemies, and turrets.
Around you, there will be a lot of rocks to take cover with and avoid damage from the incoming turret projectiles. Attack when the timing is right and destroy them from behind the cover. Make sure to take up only one at a time instead of rushing on out into the open.
Proceed into Dahl Base
At the heart of the entrance, you will see enemies guarding it; should be relatively easy to take down all of them. Once clear, head on through, clearing more enemies and making your way to the Dahl base.
Find A Way Through
Head to the marker to find a security turret. Only to realize you need a fuse and the heart of a bug.
Finding the Fuse – You will find a secret bunker underneath the snow. Head on through and you will see an electrified ground. Jump on top of the boxes and parkour your way through the platforms until you’re at the top. Drop down and you will see the source of the high voltage.
Getting the Heart – Head to the marked location and start killing away until one of the leeches finally drop the electrified heart.
Power up the Cannon
Just power up the cannon with the components you just found and turn it on. After firing the cannon, you will be instructed to head to the Abandoned Camp.
Reach Abandoned Camp
It’s a linear path; make your way to the objective marker and clear all enemies spawning in between. Enemies are really easy, with not that hard of a move-set nor that high of a health pool, so it isn’t much of a problem.
Kill Bonded
The fight with the bonded enemies itself isn’t much of a problem but there are other underlying factors that may hinder your performance and continuously frustrate you.
During the fight, there will be a cannon right above you trying to shoot you down; simply destroy this before doing anything otherwise you will take a lot of free damage. You can also use the fire around you to deal a significant amount of damage to the enemies.
Access Ship Systems
Use the elevator to get onto the ship and head into the central area. Hack the Dahl computer only to be ambushed by kriches.
These guys will dig all around you, trying to evade your attacks whilst also deploying various AoE attacks to cut you off. At the end of the day, they should be relatively easy to clear out.
Get Mainframe Door Open
Destroy the pipe behind the mainframe door in order to complete the circuit and open the door. Now simply let Deathtrap do its thing and follow him around. After listening to the projection, you will be guided to your next objective.
Find Xenocardiac Containment
Continue following Deathtrap whilst clearing out all enemies. After dropping down the hole in the floor, you will reach the Xenocardiac Containment.
As Deathtrap connects himself into the circuit, you will have to defend him and attempt to stabilize the reactor; which won’t do anything. Nothing will work. Deathtrap will get overloaded regardless of any effort.
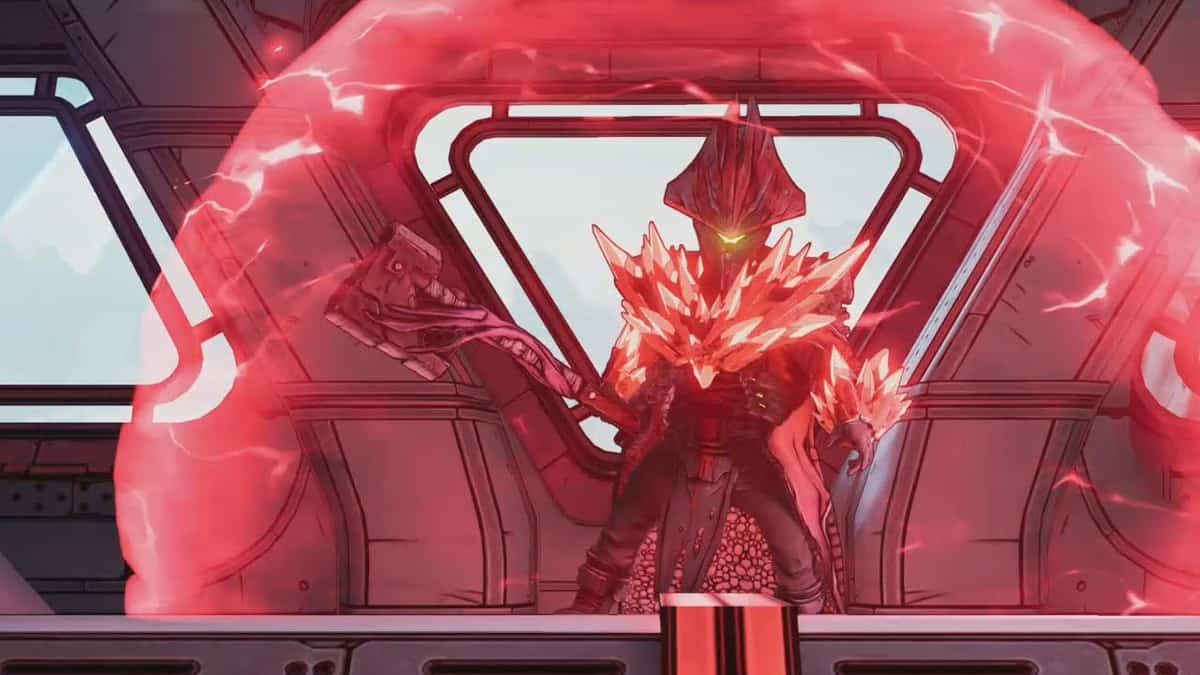
Empowered Grawn
After Deathtrap’s overloaded, Empowered Grawn will spawn, being invulnerable with a red shield around him in the initial phase. Simply take out all his minions on the ground.
A cutscene will start where Deathtrap comes back to life with an upgrade. He will help you take down the Grawn’s shield. For the most part, Deathtrap will tank as much damage as he can, along with inflicting a lot of damage in return as well.
Grawn’s Red Shield – After taking enough damage, the Grawn will become immune with a red shield around him, during this period clear out all adds around you so as to not get overwhelmed. Whenever his shield goes down, Deathtrap will unleash his beam on him and deal a lot of damage over time.
This fight is really easy due to Deathtrap’s help, you pretty much don’t even have to do anything except clear out the adds around you.
High five Deathtrap
Simply go ahead and give Deathtrap a high-five to complete the mission!