Our Battle 5 Maps Guide has been crafted to help you understand the several maps that are being offered in the game. We have discussed best positions alongside helpful tips and tricks to help you play the maps better.
Battlefield 5 Maps
There are eight unique maps in Battlefield 5 and they are all great. DICE has also announced a DLC map called Panzerstorm that is expected to launch in December.
These eight maps are unique and have different gameplay style. Some can be placed at a slow pace, while enjoying the scenery. The others have to be rushed with no moment to rest.
In other words, DICE has crafted Battlefield 5 into one of the best Battlefield games in the franchise! With these different gameplay styles, players of all mood can enjoy this game. Some of these maps are listed below:
1. Aerodrome
This is a medium sized map. Half destroyed German field in a North African desert. The focal point of this map is the hangar in the middle. The canals can be used for flanking and moving around.
Move around and do not focus only on the hangar. If you capture all the other objectives before the enemy, they will be forced to stay at the hangar to protect their bases.
Do note that since this is a medium sized map, using aerial vehicles are not allowed. BUT you can use parachutes to propel yourself into the enemy base for an inside flank.
Some of the game modes allowed on this map are Airborne, Breakthrough, Conquest, Domination, Final Stand, Frontlines, and Team Deathmatch.
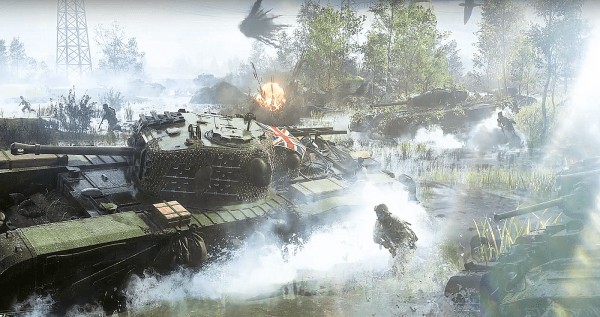
2. Arras
This is a medium-large map. Arras is one of the most textures-intense and detailed maps in the game. There are a ton of flanking options available for users.
Additionally, the map provides many cover options for sneak attacks or for defending yourself from enemy tanks. This map has a lot of greenery.
Since the trees can be destroyed now, players playing with tanks should try to clear the path from potential ganks with these tanks. The game modes that can be used on this map are:
Breakthrough, Conquest, Domination, Final Stand, Frontlines, and Team Deathmatch.
3. Twisted Steel
Twisted Steel is a large map set in France. The focal point of Twisted Steel is the fallen bridge where land mines and enemies hiding behind crashed vehicles and terrain is common.
Even without the fallen bridge, the game offers a lot of combat. There is plenty of room for infantry, planes and tanks to move in.
The area north of the bridge is the swamp, where you can use the vegetation can be used as a cover. The small village south of the bridge is a good spot for close-quarters fighting.
This map has a green/gray color palette and has probably the best depiction of the WW2 era. The following game modes can be used on this map:
Airborne, Breakthrough, Conquest, Domination, Frontlines, and Team Deathmatch.
4. Hamada
Hamada is perhaps the largest map in Battlefield 5. This is a North African desert map, where life once stood. Hamada is the map if you are a Conquest player. Use vehicles to move faster through the vast land, or go slow on foot.
Anything will work as long as you have those tickets. Infantry, tanks and aircrafts, all work on this map. If you are a sniper, go climb one of the many hills near the objectives and snipe to your heart’s content.
Beware the tanks though, since this is a huge map, many players will use tanks rather than their feet to move through the map. Lighter Tanks may also be used to rush to objectives. Certain game modes are available for this map:
Airborne, Breakthrough, Conquest, Domination, Frontlines, and Team Deathmatch.
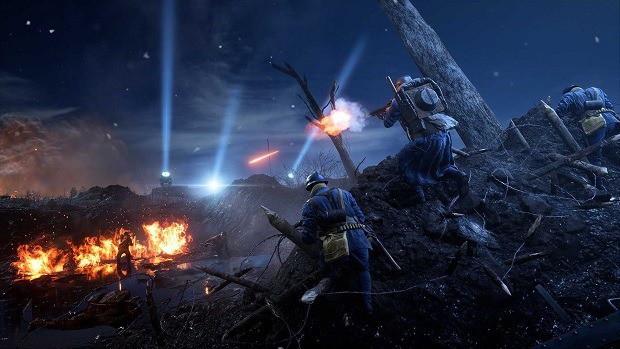
5. Fjell 652
The Fjell 652 sets place on the icy mountaintops, where the main force is the infantry. No land vehicles are available on this map, but the aircrafts control most of the sky.
The team that is able to dominate the sky can get an advantage on the ground too, as the aircrafts are flying very close to the surface of the mountains.
There is little obstacles in this map that offer as camouflage for snipers, but a lot of spots in the map can be used as a camping spot. If you are a hard-core Call of Duty player and have recently switched to the Battlefield series, this map is for you.
Your fast-paced combat skills will surely come useful in this map. The game modes available on this map are:
Breakthrough, Conquest, Domination, Final Stand, and Team Deathmatch.
6. Devastation
The map is set in post-destruction Rotterdam and has one of the most beautiful graphics we have seen in any Battlefield maps. The shaders are nicely colored and have very realistic color-scheme.
This map is famous for its sneak attacks. Some of the broken buildings on the map are accessible, for you and your enemies. Enemies may try to sneak through these buildings, and behind you, trying to get an upper hand.
It will be up-to you to stick with your team and keep an eye in all directions. Going solo on this map is nothing short of suicide. Infantry dominates the map, but some tanks can also make their way here.
Aircraft are illegal to this map. Like Fjell 652, a fast-paced combat can be enjoyed on this map. Some of the game modes available on this map are:
Breakthrough, Conquest, Domination, Final Stand, Frontlines, and Team Deathmatch.
7. Narvik
Narvik was once a harbor town but has since been converted into a ghost-land. This medium-large sized map offers combat in all sorts: Infantry, Tanks, and Aircrafts.
If you are looking for a map that utilizes a little bit of everyone’s playstyle, Narvik is a great choice.
You don’t have to worry about an unbalanced squad in this map because there is so much going on at one time, it’s very easy to turn the tides of battle.
The planes are especially useful here because the enemies can be found pretty easily, crawling here and there like little ants on the ground. In other words: Narvik = WAR.
The game modes Narvik offers the player include Airborne, Breakthrough, Conquest, Domination, Frontlines, and Team Deathmatch.
8. Rotterdam
Rotterdam is a Seine Crossing map from Battlefield 3: an urban city covered by canals, tall buildings and a bazaar. This medium sized map can only afford Infantry and Tanks, but offers a moderately fast gameplay system.
The Rotterdam is a great map if you can survive. It has some great spots, especially the railway. The Rotterdam is a pre-destruction version of the Devastation map, which we covered above.
The Rotterdam, unlike Devastation, is a good choice for vehicular combat. The roads are clear and the enemies, dumb. Some of the game modes in Rotterdam are Airborne, Breakthrough, Conquest, Domination, Frontlines, and Team Deathmatch.
We are currently in the process of updating our BFV Multiplayer Maps Guide with map layouts. Be sure to check back for updated content.