The Adamantine Scimitar in BG3 is another Adamantine weapon that you can craft. You can also dual-wield this weapon, and it is best for your character if you are going for a Dexterity-based build.
Moreover, this weapon can also inflict bleeding damage on your enemies and grant you a bonus action. This allows you to have an upper hand on your enemies during your fights. You will find all the details on to crafting the Adamantine Scimitar in this guide.
How to Craft Adamantine Scimitar in BG3
In order to craft the Adamantine Scimitar, you will need to get your hands on the Adamantine Scimitar Mould and Mithral Ore (x1). There are only two Mithral Ores that can be discovered during your playthrough.

Keeping that in view, you will need to be careful in crafting the adamantine item that you desire. The best thing about the Adamantine Scimitar is that it can be wielded in the off-hand slot, which makes this finesse weapon a desirable choice.
1. Get Adamantine Scimitar Mould
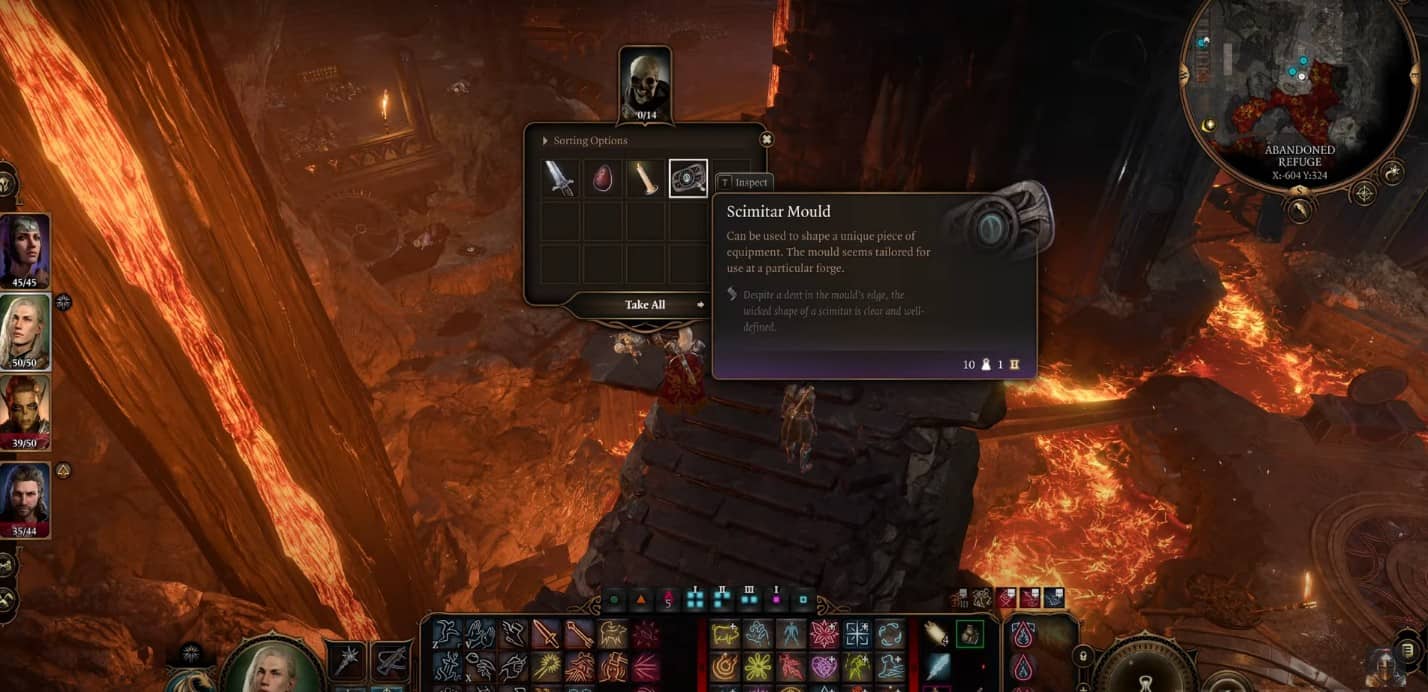
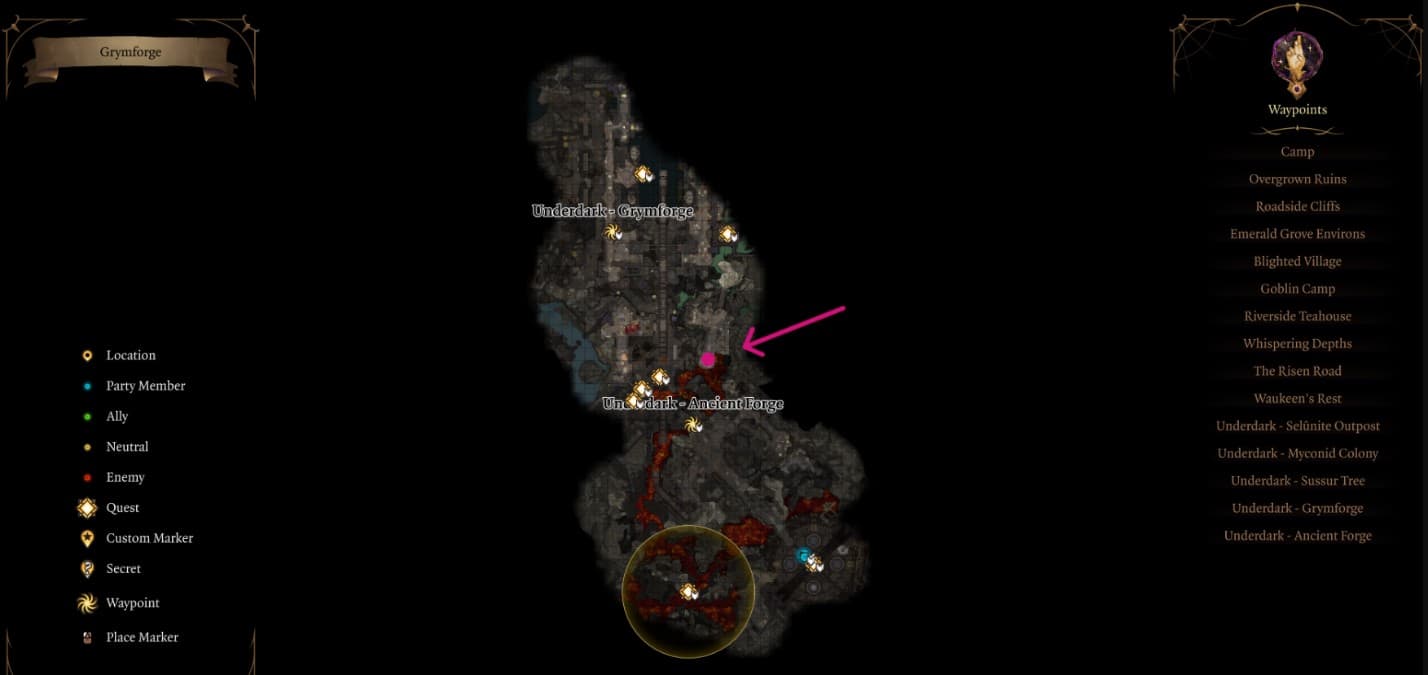
As you make your way towards the north side of the Underdark Ancient Forge in BG3, you will have to reach the platform in the lower area. The Adamantine Scimitar Mould will be present on the following coordinates (X: -604, Y: 324). To reach this place, you can then jump onto the pillars on your left side and use them to jump across to reach the other side.

Then, you can follow the steps, and at the end of this passage, you will find two levers and will also notice a body on the left side. Loot that skeleton body, and you will be able to acquire the Adamantine Scimitar Mould, among other items, in Baldur’s Gate 3.
2. Get Mithral Ore
You will be able to discover Mithral ores at the following coordinates. These will include (X: -640, Y:260) and (X:-555, Y:280). During your playthrough, you will find a total of two Mithral Ores and only one of these will be needed to craft the Adamantine Scimitar.
You can go to both of the locations mentioned in the coordinates and spot the Mithral Veins there. You will need to go to these veins and target them with your weapon strikes to break those veins-type rocks. This way, you will be able to salvage the Mithral Ore.
3. Craft the Adamantine Scimitar
After you have gathered the required materials, which will include the Adamantine Scimitar Mould and one Mithral Ore, you can head to the Adamantine Forge in BG3. Then, you can proceed to place these items in their designated spots.
The Adamantine Scimitar Mould will be added to the Mould chamber, whereas the Mithral ore will be placed at the center.
Then, you will need to operate the lever to bring down the hammer to strike the ore at the Adamantine Forge. The Forge will descend to a lower level, and lava will start to pour.
You will also be facing an enemy boss in this area, so use the lava to your advantage and use Misty Step (spell) to keep the enemy boss in the center area. The enemy boss will take a lot of damage by coming in contact with the lava so you can land the finishing blow.
Then, you can operate the lever, and the Adamantine Fore will ascend to a higher level. After that, you will be able to collect the Adamantine Scimitar with relative ease in BG3.
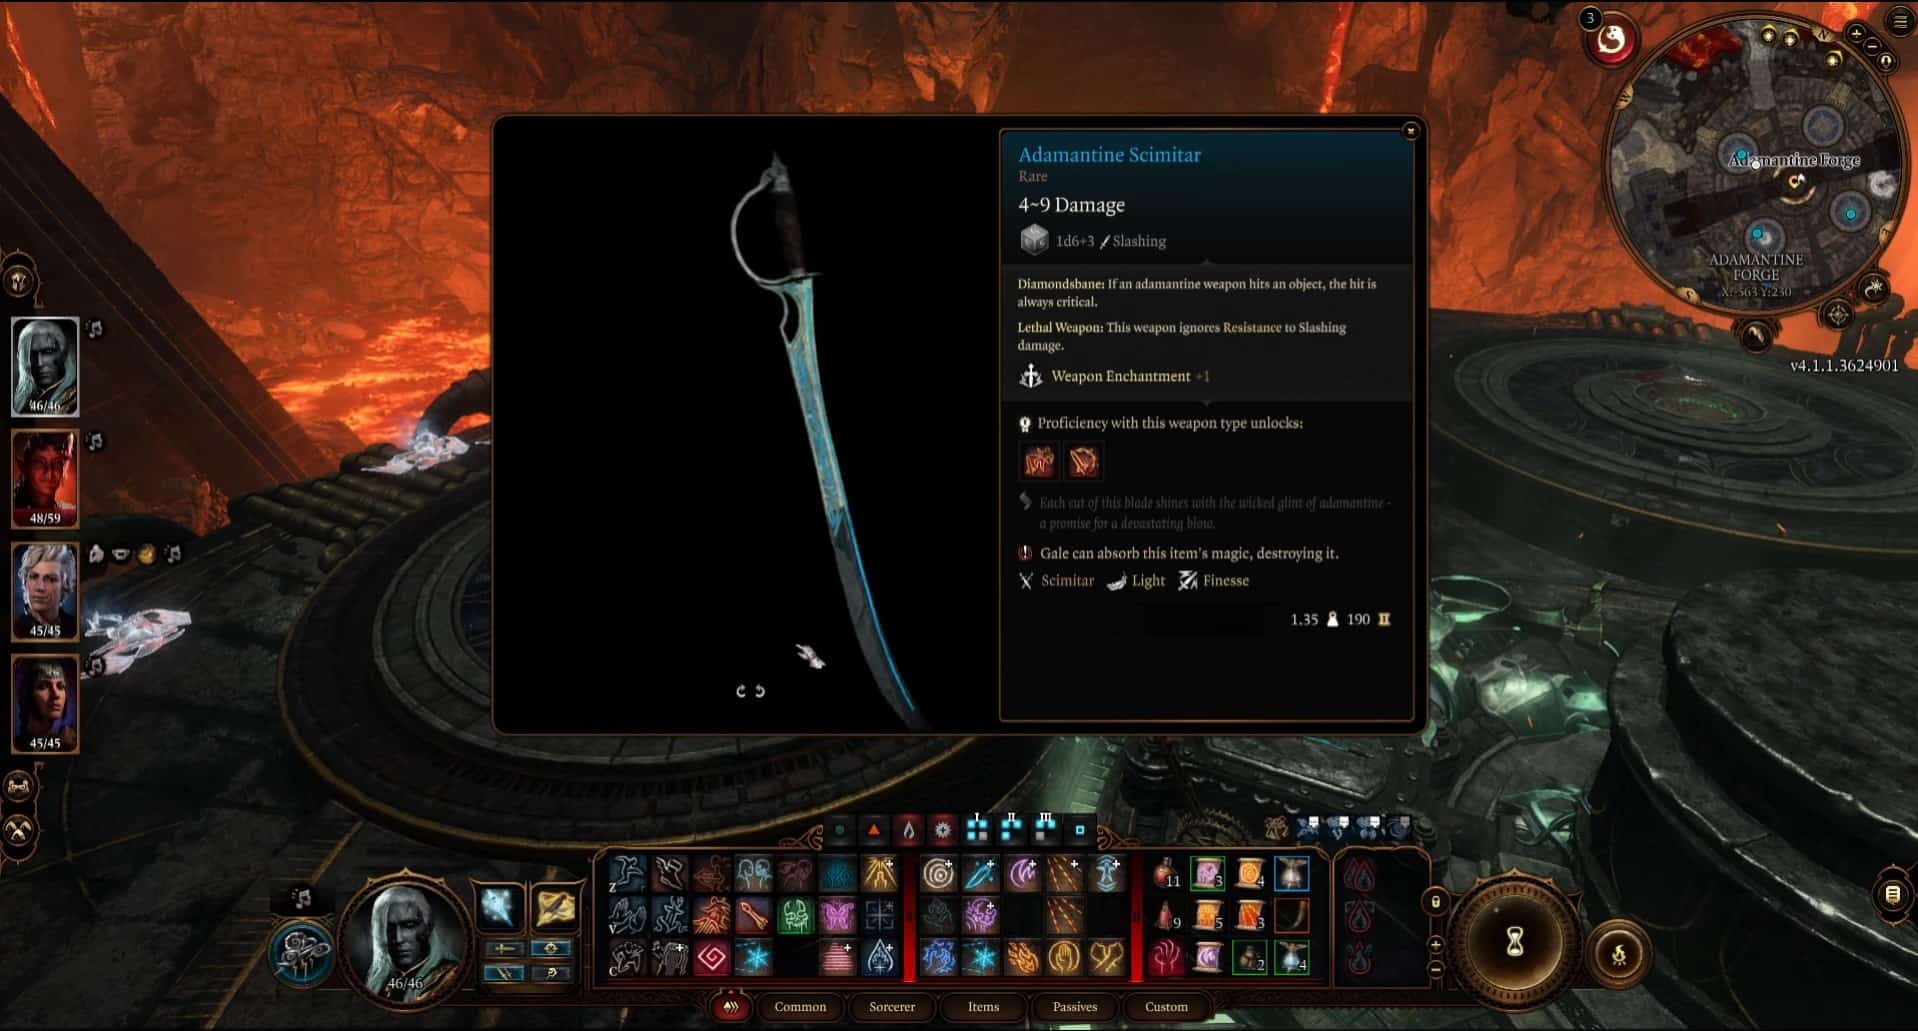
Adamantine Scimitar stats
Damage: 1d6 + 1/ (Modifier) Slashing
Features: The Adamantine Scimitar comes with the following three features.
- Diamondsbane: It allows your character to register a critical hit on impact to an object in BG3.
- Lethal Weapon: This particular weapon allows you to ignore Resistance to Slashing damage during your fights.
- Proficiencies: Flourish, Lacerate
