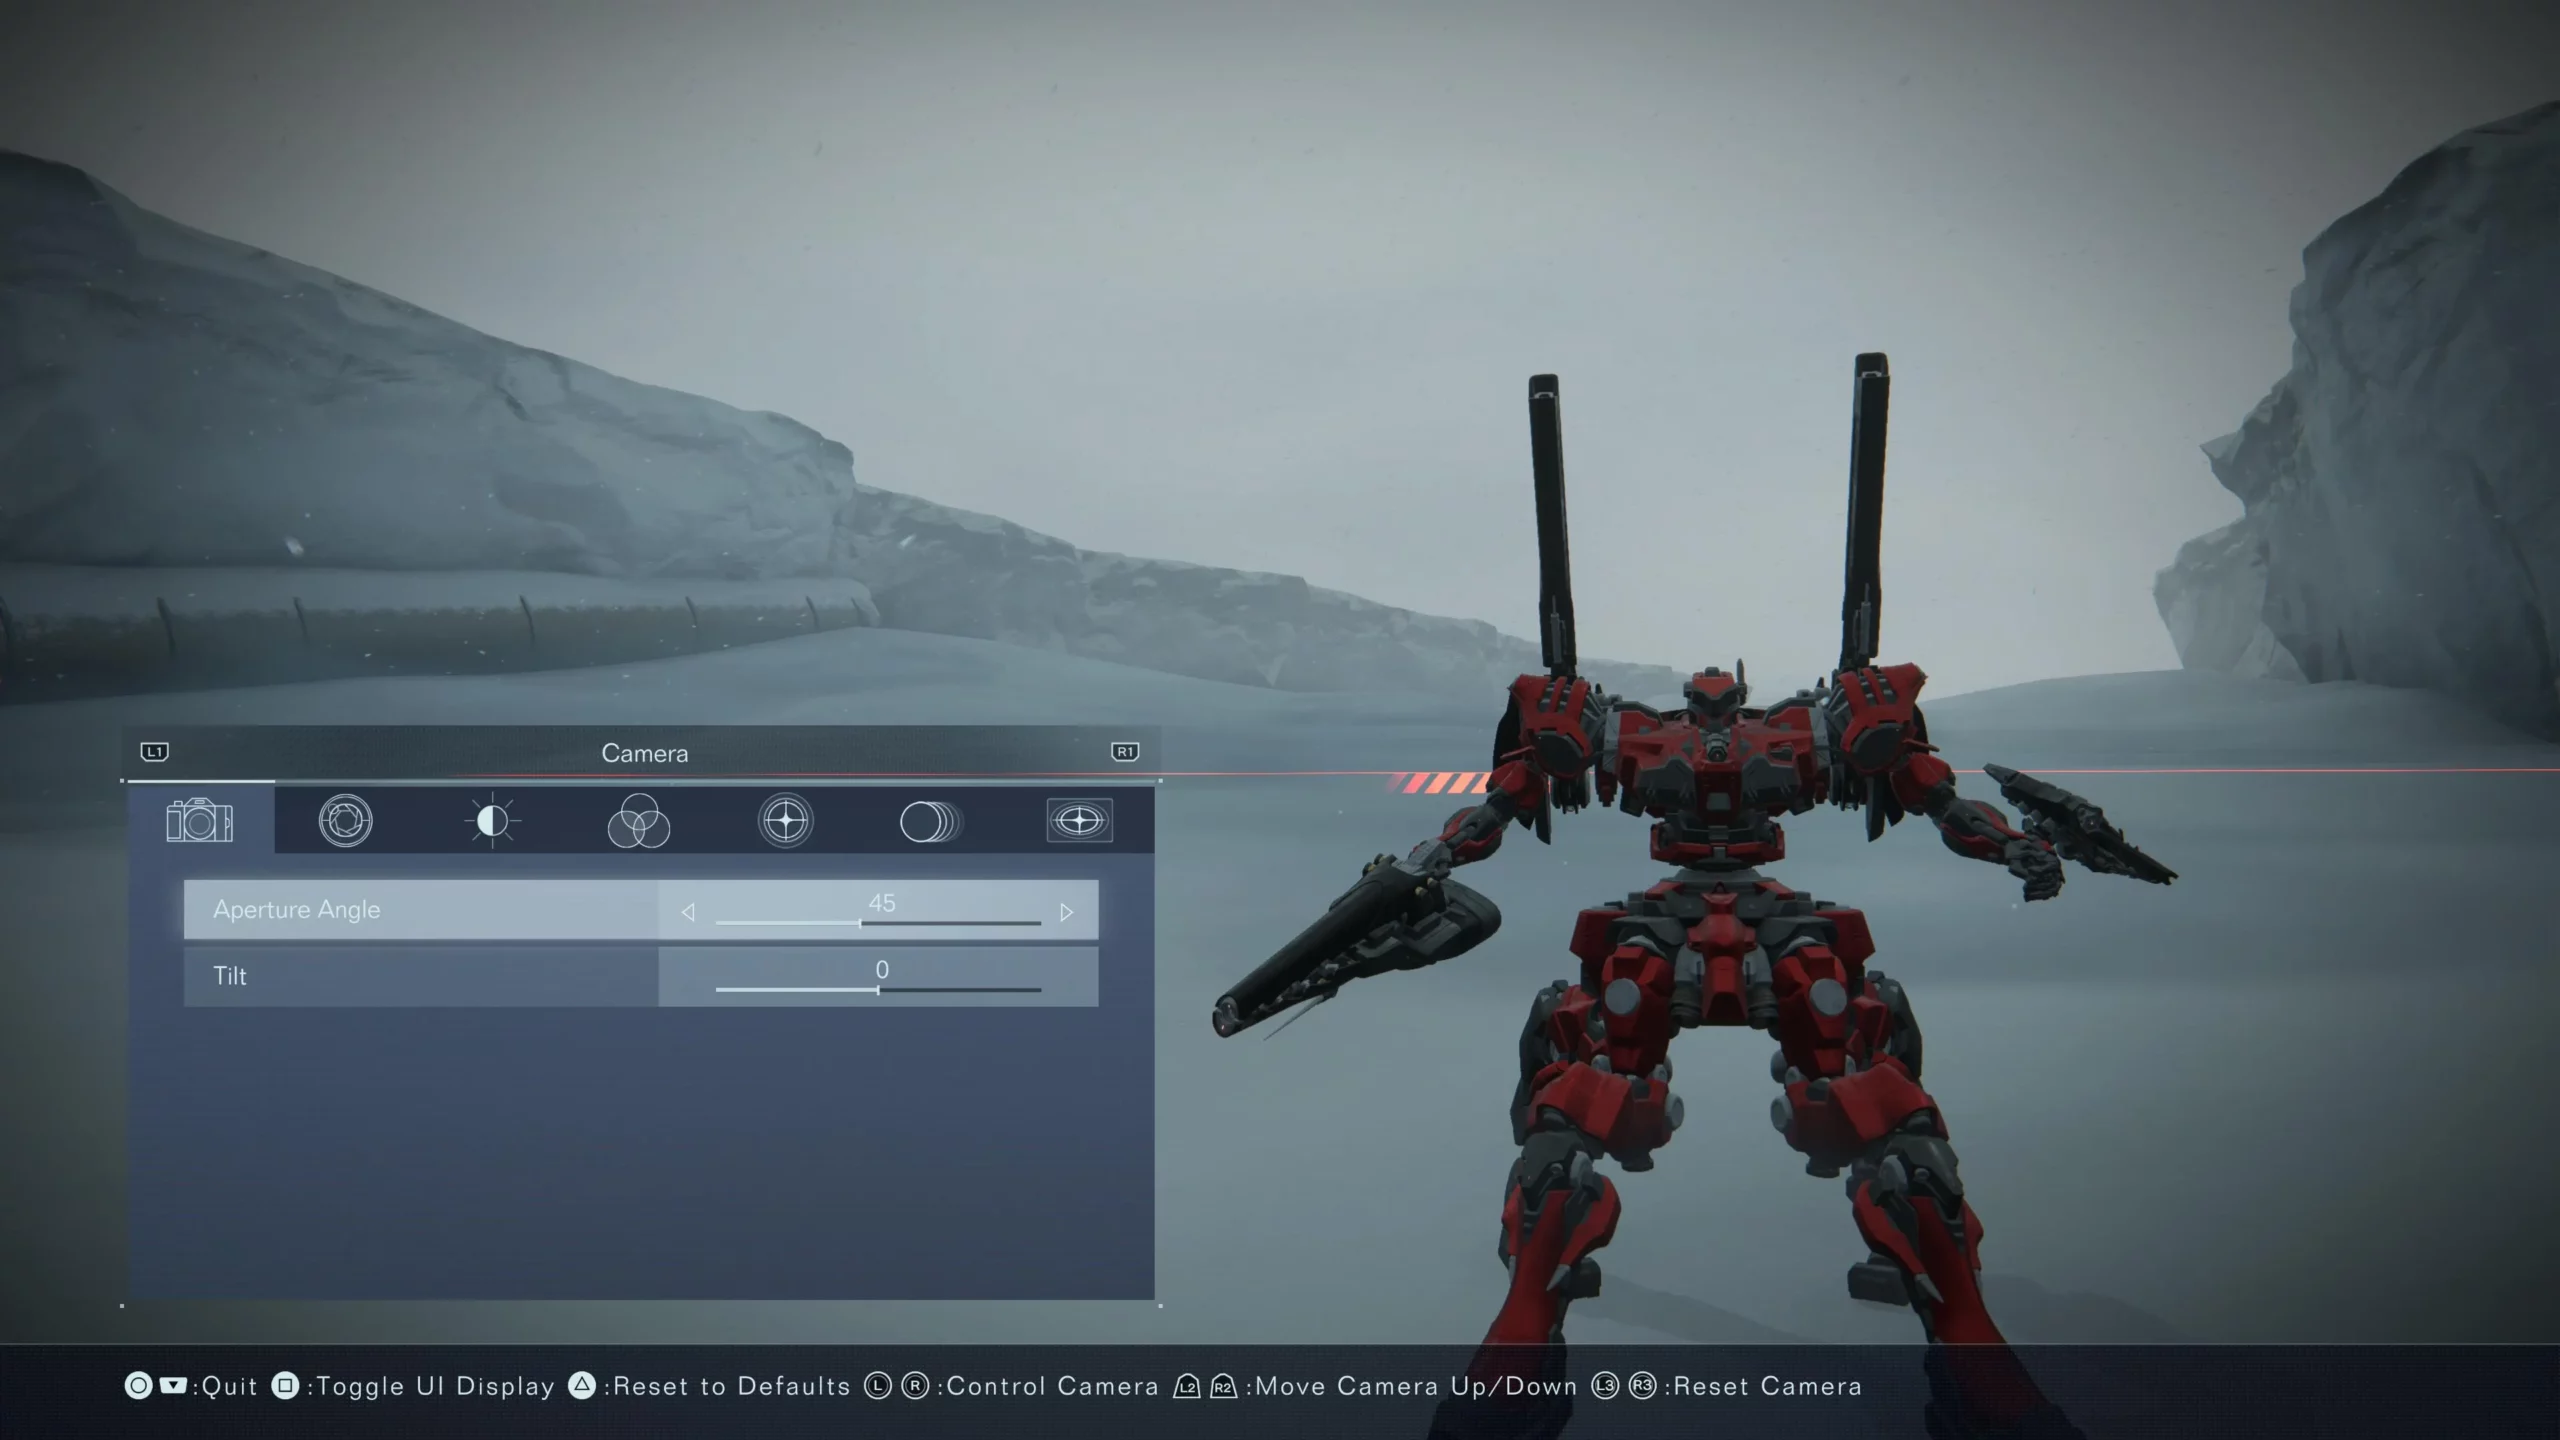
If you did not know, Armored Core 6 features a built-in Photo Mode that you can use at any point in your gameplay.
It allows you to capture these impressive visuals from any camera angle you see fit. This feature not only caters to casual players but also to content creators who rely on this feature to capture thumbnails.
This feature has also been officially implemented in Armored Core 6, unlike previous FromSoftware games in which players had to rely on mods to use photo mode.
How to use the Photo Mode in Armored Core 6
The process to open the Photo Mode is pretty straightforward but different on each platform.
On PC:
- Press Esc to Pause the Game
- Press “V” to Enter Photo mode
- Use the displayed options to Hide UI and adjust features like brightness and contrast.
On Playstation/Xbox:
- Press the Share button to enter Photo Mode.
- Options are displayed to adjust brightness, saturation, contrast, etc.
- Press the X/ Square button on Xbox/Playstation to Hide UI
Photo mode can be used at any point in your playthrough except for cutscenes. This mode can also be used during missions/side quests. If you need to capture screenshots of a cutscene, you may use the F12 key for steam overlay or the Nvidia Capture button.
