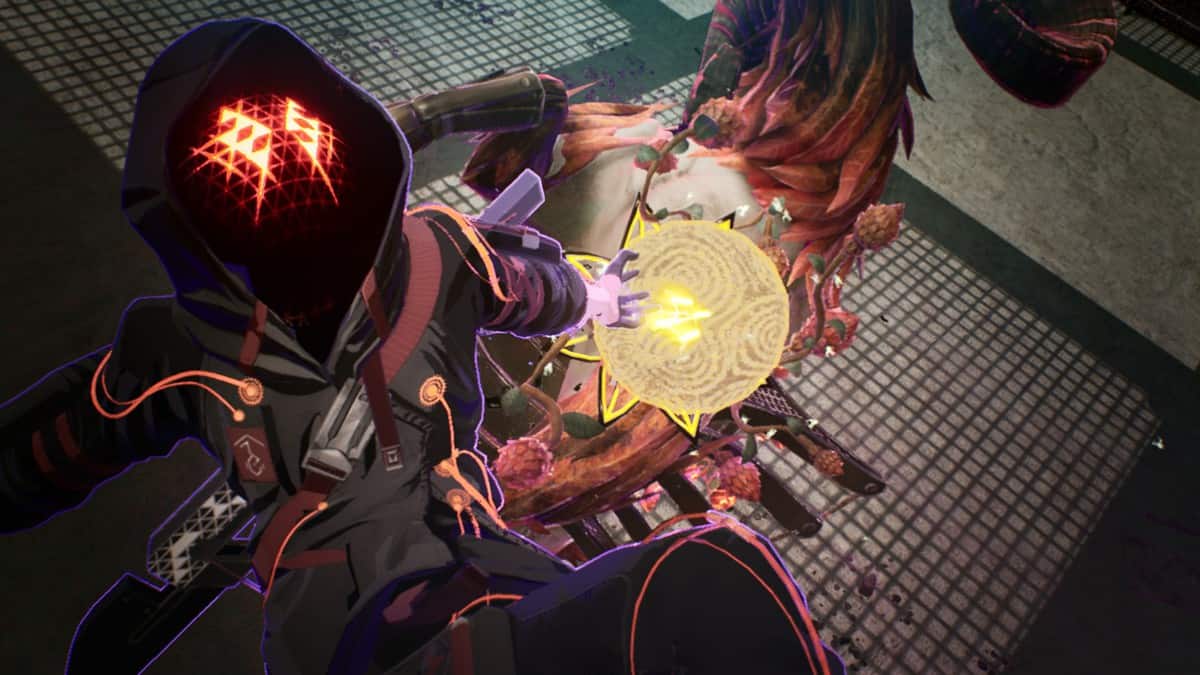
Scarlet Nexus is jam-packed with many phases and quests. Each phase and quest demands you to complete a specific requirement before you could move forward. In this Scarlet Nexus guide, we’ll take a deep dive into the number of Arahabaki gates you’ll come across, their locations, and tips for entering and getting through them. So without further ado, let’s begin!
Scarlet Nexus Arahabaki Gates
During the Phase 9: Eternal Vow of Eternal Bond, the Arahabaki Gates become a crucial part of your story. As you embark on this journey through Yuito’s route, it becomes essential for you to locate these gates and learn the strategies to pass through them.
When you reach Arahabaki, you’ll come across six gates that you’ll have to pass. Unfortunately, each of these gates will act as a hindrance to stop you from progressing through the area and collecting valuable resources.
It depends on who you are playing as and how much of SAS Abilities they possess to get past these gates. If you don’t have enough SAS Abilities, you’ll have to revisit the area once they are sufficient. However when playing as Yuito, you’ll simply need to locate the terminals for these gates and press them to pass through.
How to Reach the Gates
Before we discuss the gates, It’s important to know how to reach them. The Phase 9: Eternal Vow of Eternal Bond will start from a cut scene. Afterward, you’ll have to fight with Nagi Karman. Once you’ve defeated him, another cuts scene will take place, and you can move forward.
Go straight from the location where you beat the boss and turn right to acquire the objective. Now enter Suoh’s OSF chief office and take the first right and acquire another objective.
Go further from here to the path on the east and receive one more objective. After that, you‘ll have a cut scene here and then you can teleport to Arahabaki Secure Site: Bridge of Purity.
Arahabaki Control Site
Go forward and defeat the enemies to acquire the objective. Now make use of your psychokinetic powers and go through the obstructed path. Open Gate 1 with the help of a terminal nearby and follow the way towards the east side.
Now clear this area by defeating all the enemies and use psychokinetic powers again to get through the obstructed path.
Hallowed Grounds
Enter Hallowed Ground and defeat all the enemies. Reach towards the objective and then use the terminal to open Gate 2 situated towards the west. Now go forward till you spot another terminal. Press it and open Gate 3 to proceed towards the southwest direction. Now clear the area and take the left path to get to the objective.
Backtrack to the location you came from and wipe out the enemies. Then, go in the southwest direction and approach the fork. From here, take the path towards the left and then make way to the Worship Hall.
Worship Hall
In the Worship Hall, you’ll have a total of three gates to open. When you enter the area, you’ll have to take down several enemies coming your way. After that, go to the center of the room and use the first terminal you find here to open Gate 4.
For the second terminal, teleport to the path at the east and approach the left-wing. Press the terminal to open Gate 5. For the final terminal, make your way to the upper- wing and press the terminal to open Gate 6.
Go forward to acquire the objective and complete the phase by fighting off Karen Travers.
