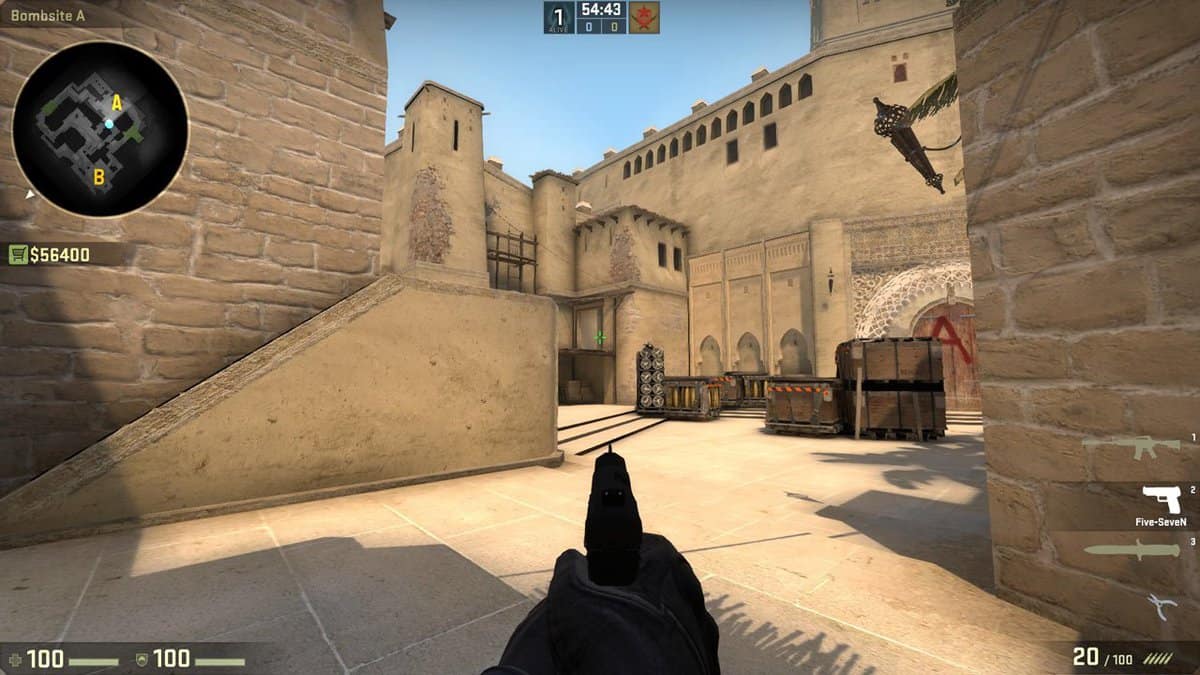
With the new Counter-Strike comes new methods for creating dedicated servers on PC. In this guide, we’ll go over the steps for CS:GO Dedicated Server Setup and teach you how to create dedicated servers and related issues/solutions that a person comes across.
CS: GO Dedicated Server Setup
SteamCMD
CS: GO uses a new tool called Steam Command (more commonly SteamCMD) to install and update dedicated servers on your device.
You can download the application here.
Once you’ve installed it, open the Command Prompt in the directory and type in:
steamcmd
The program should automatically update, and then enter you into a Steam prompt.
Login with your Steam Account (if you are logged into steam, you will need to log out before doing this). Use the following command:
login <username> <password>
Installing the Server
Now, in the Steam Prompt, set your CS: GO dedicated servers directory. For example:
For Windows:
force_install_dir c:\csgo-ds\
Replace c:\csgo-ds\ with the path you wish to install it.
For Linux:
force_install_dir /full/path/to/csgo-ds/
For the first time installing, type in:
app_update 740 validate
To simply update existing CS: GO servers, use
App_update 740
Type quit to log off of the steam servers.
Registering Game Server Login Token
CS: GO game servers are not logged in to a persistent game server account with a Game Server Login Token (GSLT) will only allow clients to connect from the same LAN addresses. If your server has a public routable IP address and clients need to connect from outside the server LAN then you need to get registered for GSLT.
To create your GSLTs, visit the GSLT creation utility and follow the instructions here:
http://steamcommunity.com/dev/managegameservers
Each GSLT is restricted for use on one dedicated server
Starting the Server
For starting the server, you need to specify the game type, game mode, and the map. For the examples, we’ll choose Dust2 as our map for every game type.
For Classic Casual Games, type:
srcds -game csgo -console -usercon +game_type 0 +game_mode 0 +mapgroup mg_bomb +map de_dust2
For Classic Competitive:
srcds -game csgo -console -usercon +game_type 0 +game_mode 1 +mapgroup mg_bomb +map de_dust2
For Arms Race:
srcds -game csgo -console -usercon +game_type 1 +game_mode 0 +mapgroup mg_armsrace +map de_dust2
For Demolition:
srcds -game csgo -console -usercon +game_type 1 +game_mode 1 +mapgroup mg_demolition +map de_dust2
Gamemodes_server.txt
Under the \csgo\ folder, you’ll come across the gamemodes.txt file. This is a file from Valve for assigning the standard set of variables for CS: GO for standard servers. The key point is that this file is prone to updates, and thus changing it is risky, as updates will override any change prior to them.
Thus, it is essential to copy this and create an alternative customized gamemodes.txt.
You should name this gamemodes_server.txt. Copy ALL the content of the gamemodes.txt into this, and place it in the same \csgo\ folder. It is extremely essential that you maintain the hierarchy and syntax of this gamemodes_server.txt in the same way as that of gamemodes.txt.
Once you have this, you can edit various variables (such as maximum number of rounds, the damage of friendly fire, etc) for each game type.
Server.cfg
This file can be found in \csgo\cfg folder. If it doesn’t exist, you can create it. This configuration file will overall manage your server’s gameplay experience.
A server cfg should start off like this:
hostname “Counter-Strike: GO Dedicated Server”
rcon_password “password”
sv_password “”
You can add some additional variables to further customize your server. For example:
mp_freezetime 5 //Time players remain frozen while buying items
mp_match_end_restart 1 //Enable restarting of map after a game has finished (change ‘1’ to ‘0’ if you wish to disable it)
sv_cheats 0
sv_lan 0
Convars Output File
If you wish to know which convars can be altered in your server.cfg, you can type the following command after launching the dedicated server:
cvarlist log cvarlist.txt
This will save a text file in the csgo folder of your dedicated server.
Updating the Server
If you wish to updated your created dedicated server, start SteamCMD, and at the Steam> prompt type:
app_update 740
If you have any questions regarding dedicated servers set-up or management or any additional suggestions, please share with us by commenting below.
