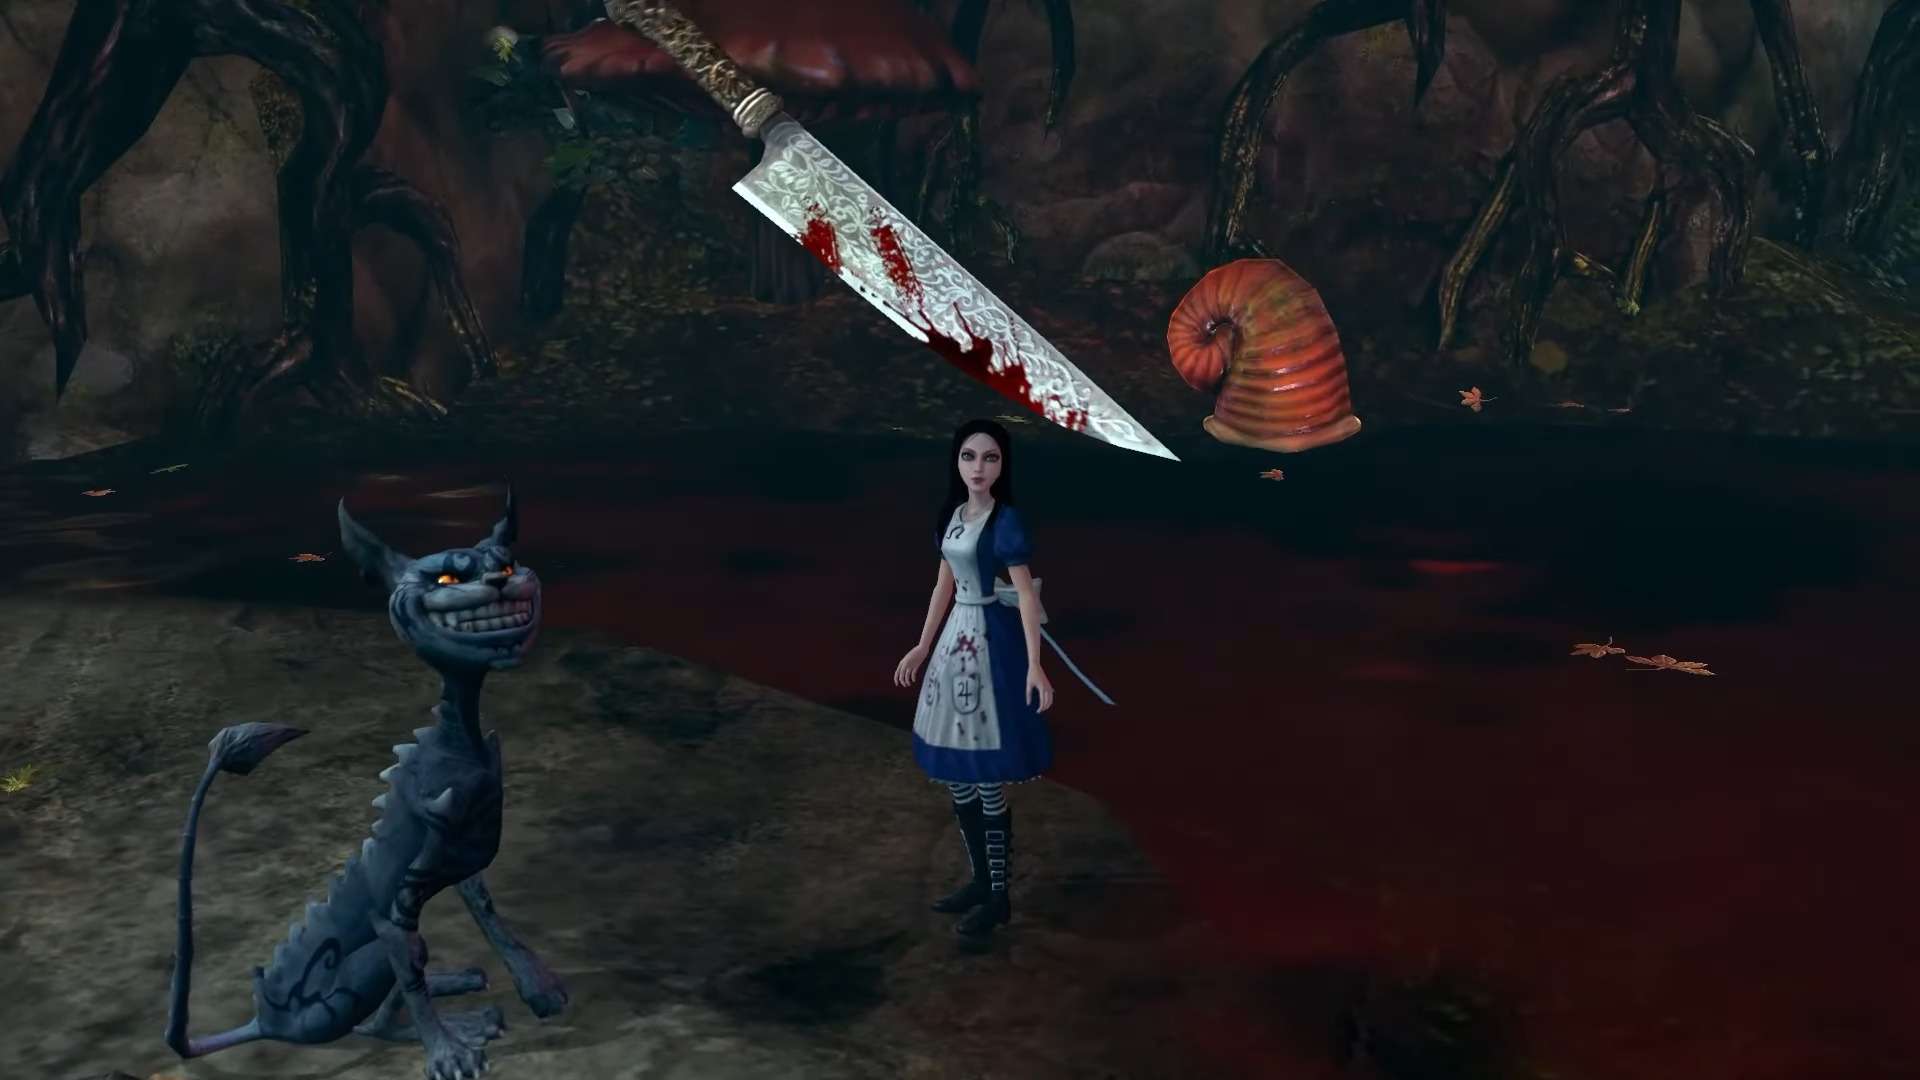
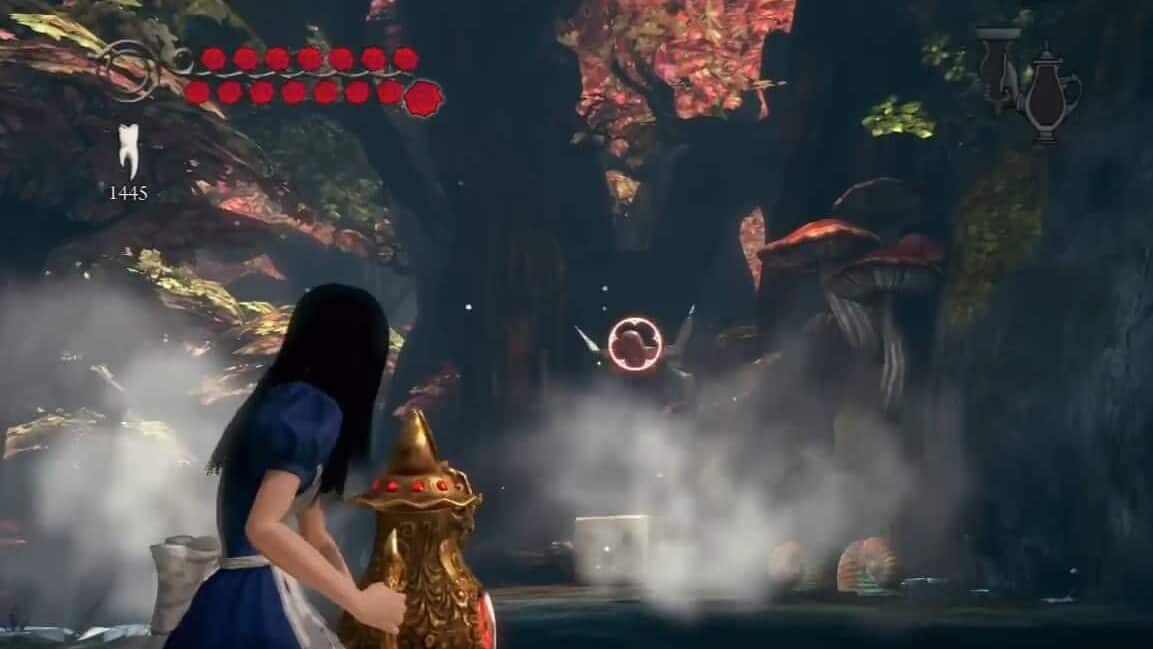
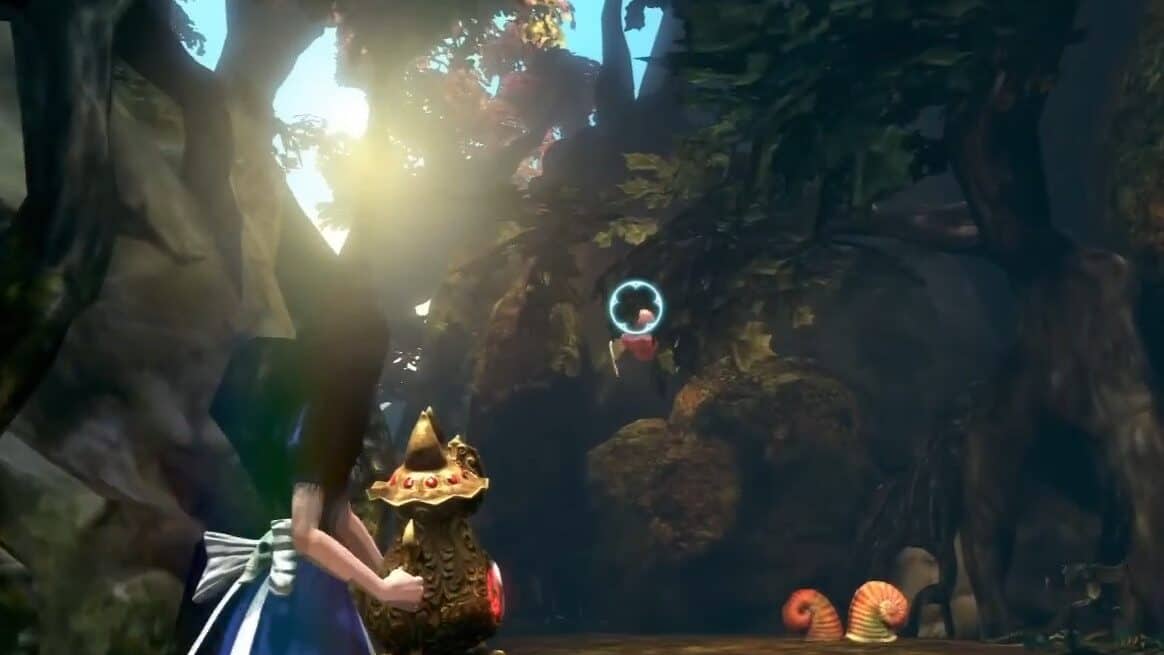
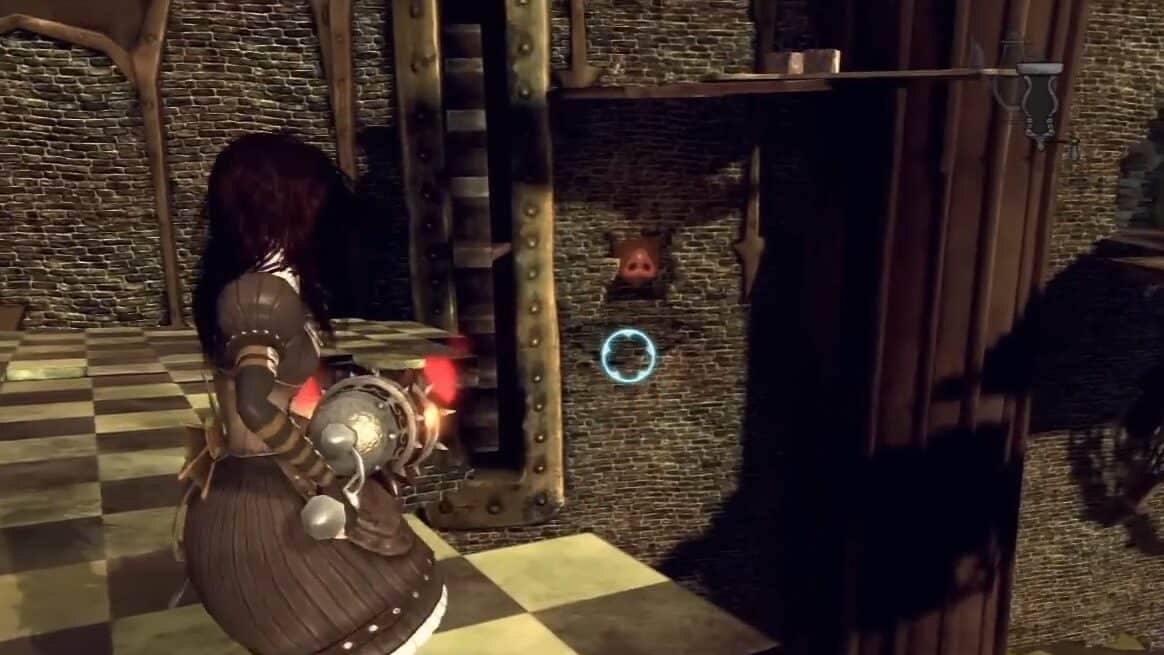
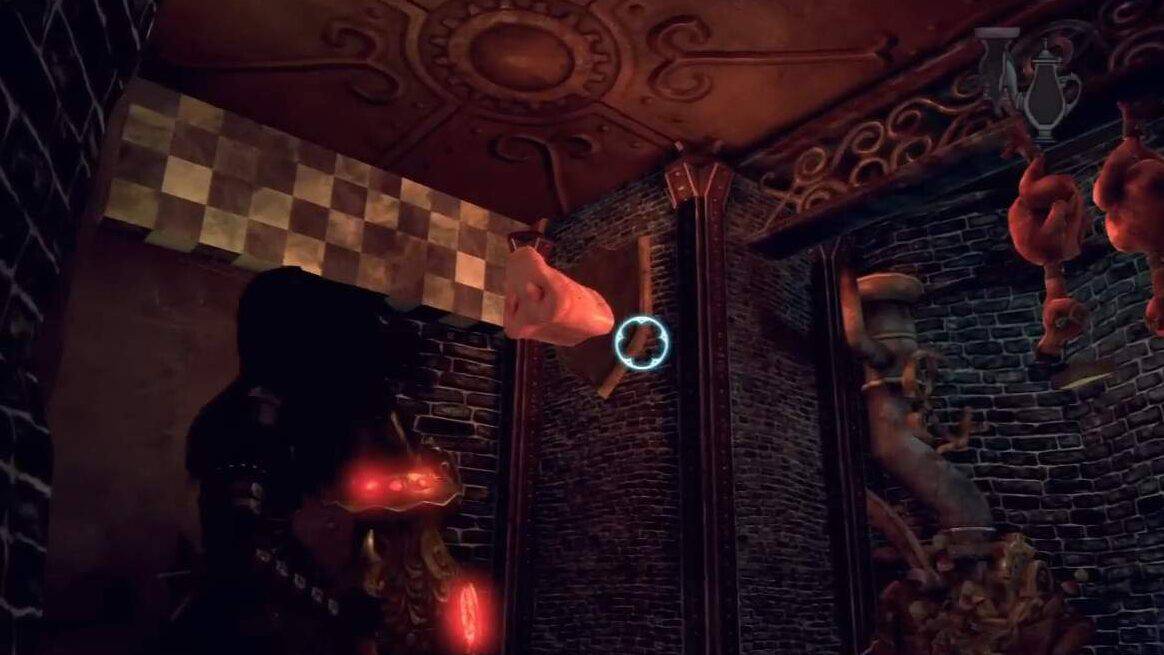
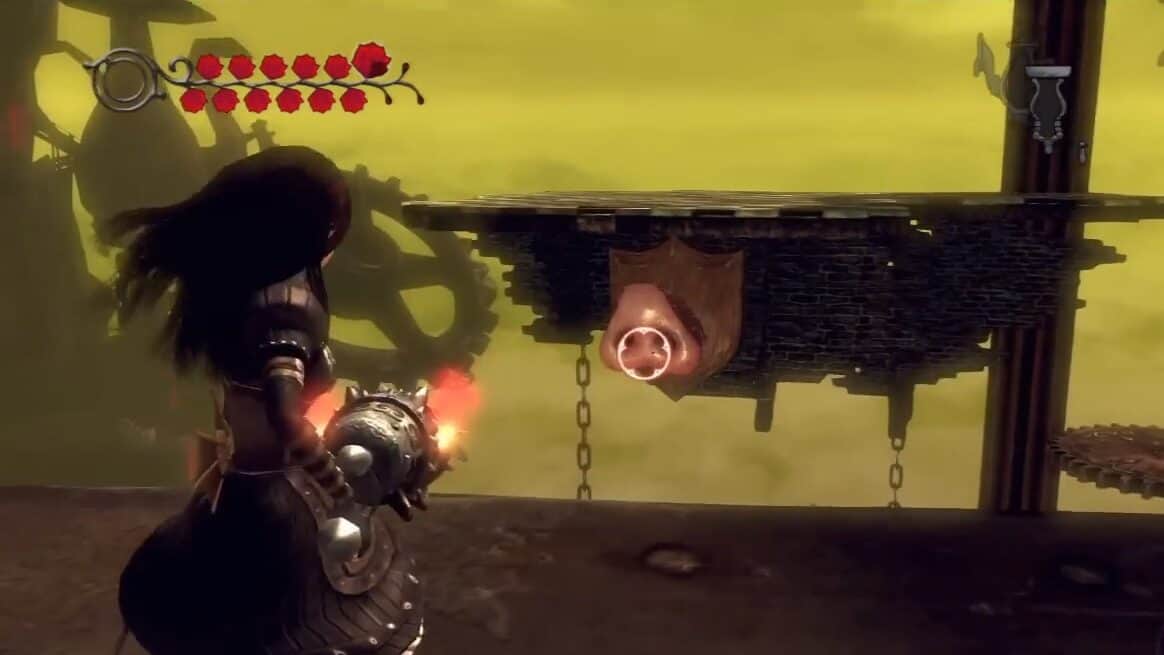
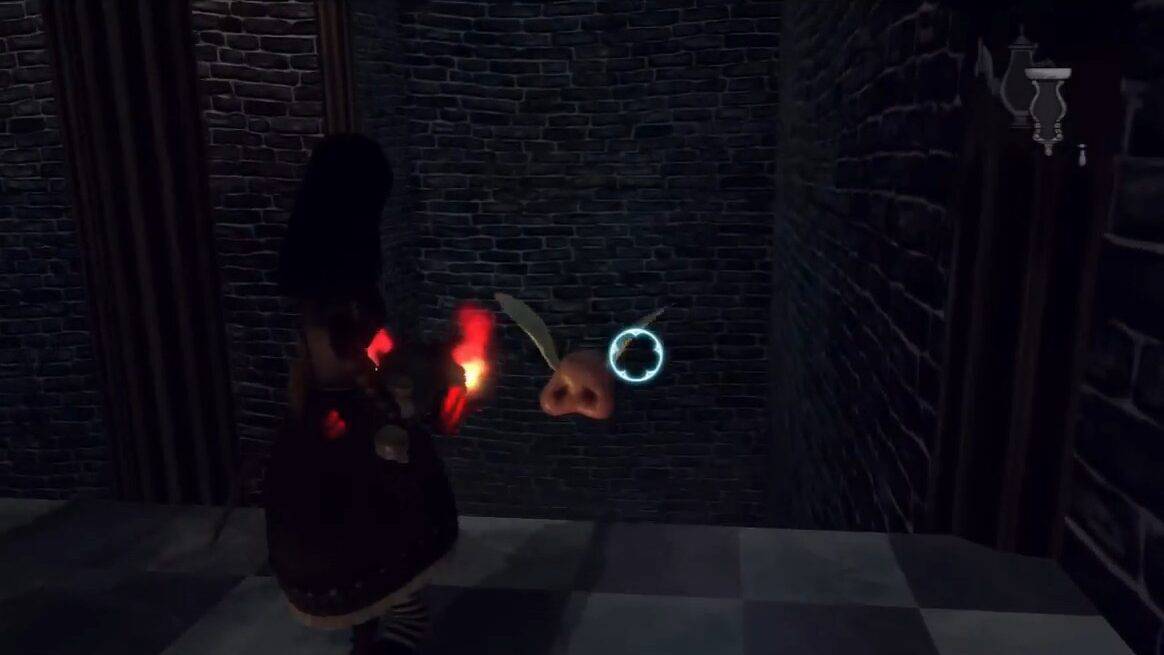
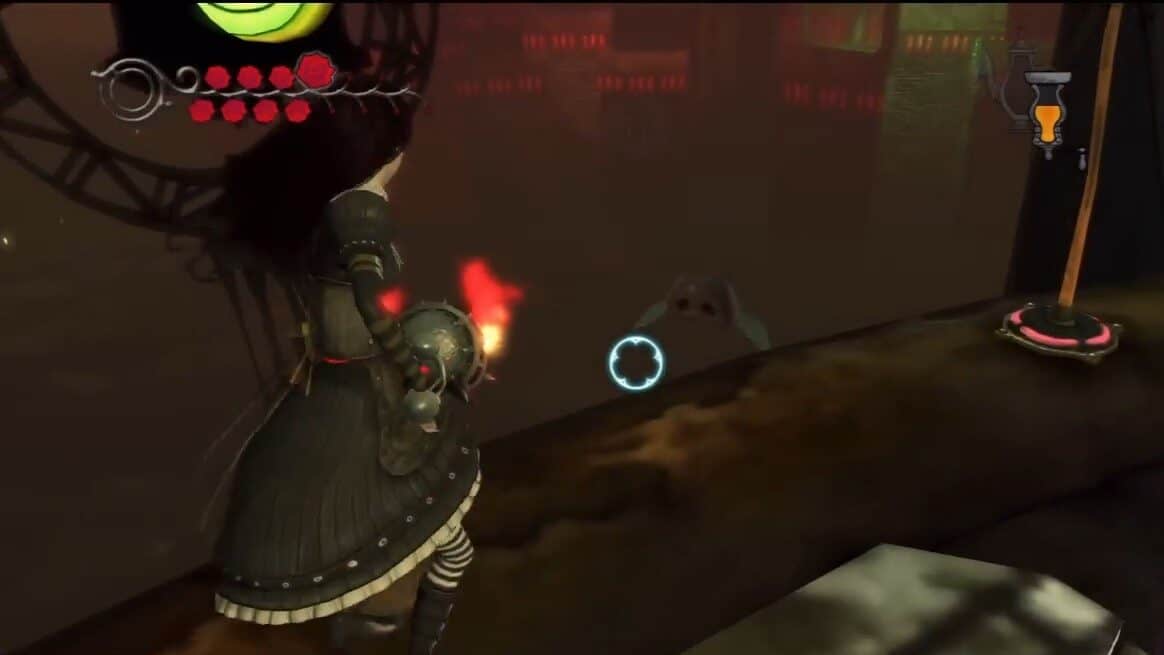
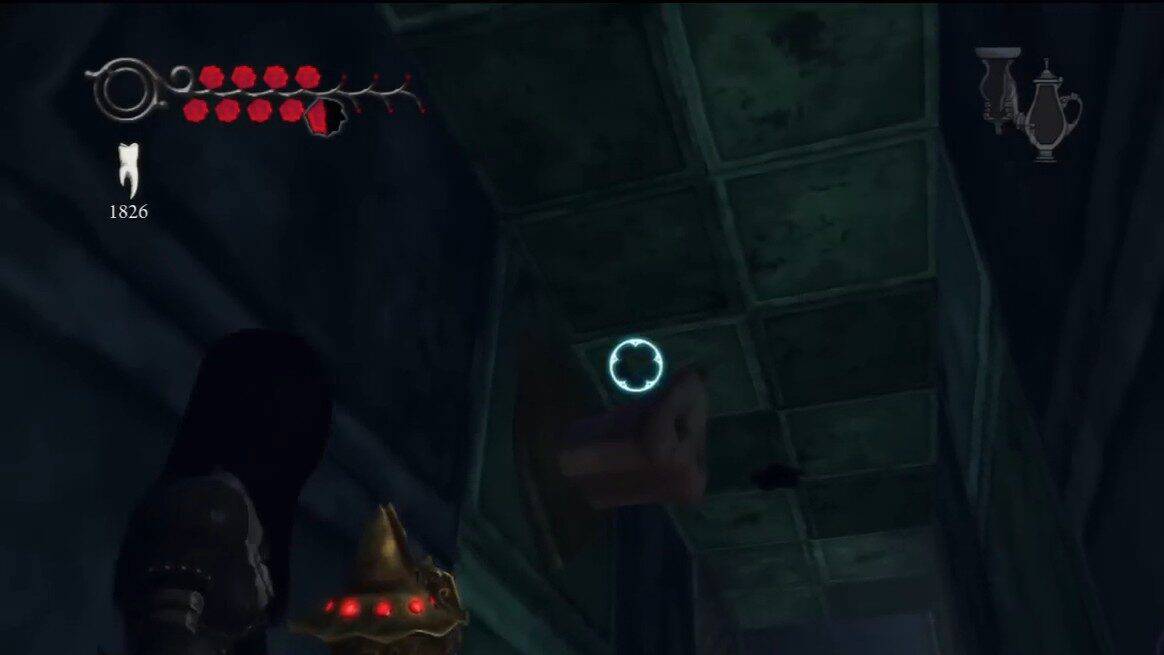
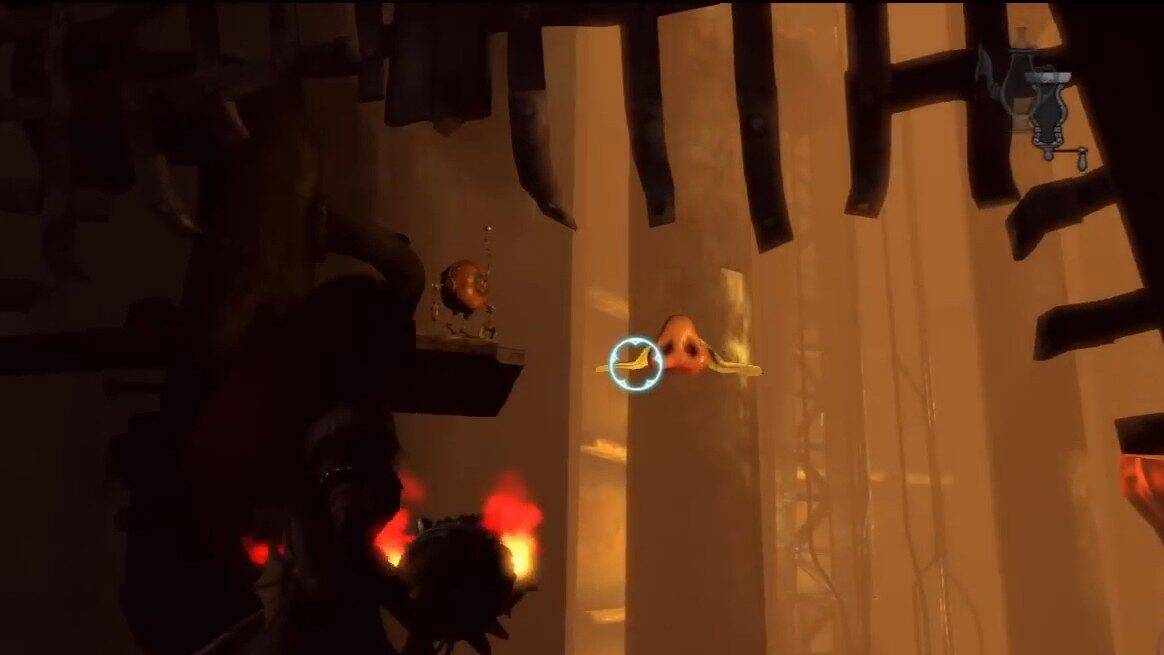
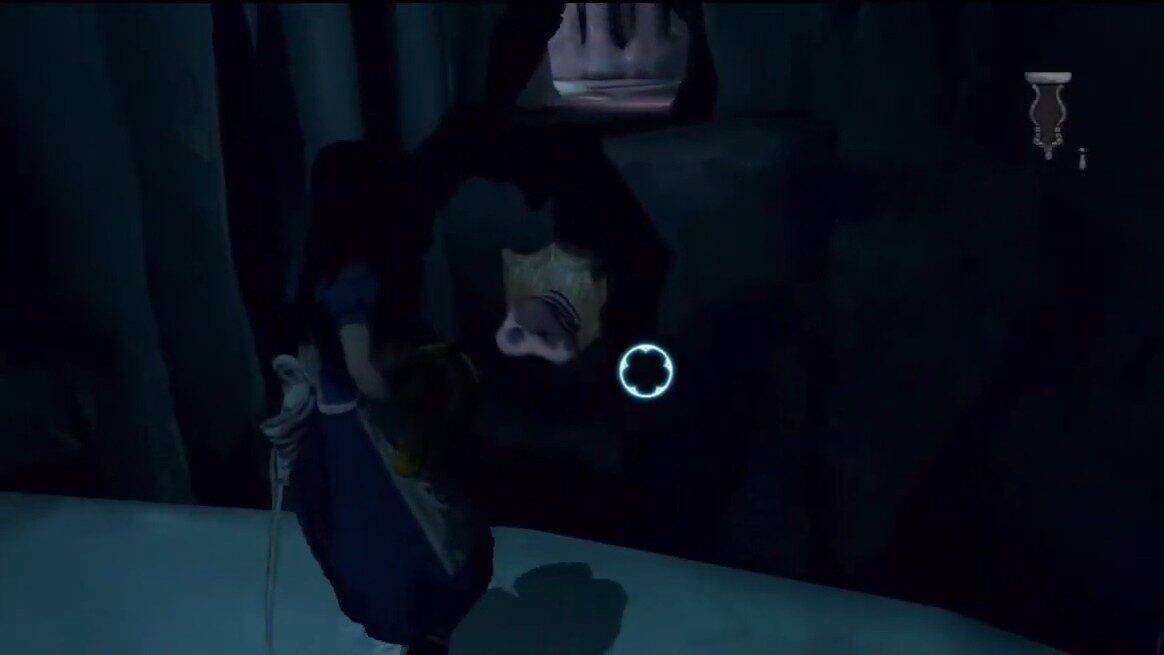
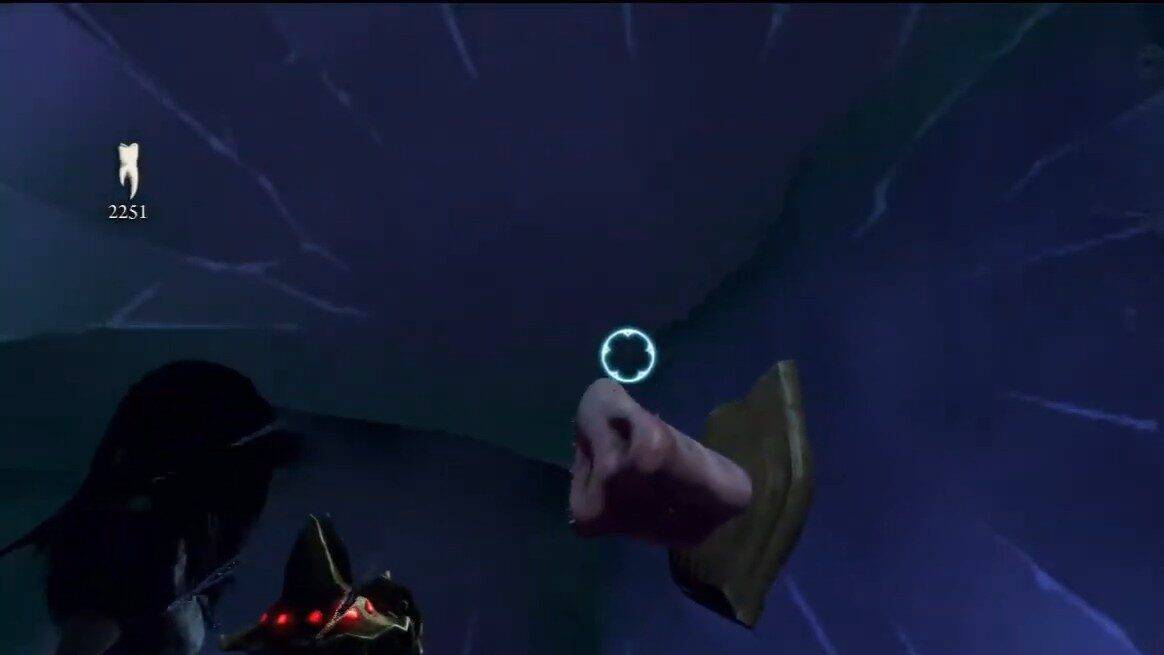
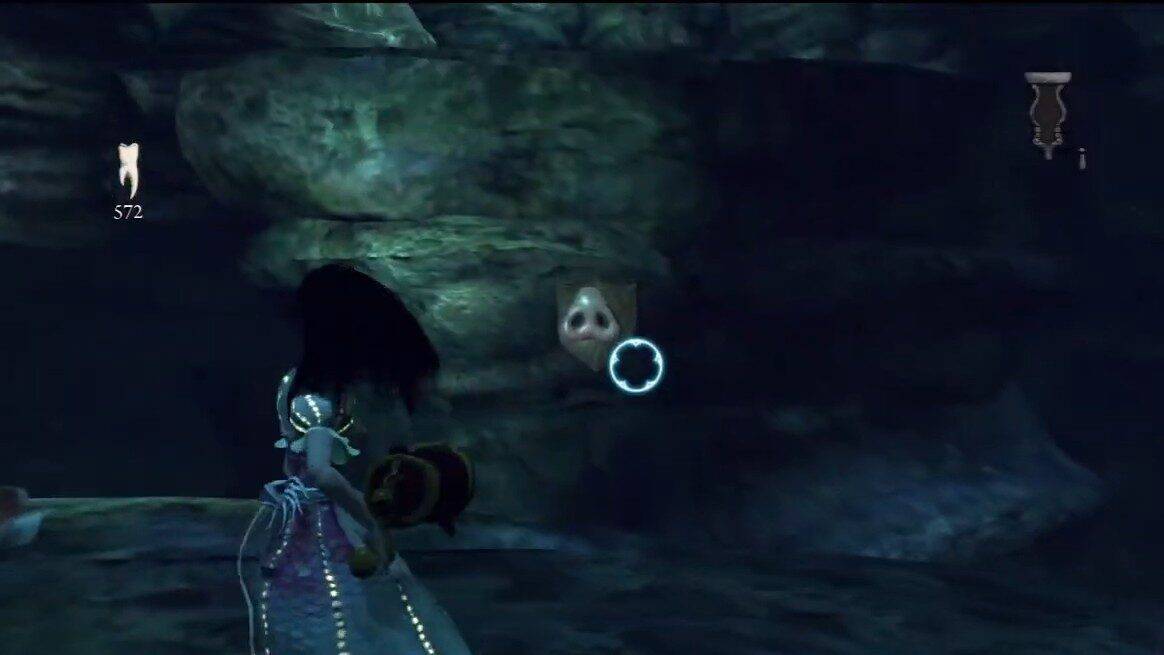
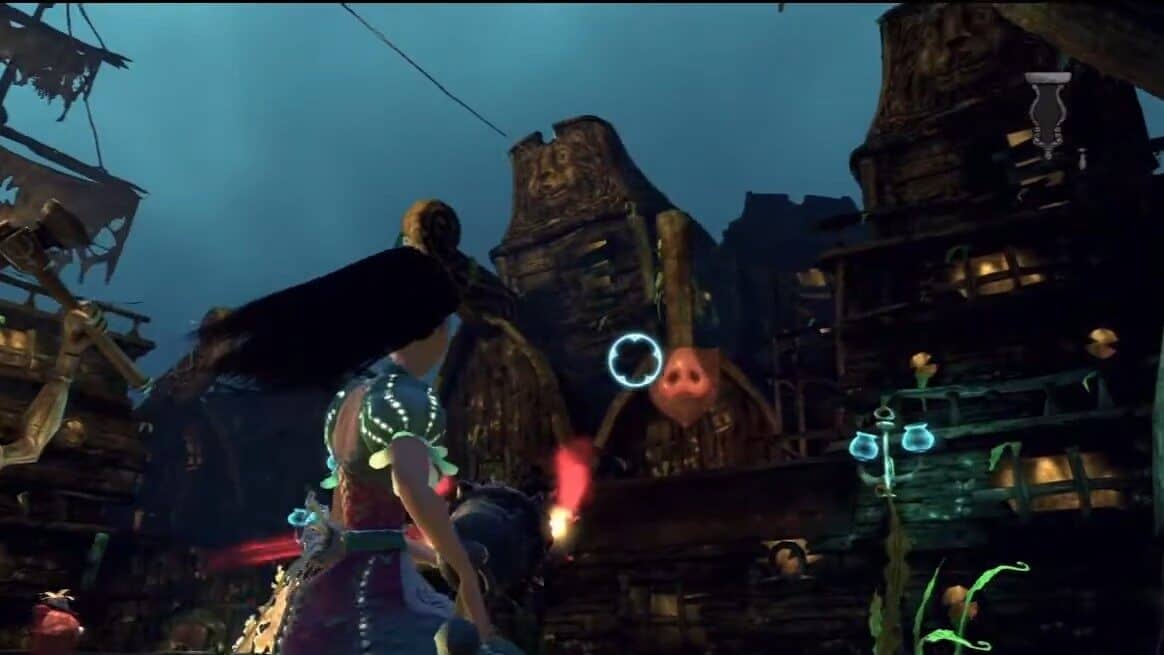
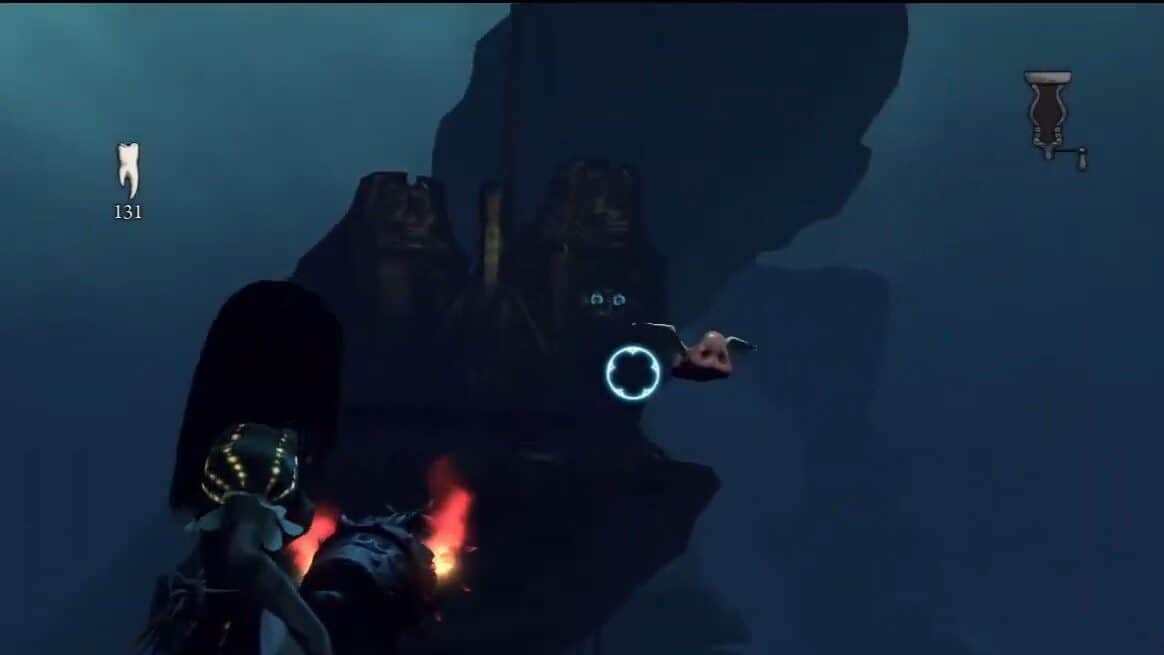
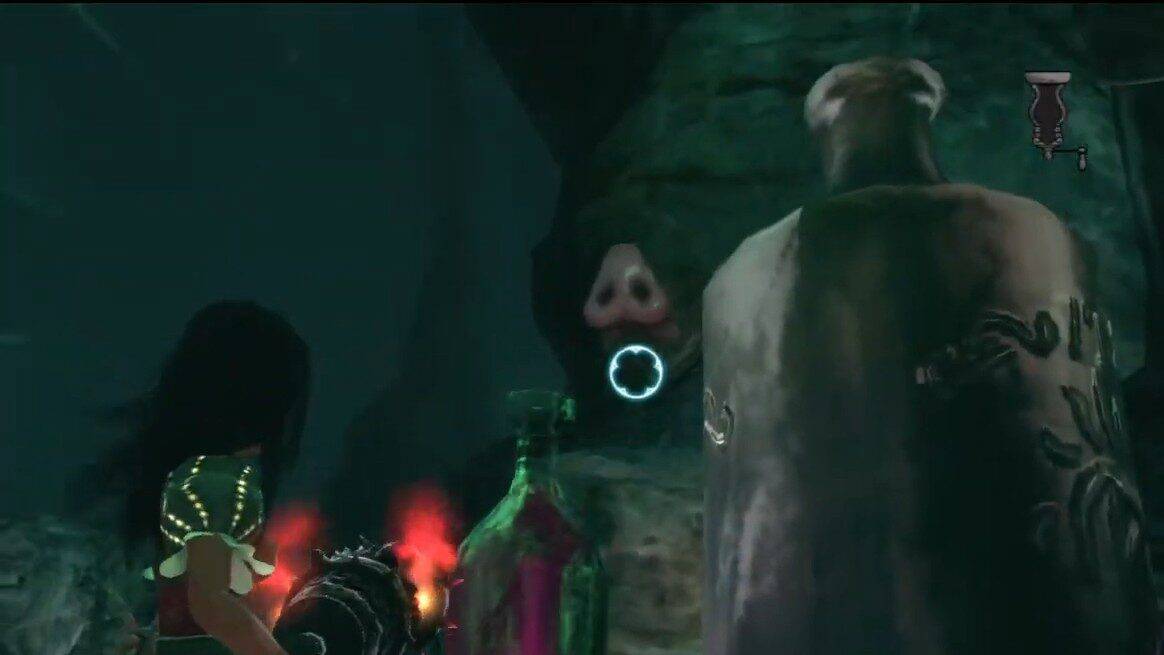
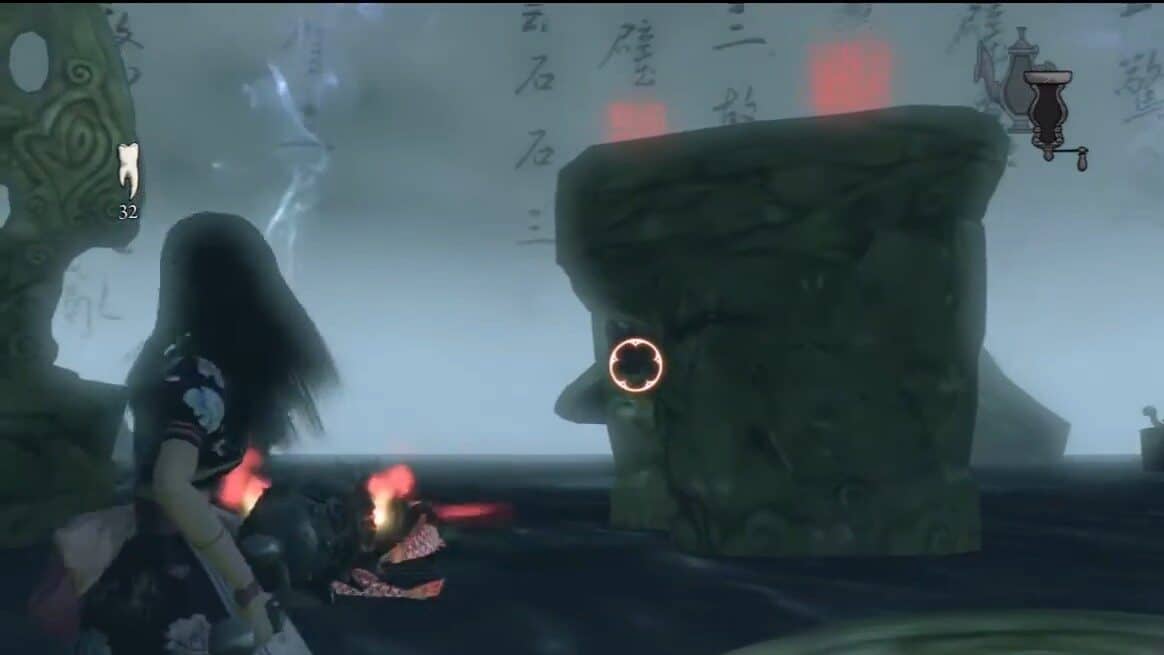
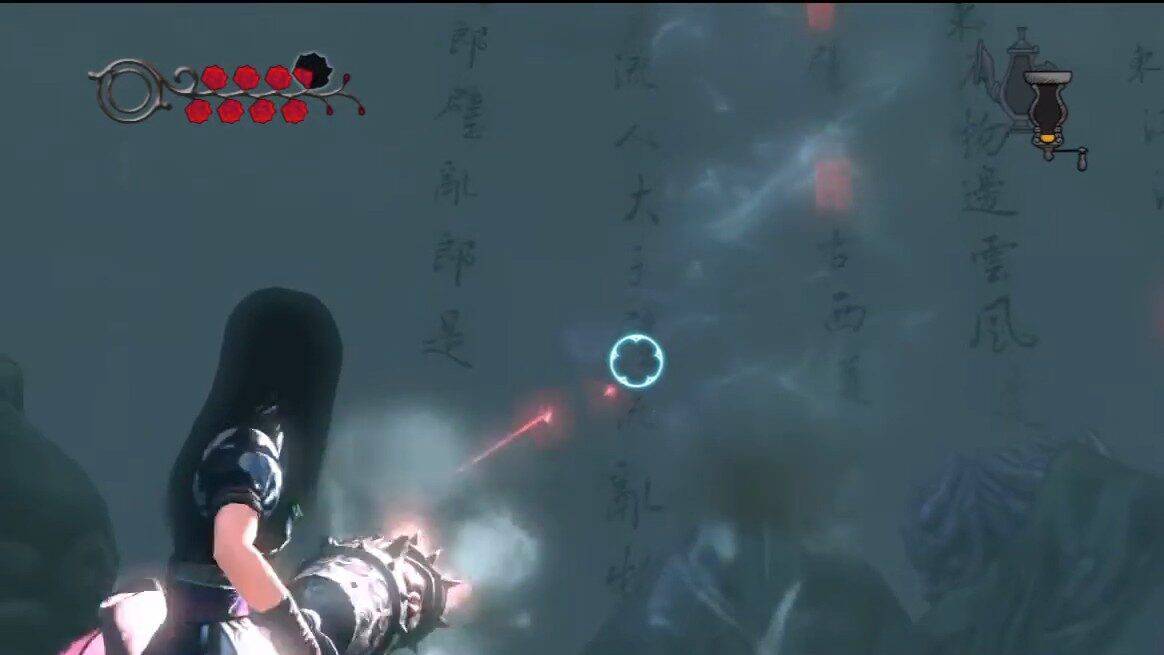
Snouts are a type of collectible you can pick up in Alice: Madness Returns, once you discover a snout you have to pepper it to pick it up. By peppering every nose in a single chapter, you unlock the Nothing Like the Smell of Bacon Trophy/Achievement
Once you collect all 59 Snouts in the game, you will unlock the Seasoned Campaigner Trophy/Achievement. In this guide, we’ll go over the locations of all 59 Snouts in Alice: Madness Returns.
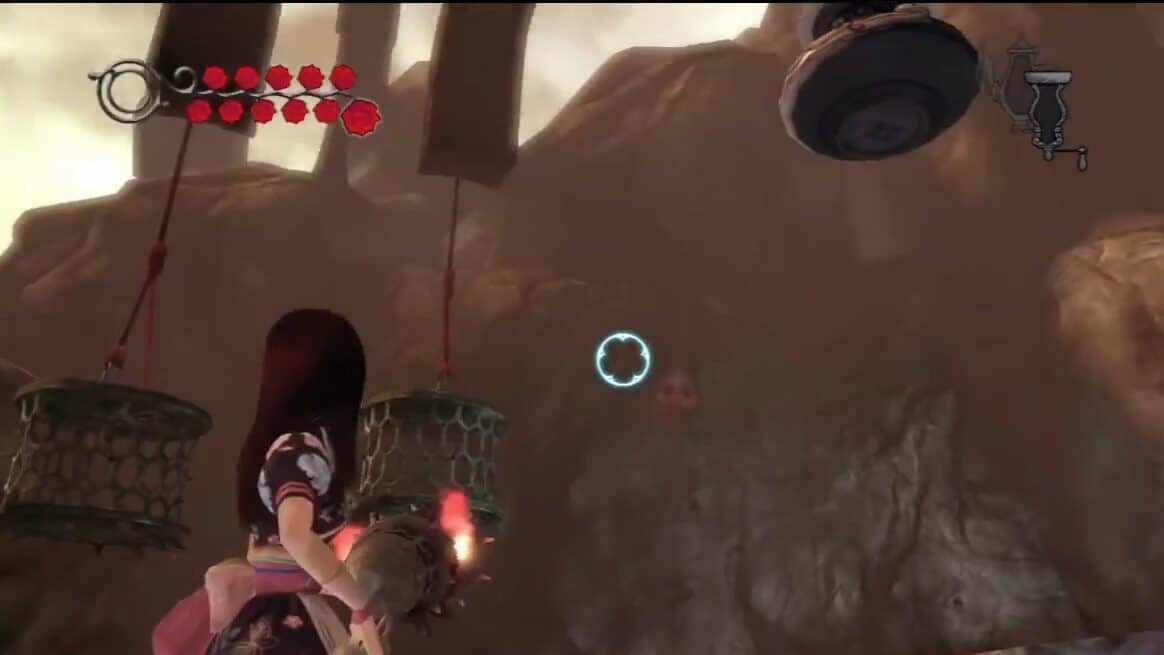
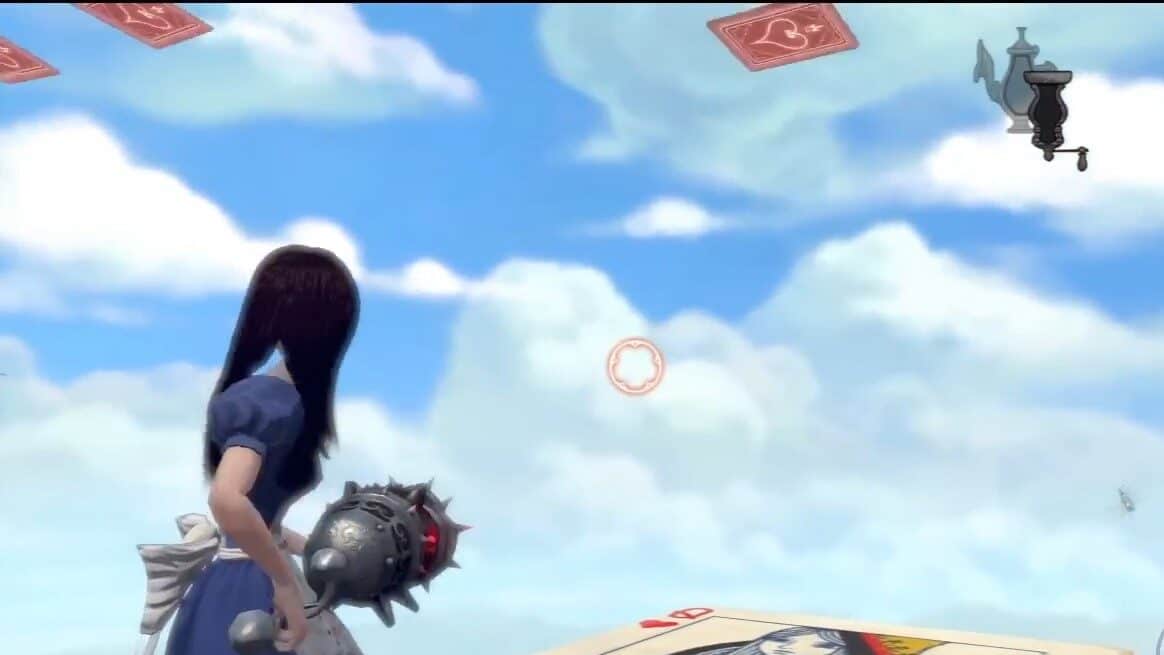
Chapter 1 – Pepper Grinder
Snout #1
Location. Exit the Kitchen, look at the end of the top section after your encounter with the Bolterfly. Aim and fire away to pepper this snout.
Snout #2
Location. Come back to the kitchen and open the small door after opening the basket. You will find the snout between the platforms.
Snout #3
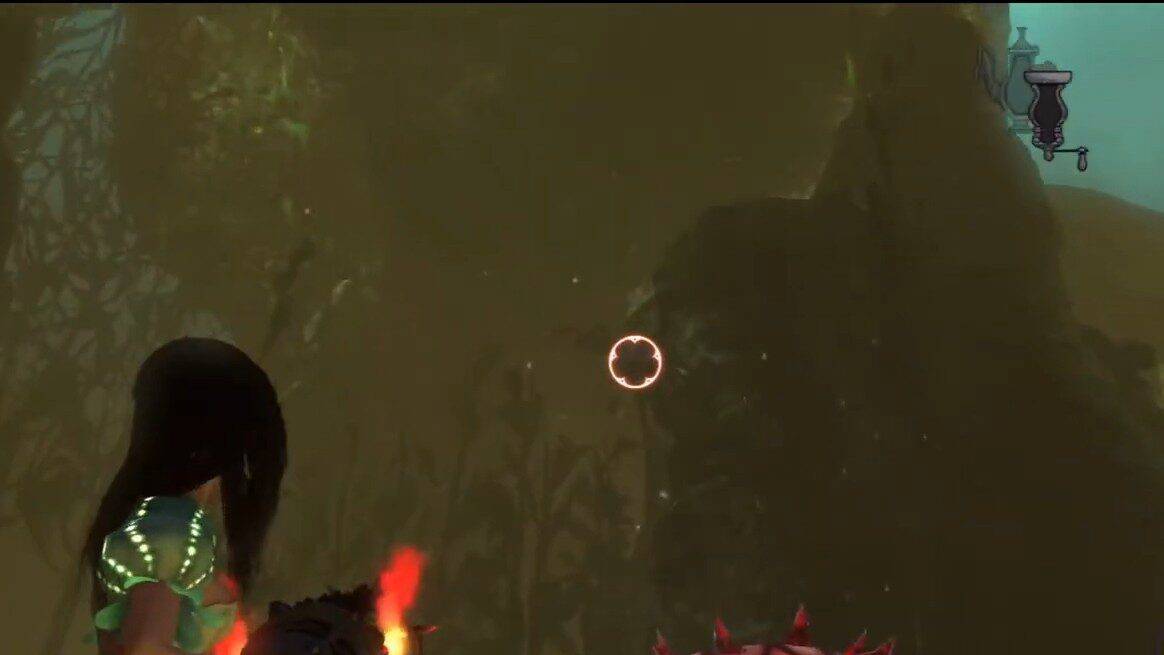
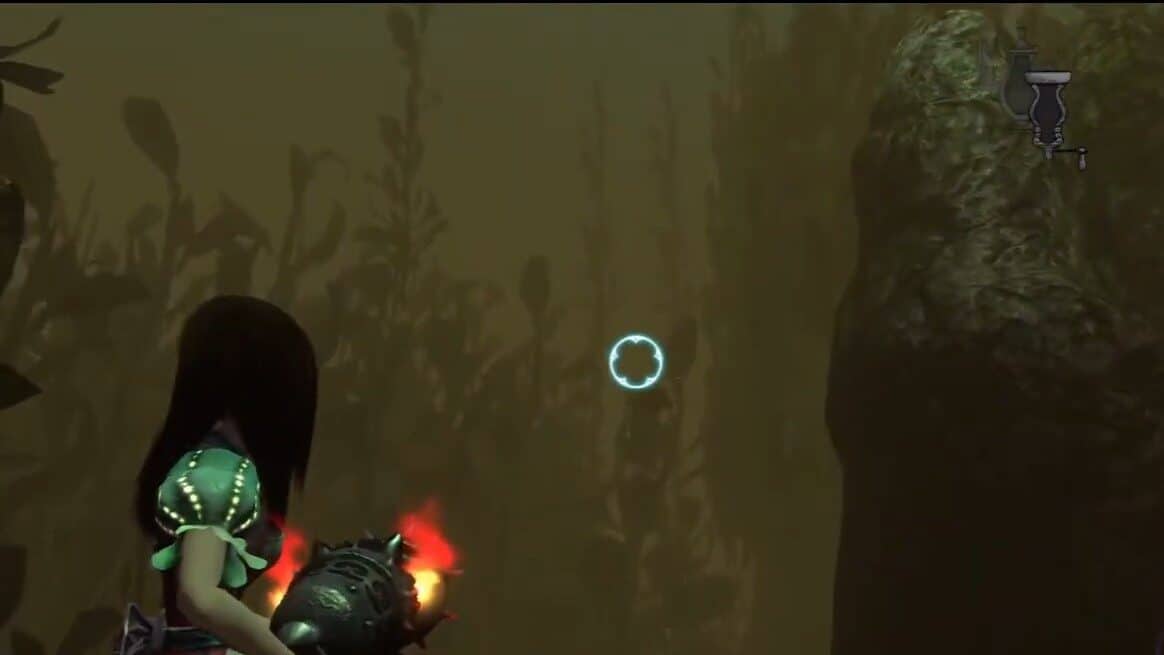
Location. Use your Shrink Sense to Shrink yourself to find the hidden pathway along the lower area to the right of the waterfall. Use the mushroom to get back up, after getting through. Jump across the domino platforms to the next section. Snout #3 is above the 3 shells in the second section.
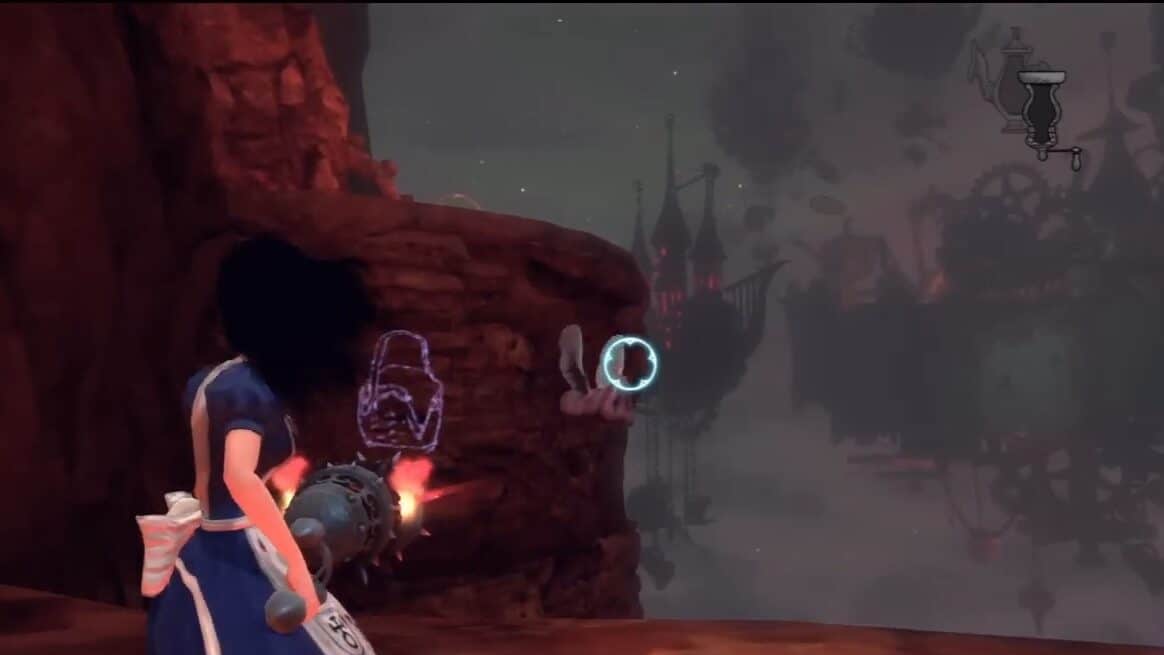
Snout #4
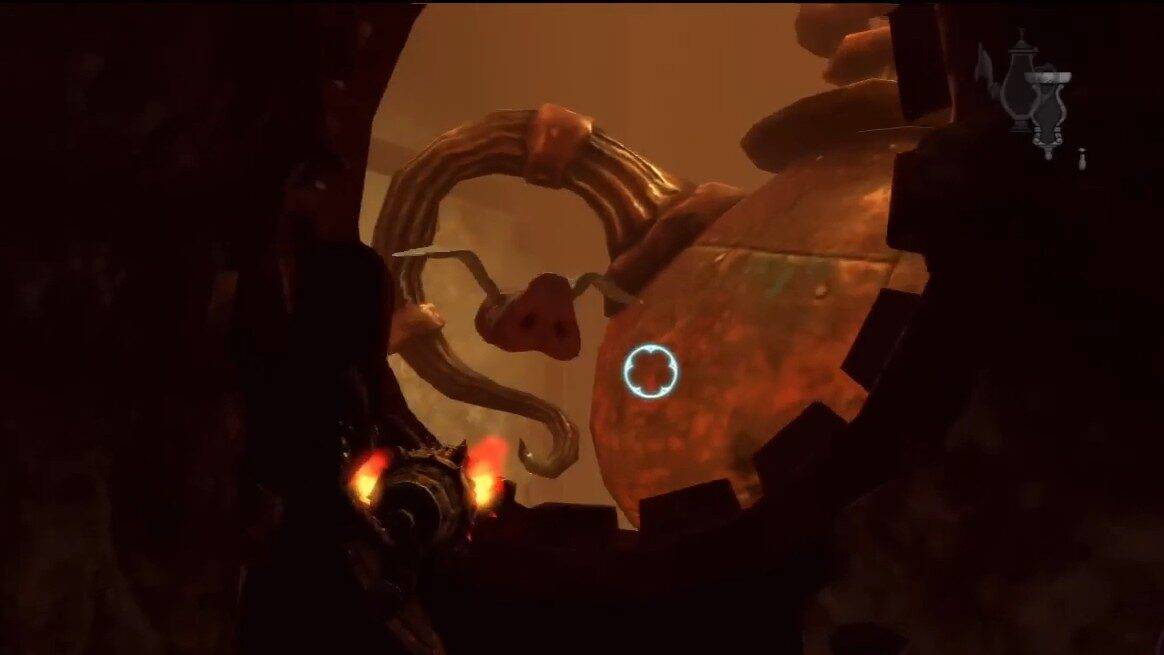
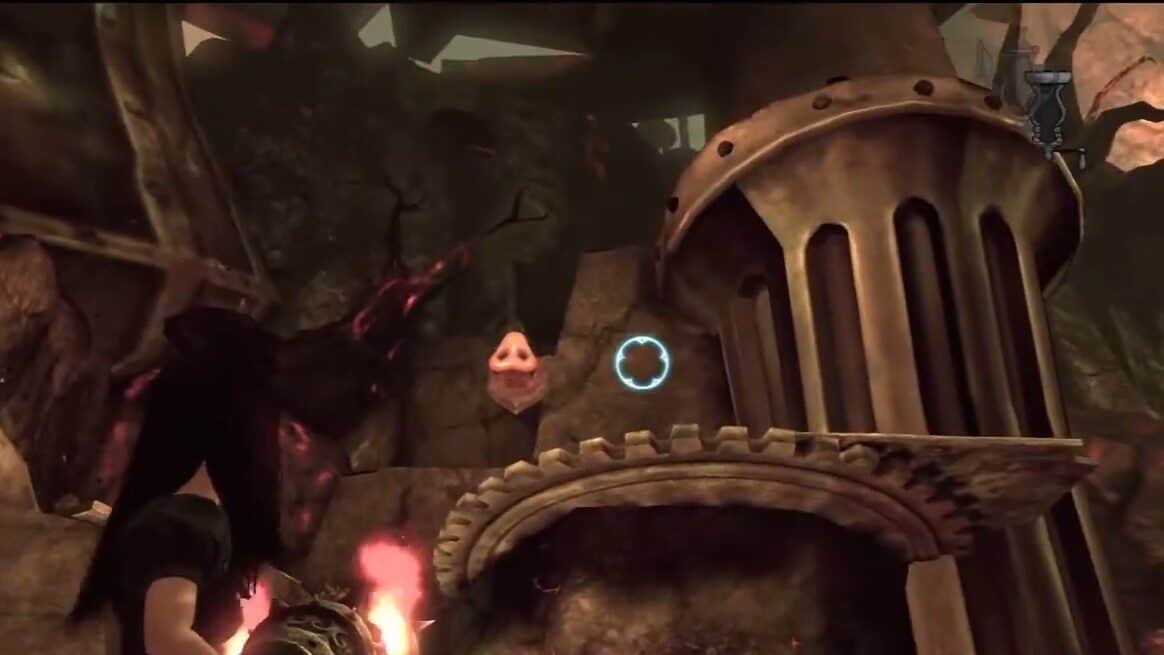
Location. Just when you see the great city of gears in the distance, look for the snout on the left as you enter this area.
Chapter 1 – Hatter’s Domain
Snout #5
Location. Jump to the platform next to you after using the first vent. Take a right, and shrink to spot visible platforms. Jump across till you reach a landing. You will find the Snout hidden in the wall.
Snout #6
Location. From the section where you fight the shielded enemies, float across to the next platform with big gear in front of you. On your right as you enter the wall. Use shrink to notice some invisible platforms and enter the hole in the wall. Snout is high on the wall as you enter.
Snout #7
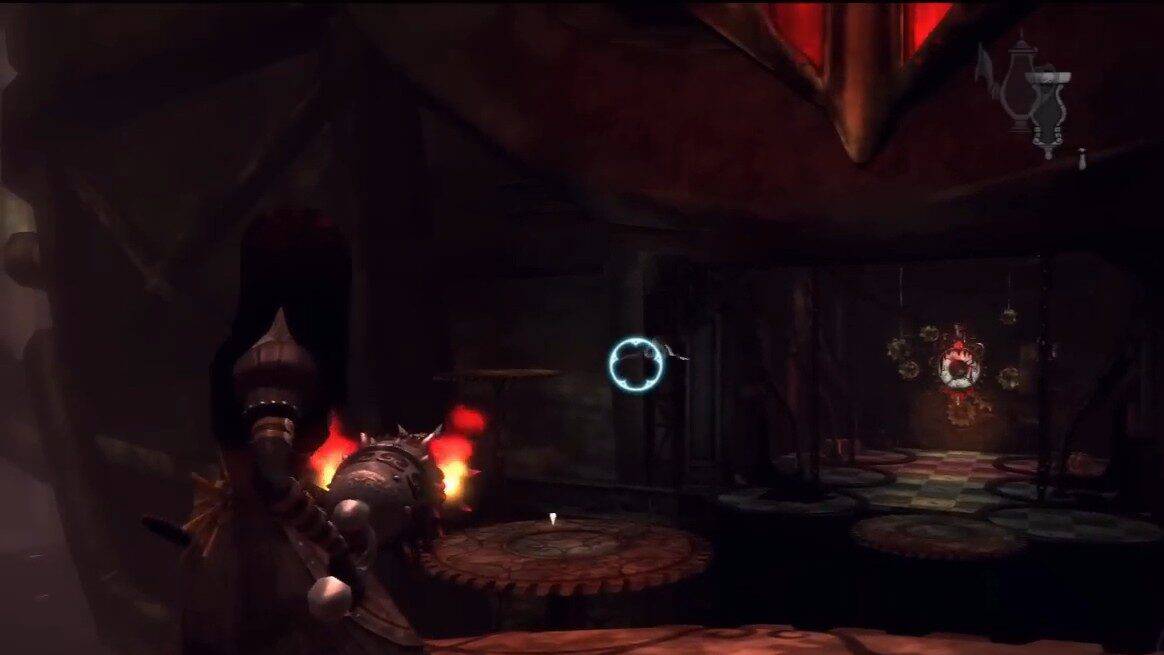
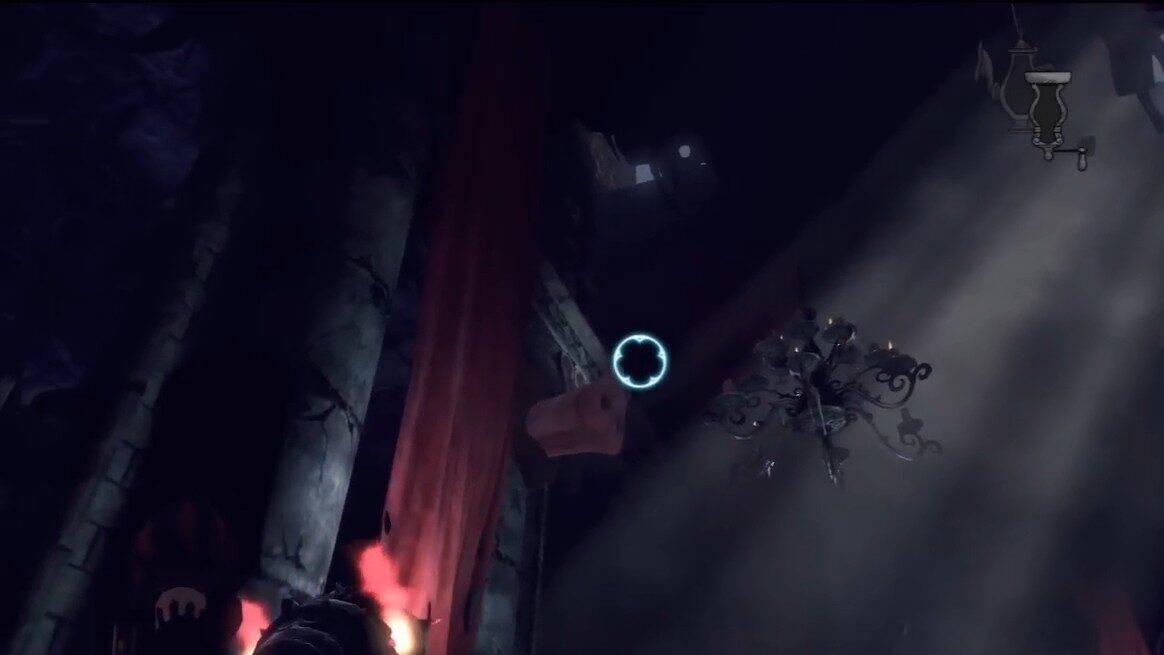
Location. Turn the valve and use the new vents and platforms. Before entering the hole, turn around to pepper the snout on the face of the platform behind you.
Snout #8
Location. Follow the path in the new vent until you make a long jump, the snout is below you and you jump across the large gap.
Snout #9
Location. Look behind on the left side of the platform after defeating Menacing Ruin to pepper another Snout.
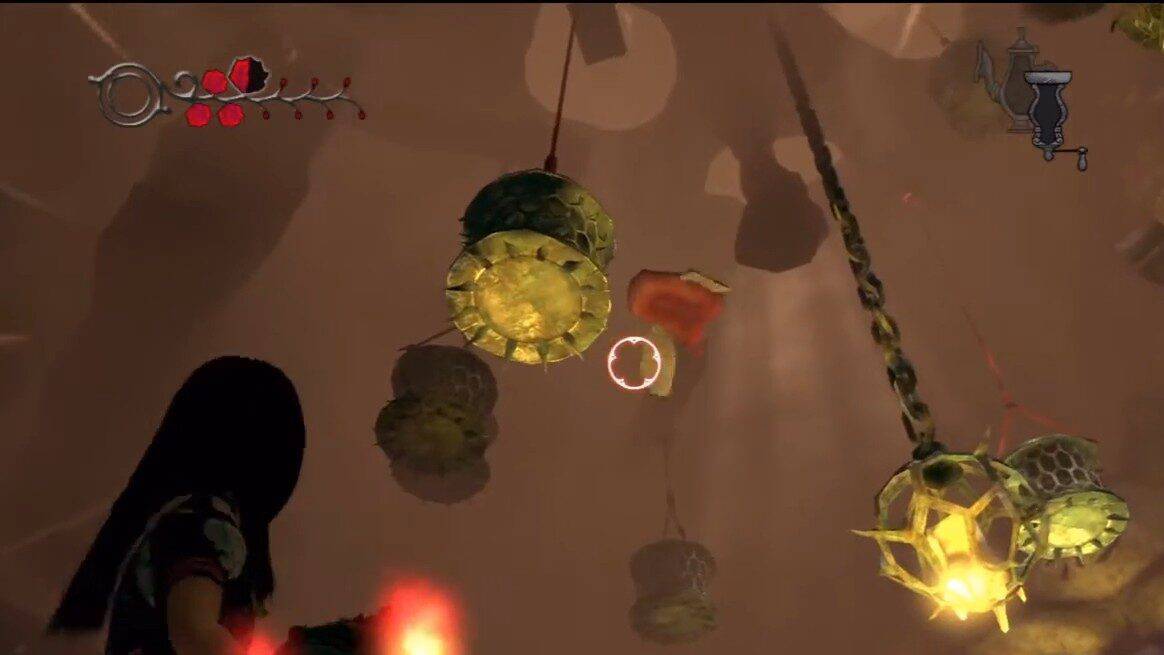
Chapter 1 – Smelling and Regurgitating
Snout #10
Location. You need to turn on the valve to drop to the bottom floor. Be careful of molten metal on the few ledges though. There is a hive underneath the starting platform. Destroy it to pepper another snout.
Snout #11
Location. Jump to the second section and use shrink to locate another hidden tunnel. Keep going and you will come across another Snout at the end of the room.
Snout #12
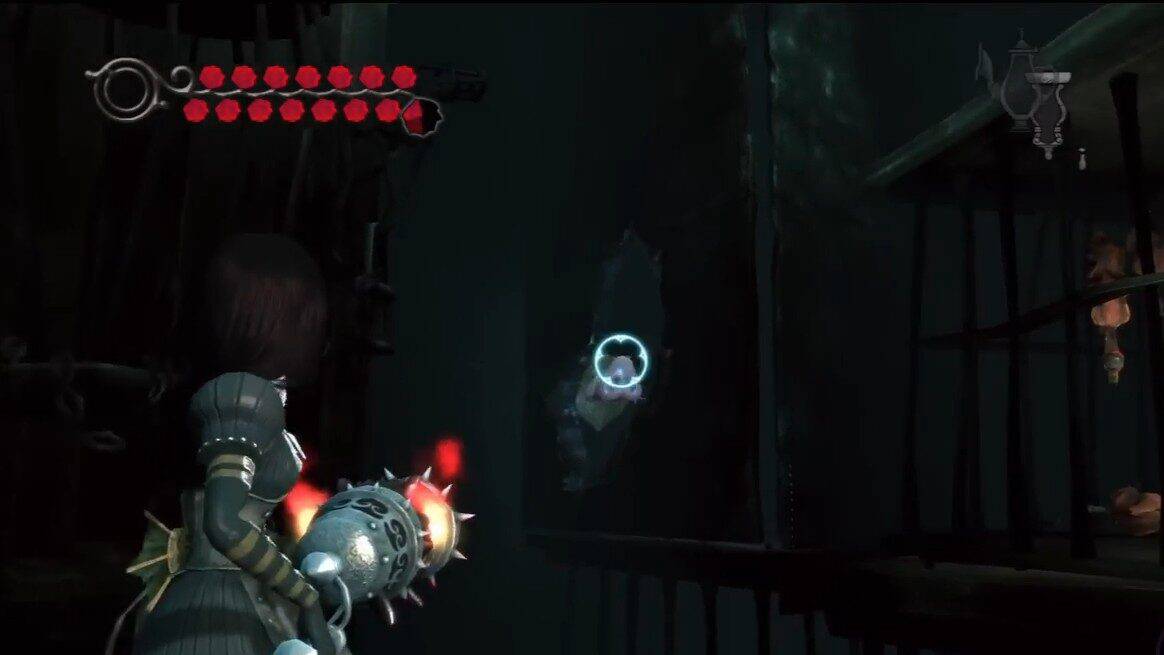
Location. When you shoot the switches and use the current from the vents reach the top. Look for a weak wall after crossing the second vent, and bomb the wall to find another hidden tunnel. Look left through the hole at the end of the tunnel for the snout.
Snout #13
Location. Inside the room where you encounter Dodo Miserarium. Jump on the cage to your left, look left and you will notice a broken wall. It’s inside the broken wall.
Chapter 1 – Assemblage
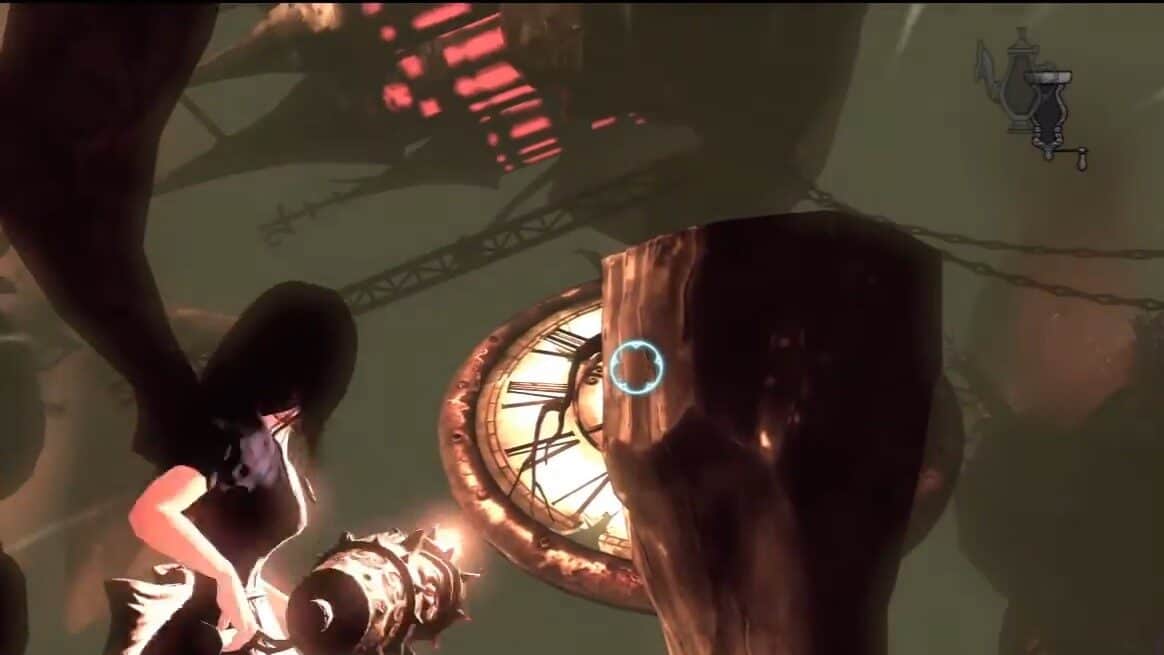
Snout #14
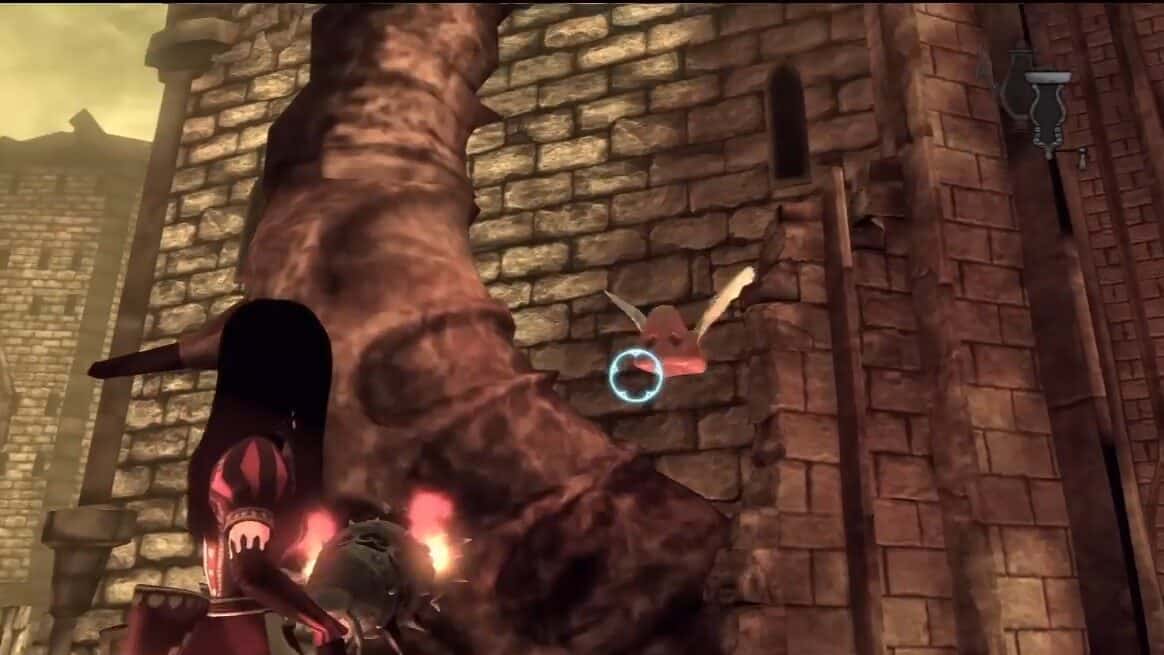
This Snout can be found at the start of the area between the second and third platforms.
Chapter 2 – Tundraful
Snout #15
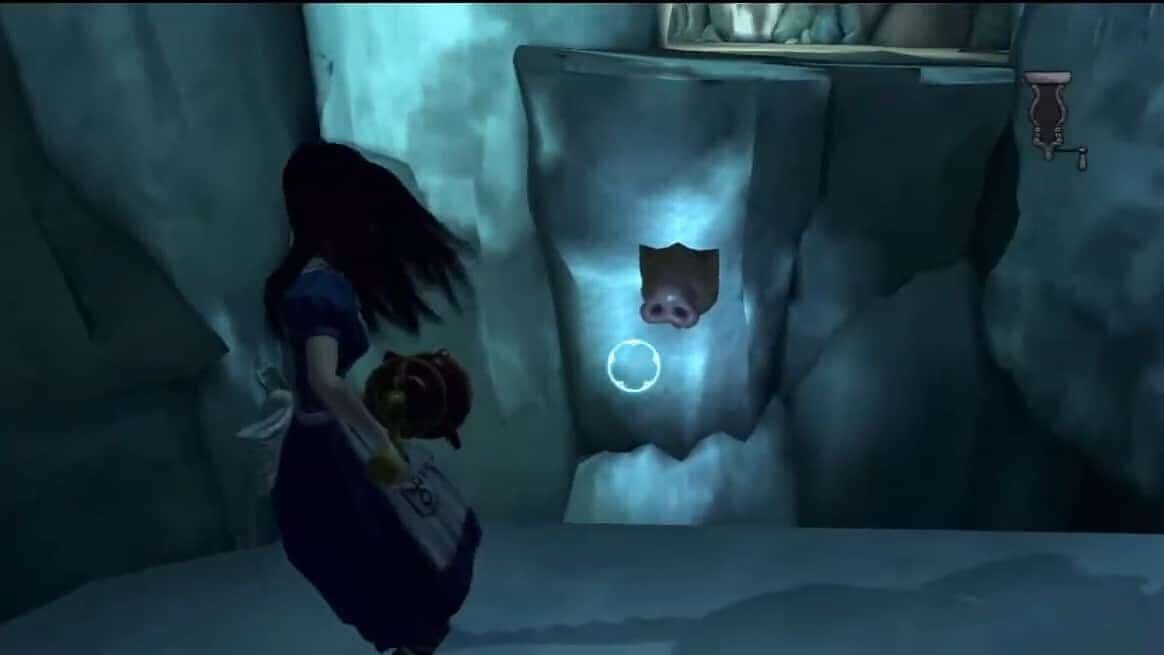
Location. After you dodge Yeti, keep on moving the path to the mushroom. You will find it on the ice interface.
Snout #16
Location. After you have defeated the sharks, jump to the next section and then turn right. After destroying the horse-shaped structure, jump across the gap to find the snout opposite to the gold tooth.
Snout #17
Location. Use shrink beside the giant fish to reveal a tunnel. Follow the path to the ledge and then to the hidden cave. Break the ice to the left side and then in the room, break the ice on the ground. Jump into the next room (after you break the ice outside). Use shrink now to locate the invisible platforms that will lead you to the snout.

Chapter 2 – Sliding Towards Oblivion
Snout #18
Location. After answering some questions to the cat in the yellow shell, use the mushroom to proceed on. Jump onto the iceberg and turn at the corner. From here you can spot the snout to the right above.

Snout #19
Location. After you defeat the enemy, turn right. Move along the path (use the invisible platforms) and after sliding down to the iceberg, shrink to spot an invisible boat. Break the ice nearby and you can have your snout inside the second room of the ice cave.
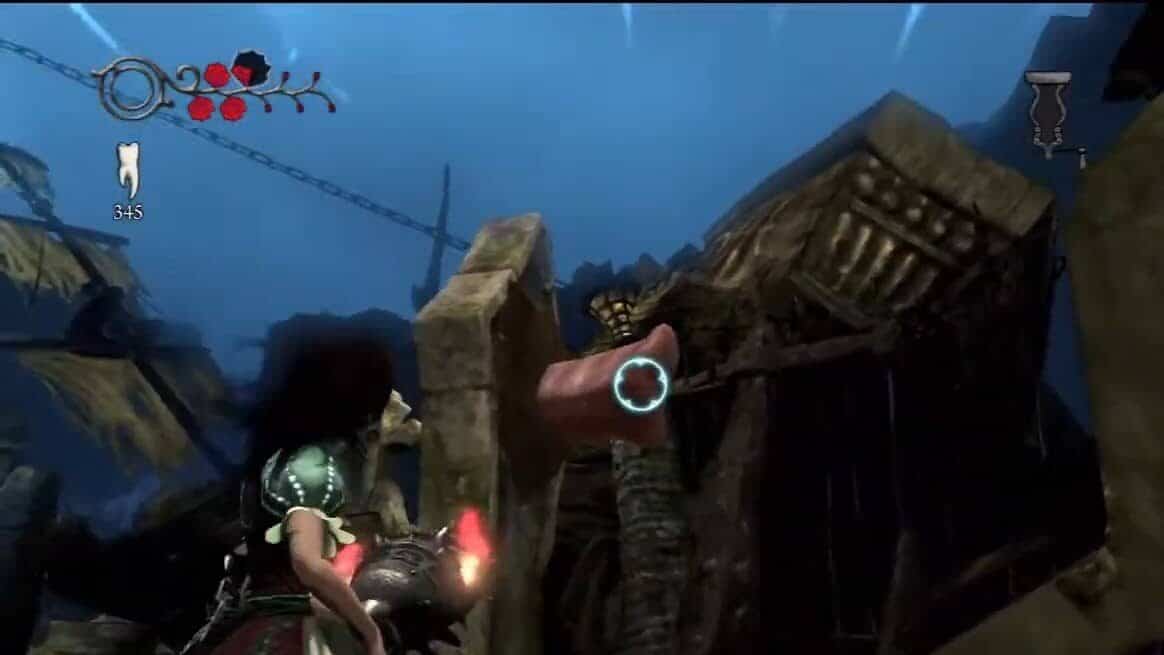
Chapter 2 – Naval Disaster
Snout #20
Location. At the start of the level, after you pass the admiral, jump across the gap using the geyser. Instead of going to the jellyfish side, jump on the clam ahead. You will find a snout on the right side of the clam.
Snout #21
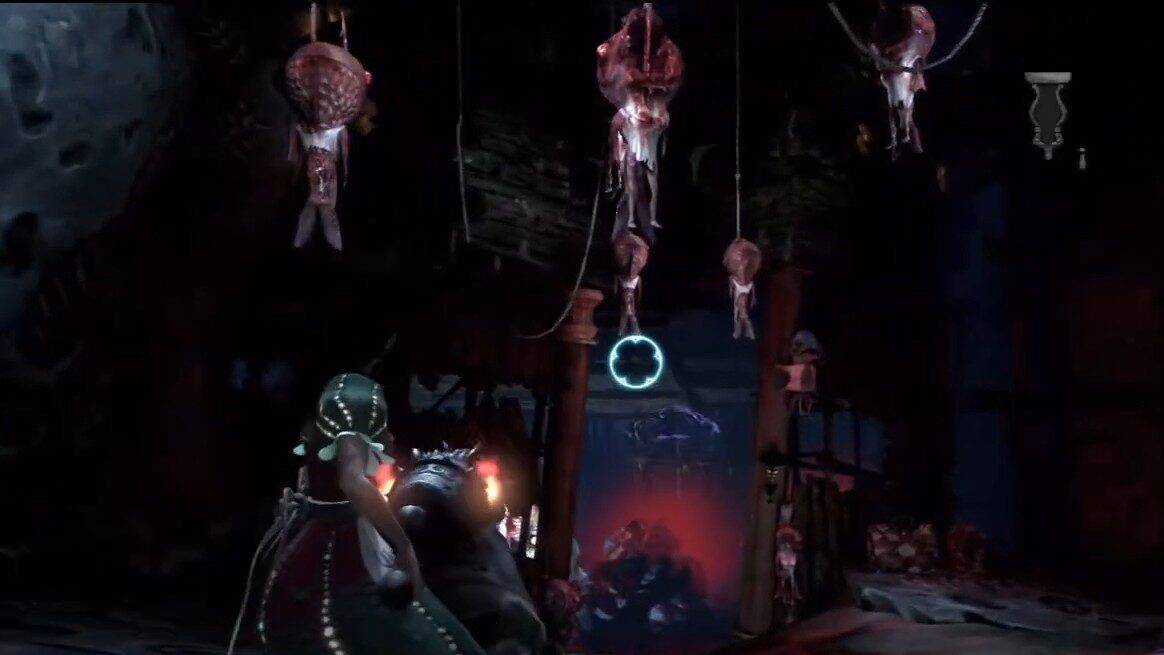
Location. After you defeat the enemy soul, take the right path. Then while standing on the pad, hit the switch. After you cross the invisible bridge, you will find a snout at the back of the house.
Chapter 2 – Barrel Bottom
Snout #22
Location. At the start of the level, search for the snout at the right side of the statue.
Snout #23
Location. As you move towards the theatre, take the path through the invisible bridge to the left. There is a snout behind the building.
Chapter 2 – Inky Veil
Snout #24
Location. After you have dealt with the squid and used the geyser, head to the island on the left. You will find one on a stone column.
Chapter 2 – Choral Coral
Snout #25
Location. After playing the mini-game associated with the fish, look for the snout on the wall to the right side of the red flower door.
Snout #26
Location. After you have defeated the enemies in the first section to save the clams, head to the next area using the statue. Follow the jellyfish passage till you reach the second one. Here turn right and look above on a rock and collect one more snout.
Snout #27
Location. While you are solving the block puzzle, you can find one to the right side of the third block piece.
Chapter 2 – Lost Souls Locker
Snout #28
Location. You can find a snout at the start of the level behind the tombstone on the left side.
Chapter 2 – Barrelbottom (Re)
Snout #29
Location. After you have dealt with the Colossal ruin. Use shrink to reveal a tunnel to the right side. Use the invisible platforms to get to the snout in between the two wooden structures.
Chapter 3 – Vale of Doom
Snout #30
Location. After getting the teapot cannon, deal with the enemies. Use the elevated path and use the hookah pipe. Head back down and destroy the ruin you find along the right wall. Move up the landing and use the pipe. After dealing with a group of enemies move along to the next pipe. Look above from the platform to spot a snout.
Snout #31
Location. After dealing with a wave of enemies, head back to the flower. Use the shrink and you will find this one a stony platform.
Chapter 3 – Scorched
Snout #32
Location. After pulling the chain, move along and use the tiles and then the mushroom to reach the higher area. Turn around at the next platform and you will find a snout on a pillar.
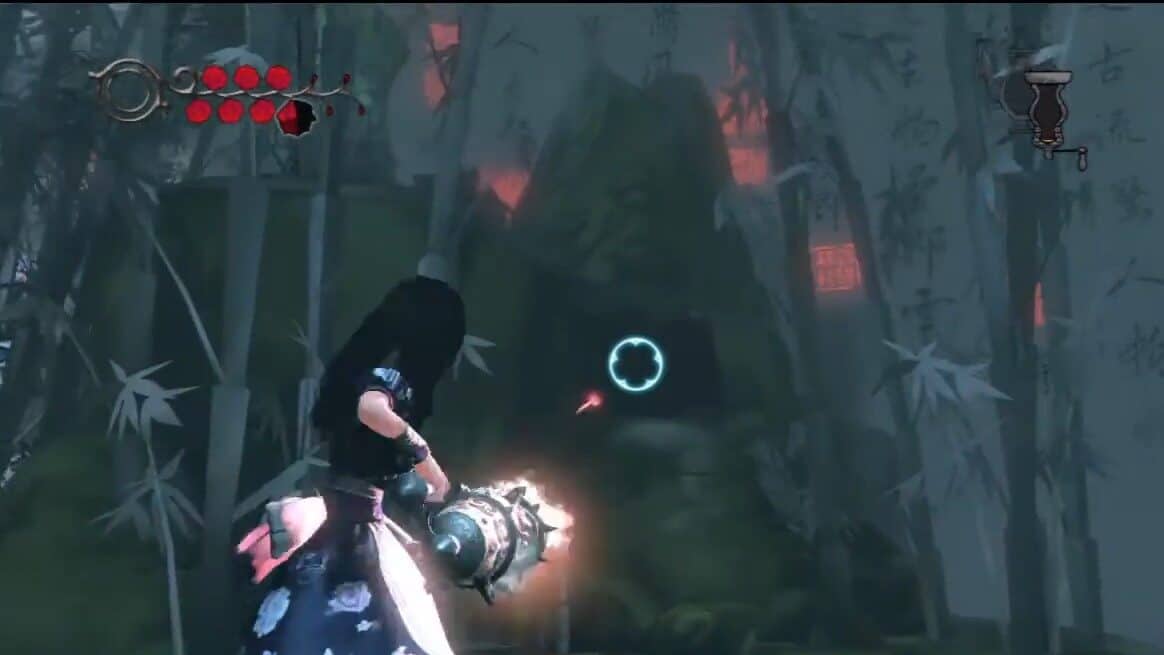
Snout #33
Location. After dealing with a wave of enemies, head to the cliff edge to your left wing. Looking at the left side, scout the area to find a snout in between two bamboo stalks.
Snout #34
Location. As you exit the monastery, head right before you jump onto the ledge. You can find a snout at the end of the forest passage.
Chapter 3 – Scroll of Happy Time
Snout #35
Location. After you have collected all 5 peaches, return to the caves and you will find the door opened. You can find a snout on a rock to the left side below.
Chapter 3 – Monastery Shelf Valley
Snout #36
Location. After placing a bomb on the pressure plate, move to the right path from the intersection. As you move down to the lower platform, you can find one in the air.
Chapter 3 – Trunk
Snout #37
Location. After defeating enemies, if you remove the ruin from the wall, a mushroom will appear. At the above level before using the second mushroom, look to the right side to find a snout.
Snout #38
Location. While you are jumping across the fans, look for a snout past the pink fan.

Chapter 3 – West Peak Prison Village
Snout #39
Location. Across the cages, you will reach a ledge from where you will be able to spot another snout just right to the greenish floor.
Chapter 3 – Hellish Hive
Snout #40
Location. After exiting the hole, cross the series of cages but not the last one. In the last cage, you will find a snout above the large pillar.
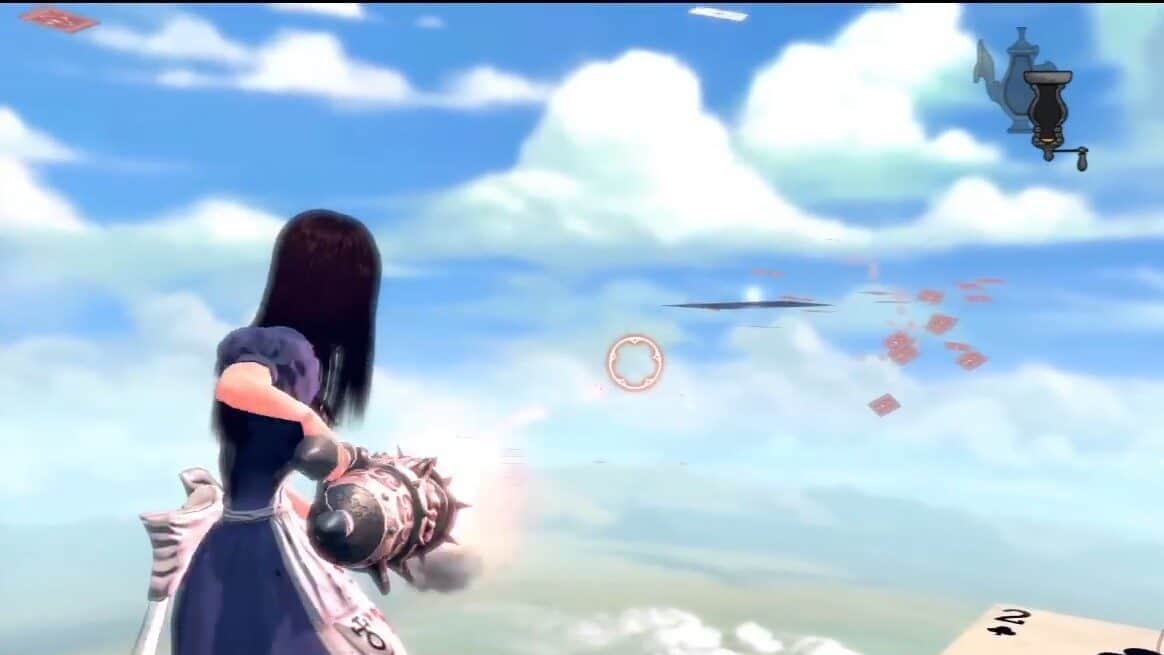
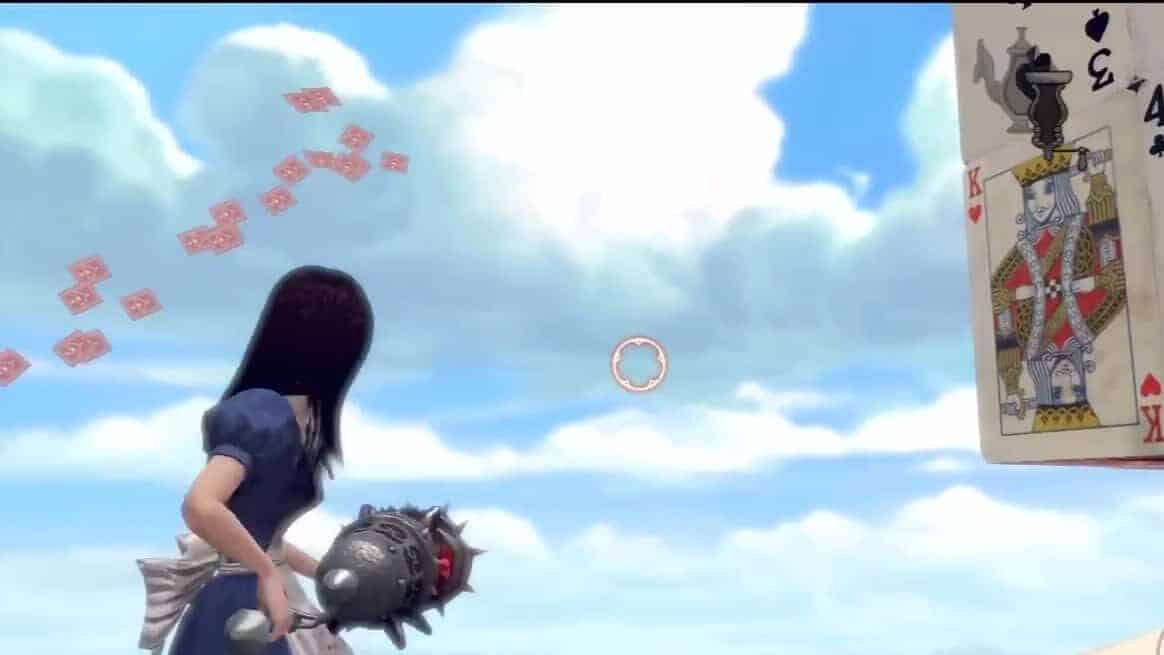
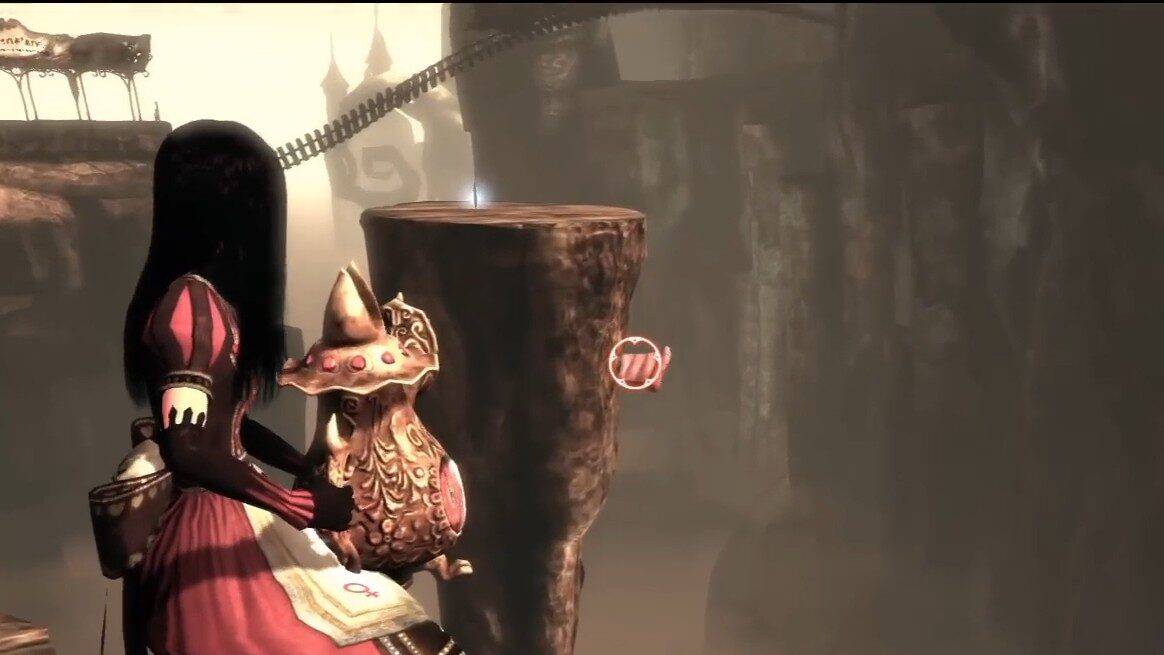
Chapter 4 – Cardbridge
Snout #41
Location. In this chapter you’ll find yourself in a cell after waking up, you will be released and a white cat will wait for you at the front door. Leave and you’ll appear in the dungeon. Go down and follow the path till the end.
Land on the playing card walkway after falling from the sky and use the path to hop onto the two Ace of Hearts. Now turn right and use shrink. You’ll be able to find the Snout when you pass the bridge in the sky.
Snout #42
Location. Now follow the path until it turns left and use shrink, to cross the invisible platforms to the end. Go back from where you came, go right and to the house. First use shrink to locate a snout before entering the room. Pepper the Snout to the left of the card house.
Snout #43
Location. When you enter the card house, follow the path through the open doors. Place a bomb on the left pressure pad, go around to the right side, and stand on the pad. Follow the path until you reach the next pressure pad, place a bomb and, quickly get over to the next set of cards.
Stand either on the left or right pad, or you will fall. Use shrink on the left side of the switch to locate the snout.
Snout #44
Location. Return to the pad and place a bomb on it. Now follow the path to the next platform and slide down then cross the gap to the next stack of cards.
Jump at the end of the path to land on the stone bridge. Use the path to the next area and defeat the enemies. Take the vent to reach the upper bridge.
You can use the mushroom and head through the path just before the door on the moving platform. Go left and take the Snout on the face of the stone platform.
Snout #45
Location. Cross the vents onto the platform and up to the door. Go right instead of using the door and destroy the weak wall. Enter the shell but first use the mushroom. Get inside through the large heart doors and face a new enemy.
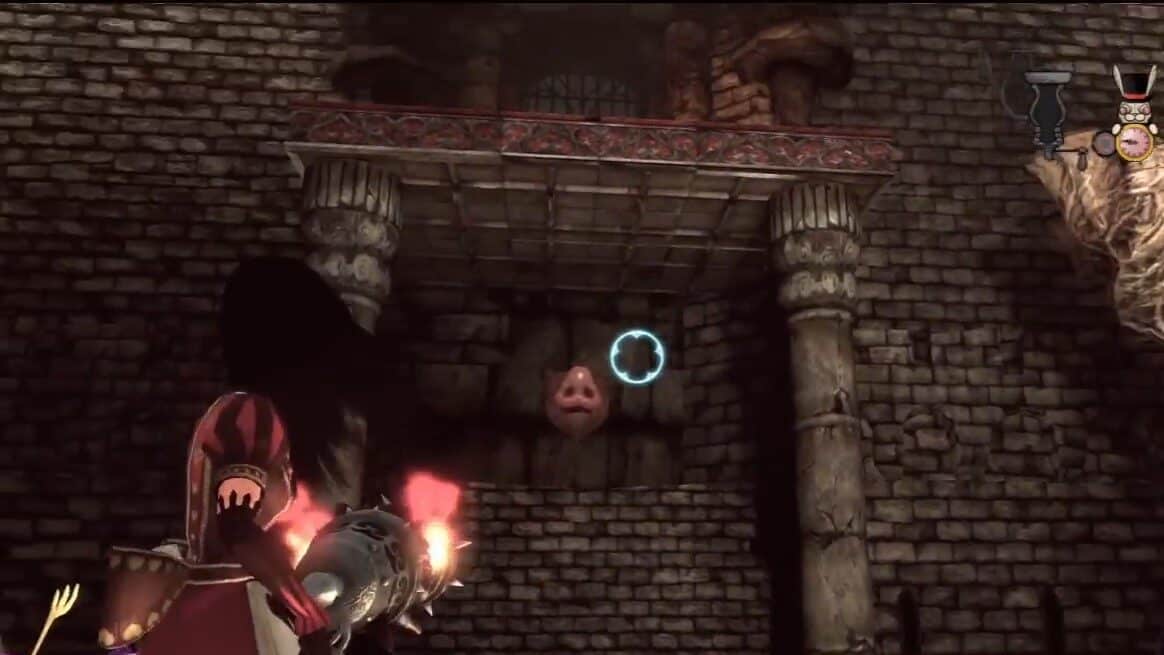
Once you defeat it, locate the invisible platforms to the right and look to the left on the second stone ledge. You’ll come across another Snout beside the tunnel across the ledge.

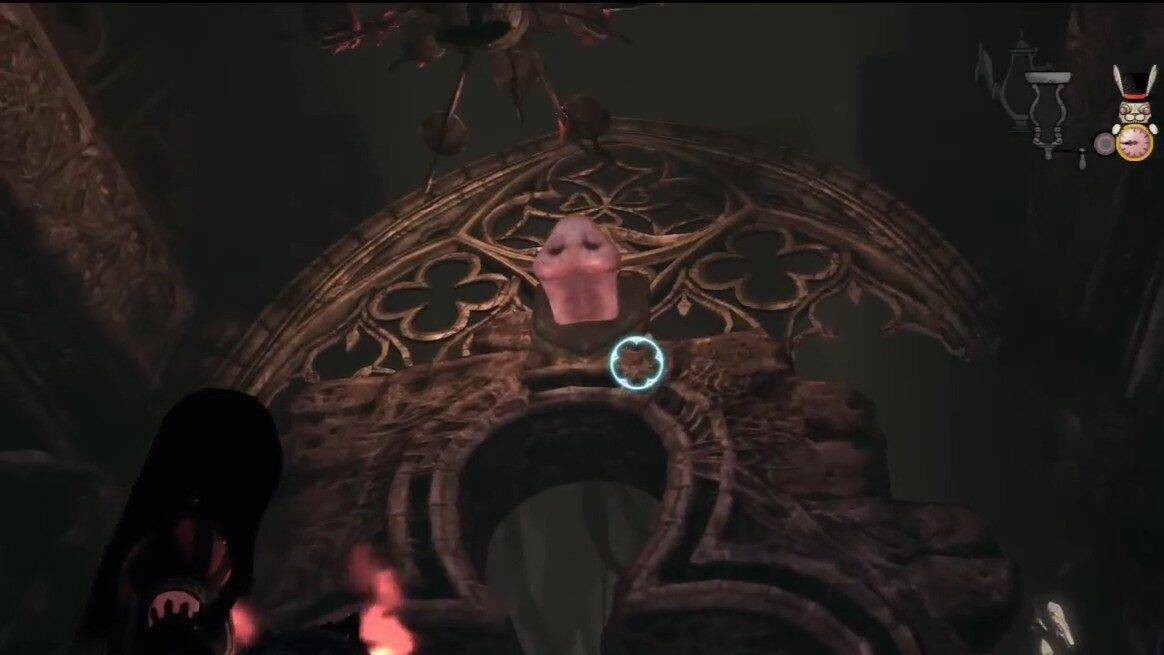
Snout #46
Location. As you follow through the archway, look above to pepper the snout.
Snout #47
Location. Right where the executioner ambushes you and you go down. He will enter the room so open the path by defeating the small enemies and run past him.
Take the vent to escape, where you’ll come across several attached platforms. You need to stand on one and place the bomb on it to raise the other one for you to jump across to the next landing.
Cross the invisible platforms to the left and look left, once you’re beside the flower, pepper the Snout on the face of the castle wall.
Chapter 4 – Waste Wing Part 1
Snout #48
Location. Go back and place a bomb on the Clubs platform, take it to gain access to the higher landing, and use the vent to cross the heart door.
Put the bomb on the heart platform and access the lever. Get inside the doors of the castle and win the chess game. The door in front of you will open. Enter the next room in the area, look high, and turn to the chandelier to find a Snout.
Snout #49
Location. Get into the open door and follow the path up the stairs to the next hallway. You’ll face the executioner again so sprint to the end and down the slide. Follow the right wall, use shrink to locate a hidden tunnel, and break the floor inside.
Find the weak spot and destroy it then enter the castle again. Defeat the new enemy and continue down. Take the path to find some linked platforms and place the bomb on the first one to jump across the next.
Once you reach the stone landing, you need to turn around to pepper a Snout on the castle wall.
Chapter 4 – Waste Wing Part 2
Snout #50
Location. Take the path but first use the door and go right instead of left to find a hidden tunnel. Go back and use the vents on the left to tunnel the shell.
Return over the vents and follow the path. Jump across by placing a bomb on the first platform and go up to the large landing. Take out the enemies and look for a Snout underneath the ledge with a barred door.
Chapter 4 – Labyrinthine Revenge
Snout #51
Location. Exit the door, follow the path to the doorway, and head left. At the far side look right and high to pepper a Snout behind the broken wall piece.
Chapter 5 – Fort Resistance
Snout #52
Location. Take the vent to reach the platform and go left. Hop across the gap and use the vent to reach the higher platform and come across a pressure pad. Put a bomb on the pad and use the raised platform quickly.
Jump over the house and take the path on the left then use the mushroom. Jump down and go through the tunnel, when the tunnel splits, go right to exit. Cross the invisible platforms and into the house.
Pull the lever across the beds. Jump down and exit out the wall. Hop onto the next platform and look for the Snout in the air beside the steam vent.
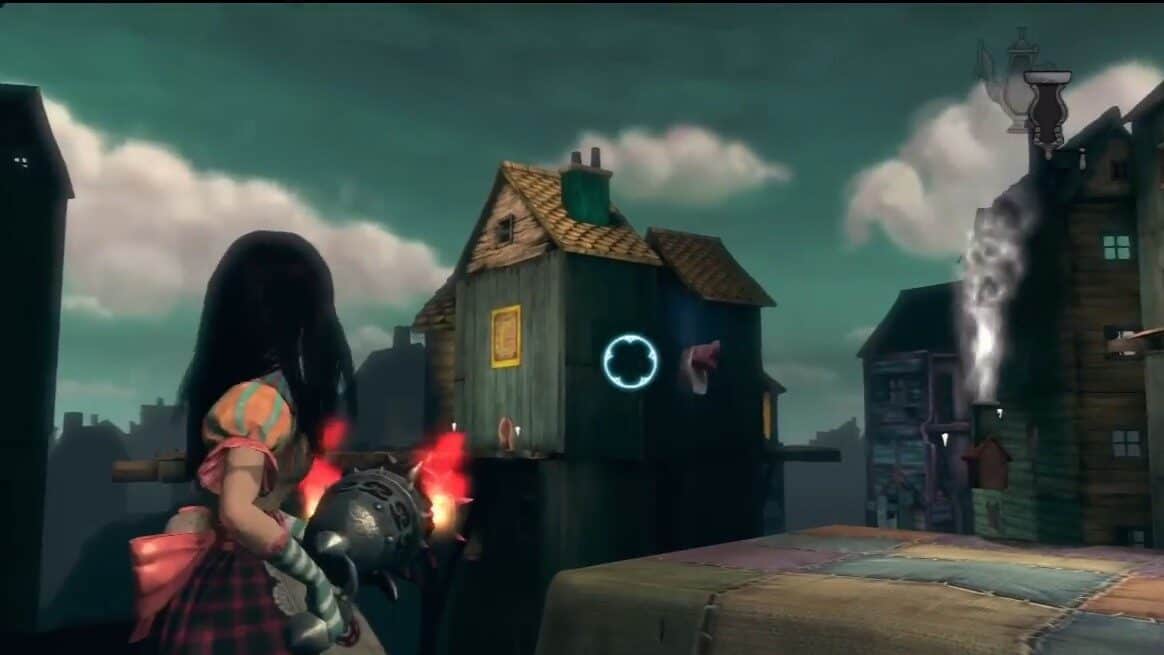
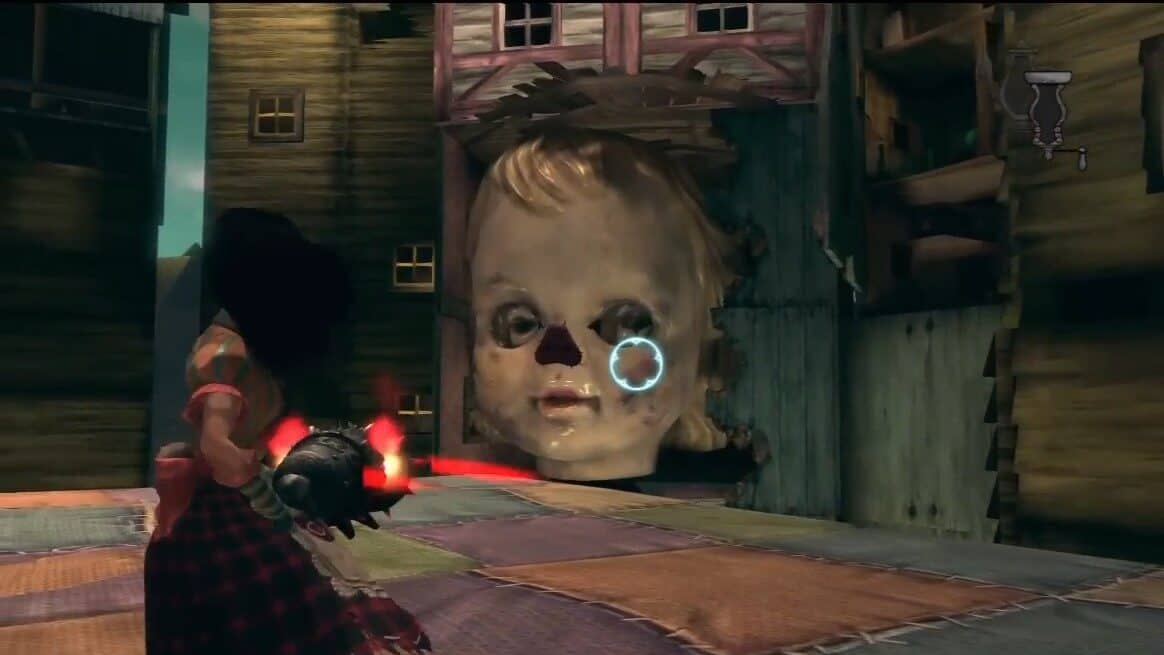
Chapter 5 – Frog’s Way
Snout #53
Location. This Snout can be found on the nose of the doll on the wall.
Snout #54
Location. Turn left and drop on the invisible platform from the house next to the swinging babies. Turn back to the house and you will find it in the lower hallway.
Snout #55
Location. This snout can be found on the green wall beside the giant baby face.
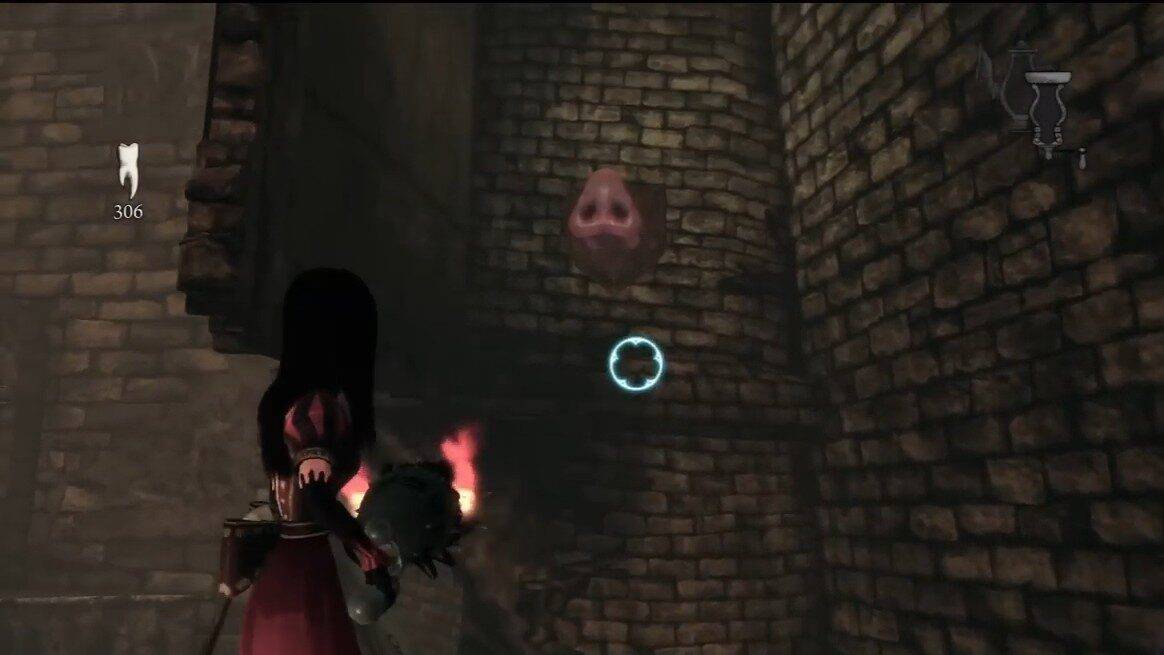
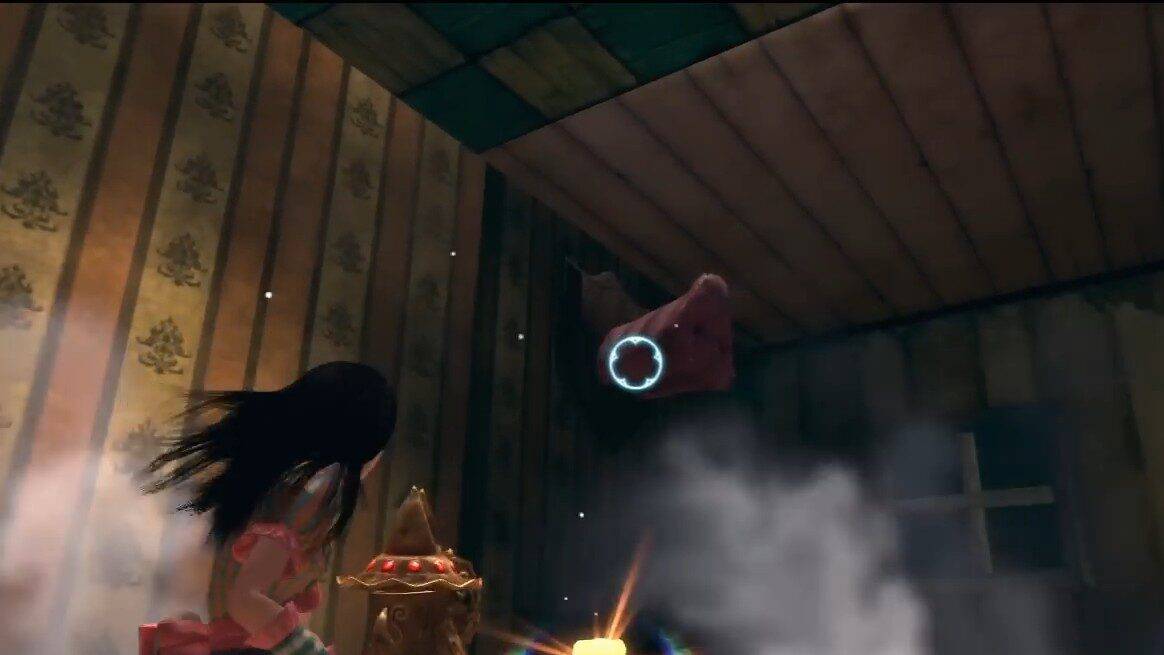
Chapter 5 – Dolltown Cellar
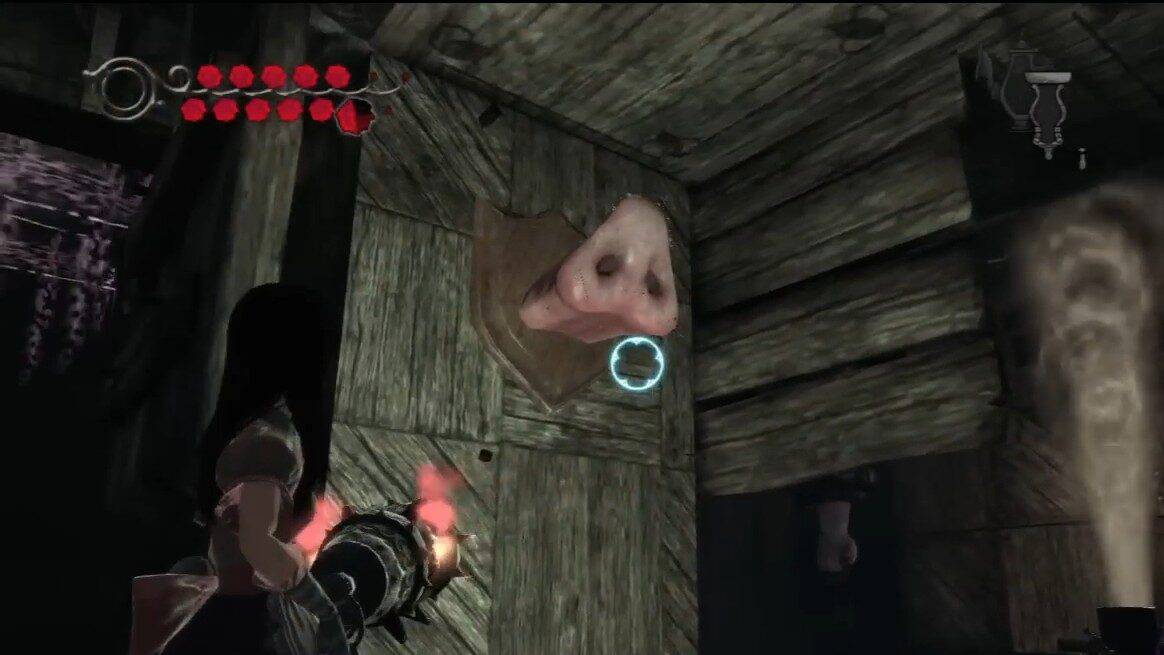
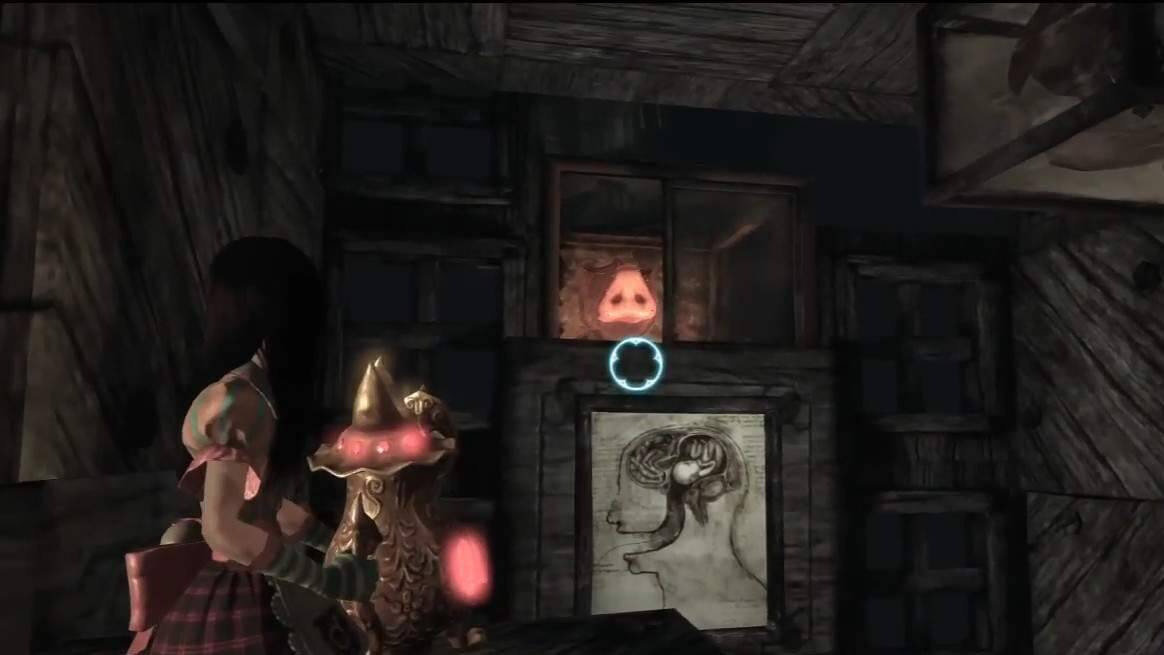
Snout #56
Location. Look above the human head picture.
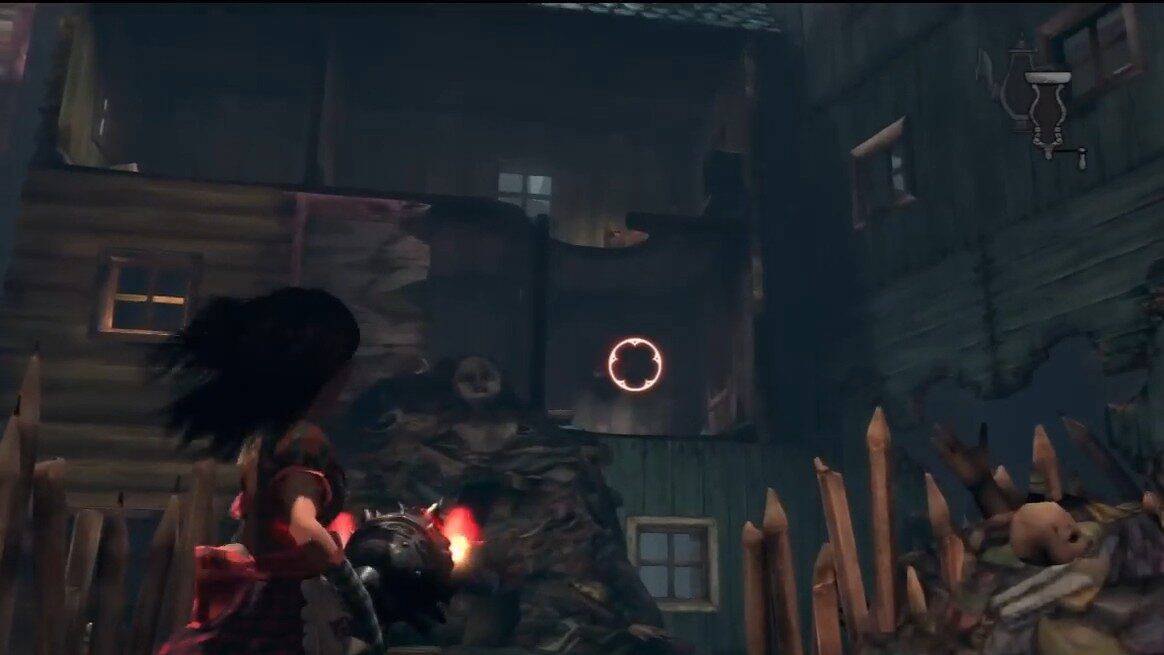
Snout #57
Location. After you pull the lever, place the bomb to reach the far platform by using the vents. Follow the path to the next platform, jump past it onto the lower walkway, and follow it to the end. Take right, and you will notice the pillar face. Pepper the snout here.
Chapter 5 – Fort Resistance Delivered
Snout #58
Location. Second-floor of the greenhouse.
Chapter 5 – Off With Her Head Part 2
Snout #59
Location. Underneath the stairs, look on the left wall.
If you succeed in finding all these snouts, you will get Nothing Like the Smell of Bacon and Seasoned Campaigner trophies.