Fable 3 Traitors Keep continues the main quest line after the end of Fable 3. It starts off with an assassination attempt on your Monarch and provides an actual challenge for your hero, unlike the last DLC. We have compiled this complete and detailed Fable 3 Traitors Keep Walkthrough to help you finish this DLC with ease.
Fable 3 Traitors Keep Walkthrough
Traitor’s Keep brings a number of new quests to the game. These can be started after the conclusion of the Fable III main quest by meeting with Hobson in the treasury.
Throne of Blood
Throne of Blood is the first quest in the DLC. To start the quest, go to Hobson who will be waiting for you at the Castle Treasury. Once you start the quest, you will be taken to the throne room of the kingdom to address some issues. You will soon find yourself feeling sleepy. In the meantime, a skilled assassin manages to sneak into the castle.
The Assassin will take out several guards to reach you. He will attempt to kill you. You will have to defeat the assassin. He will shout out different names like “General Turner” and “the Keep” at you during the fight.
Note: It is not possible to kill the assassin due to the scripted dialogue preventing him from taking damage: no number of direct-hit flourishes, etc. will have an effect. This results in an unusually long fight.
Once the dialogue ends, Hero will kill the assassin. After it, a soldier will announce that an enemy ship is approaching the Bowerstone Quarter docks. The Hero reassures them and tells them to hold back. The Hero pacifically arrives and what seems to be Elite Soldiers are everywhere on the ship.
Commander Milton carefully approaches the sovereign and leaves the ship: introduces himself to the Hero as the one in charge of Ravenscar Keep. He exclaims it is Albion’s most secure “top-secret” prison in which the most extreme, violent criminals are restrained. He explains that the assassin escaped from Ravenscar and apologizes for this.
After some discussion, the Hero finally agrees to visit Ravenscar Keep. This will be the end of the quest.
The Traitor’s Keep
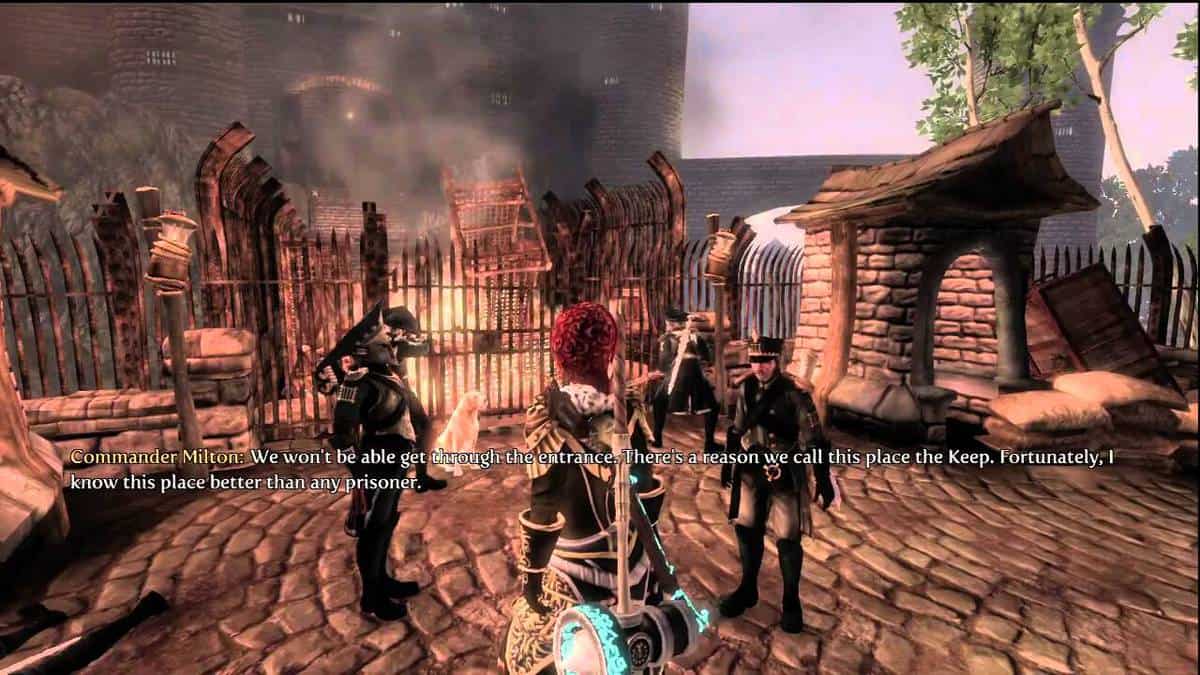
The Traitor’s Keep is the 2nd mission of the DLC. After finishing the 1st quest, follow Commander Milton to the entrance of Ravenscar Keep. On the route, he will tell you about the Hero and Hobson about the prison and General Turner. When you reach near the main entrance, an explosion will occur. Hobson will panic and return back to the ship.
Milton will rush ahead to find what is wrong. You will find Lieutenant Cartwright who will inform you that there is a riot and many guards have been killed. Commander Milton says that he knows another way in and leads the Hero to the alternate entrance.
You will enter the Pit, prison’s lowest level. Move ahead to the mortuary. Here, escaped prisoners will arrive from the opposite direction. Milton will tell you not to hold back, as they are ruthless killers, and will start fighting the prisoners. From here move onwards through the infirmary. In the next cell block, help the prison guards fight off the prisoners.
Commander Milton will then tell that the assassin was only a distraction, sent to draw him and some guards away from the prison. He will then realize that the prisoners have broken into the armory. Go there and defeat them. Milton will suggest that you now go to help the guards in the other cell block.
Head to the railing, and he will jump down. Follow him if you like or stay on the catwalk and shoot the rioters from above.
Fight off all the prisoners in the other block to reach the maximum-security wing. Here you will face another wave of enemies whom you will have to defeat.
You will now come to know that this wing houses the most dangerous prisoners: General Turner, Professor Faraday and Witchcraft Mary. You will then come to know that General Turner orchestrated the riot as another diversion so other prisoners could escape easily.
Milton then leads the Hero and Hobson to the Records Room, where they start to work out how to recapture the escaped prisoners. Hobson chooses to remain in the Records Room to study the information, while Commander Milton makes for the docks and starts to prepare to hunt down Professor Faraday. This will be the end of the 2nd quest.
Like Clockwork
Like Clockwork is the 3rd quest of the DLC. After the events of the 2nd quest, you will decide to capture the three escaped prisoners. First one of them is Professor Faraday. Milton remembers that Faraday did most of his research on Clockwork Island, so they decide to go there to look for Faraday.
Once you reach Clockwork Island, follow Milton to the main gate. You will meet Huxley here. He is a friendly robot who will invite you on a tour of the Street of the Future. Make your way on the street. At the other end of the street, Huxley will conclude the tour and you will be shown Faraday’s large factory across the bridge in the distance.
When you attempt to open the gate, it will become electrically charged. Faraday will address you and say that you will never get him. Huxley will make a security announcement and Colin robots will attack you. Defeat them and then find an alternative route to the factory.
To reach the factory, go between the houses to find a boarded-up gap in the wall. Smash it and go through. Milton will notice a route down to the canals underneath. Drop down and vault into the factory and head outside.
As you move along the canal, Faraday will activate a swarm of Mechanical Beetles. Continue onwards through the next factory, and you will finally discover the reason behind Faraday’s imprisonment.
Further down the canal, you will encounter Mr. Throw and his Robot Dog. Following a short cutscene, more dogs will appear and attack.
Shooting them from a distance is advisable, as they will explode when they get close. After this, check behind the wall in the corner of the building for Faraday’s Diary II, then make your way to the roof. Jump across to the next roof, and on a crate underneath the crane will be Faraday’s Diary III.
Move past the generator and go into the next building. Defeat the enemies inside and go out the other way. Faraday’s Diary IV can be found on a crate on the catwalk outside; this will complete the backstory behind Faraday’s imprisonment, but one final entry remains.
After completing all the entries, climb the stairs to the main factory. Open the gate and chest beyond it and head to the center. A cutscene will play which will reveal Faraday. You will have to fight him in his mechanized suit. Fight him until his helmet falls off. You will then have to choices:
- Spare him
- Kill him.
This will be the end of the quest. You will be rewarded 50 Guild Seals.
The Menagerie
This is the 4th quest of the DLC. After the end of the quest ‘Like Clockwork, Hobson will be in the record room to tell you what Milton has found. They have discovered that Witchcraft Mary came from a well-to-do family, and that she is likely to be hiding out at her grandfather’s old estate. Head to this estate when you are ready with Milton while Hobson will continue to investigate General Turner.
When you arrive at the estate, follow the path up the hill. You will see the mansion in the distance. Use your telescope to get a better look of the mansion.
As you pass some statues, they will suddenly become alive. Kill the balverines, then proceed onwards. Move ahead to the strange garden where you will find Witchcraft Mary’s Diary I. Move ahead where you will find an electrified gate.
Commander Milton suggests that you try to find a way around it, so head off in the opposite direction and take the path to the right. Commander Milton will comment on Mary’s experiments and then stand right next to Witchcraft Mary’s Diary II. At the other end of the cemetery, there will be another electrified gate. Milton will suggest that you have to find the power source of these gates.
To find the generator building, cross the nearby bridge. As Milton starts to deactivate it an alarm sounds, and you will come under attack from balverines and ancient hollow men. Clear them and then deactivate the generator to move ahead. Pass through the gateway back into the garden. Head up the hill towards the house and turn right at the pile of rubble to enter a cave.
Move through the cave to reach the mansion’s cellar. Leave the basement and move ahead. Soon you will reach a room full of sleeping hobbes. Attempt to leave the room, and a mounted fish will start singing. He will wake up the hobbes, and you will need to clear them all. Once the fish stops singing, go through the door beneath him.
In the indoor graveyard, you will find Witchcraft Mary’s Diary IV, on the table on the other side of the room. After this, a flaming wisp will emerge which will summon an elite fire hollow man. Defeat him and move to the next corridor. Here you will see pictures of Mary’s family and their experiments.
In the next room, you will have to defeat the red hobbes, and they will split into green hobbes. Defeat those as well, and finally kill the blue hobbes to unlock the next door. Here pick up Witchcraft Mary’s Diary V from the machine. You will come to know that her work is nearly complete. Rush down the stairs into the cavern. You will now be attacked by Poison balverines.
Watch the cutscene that shows the culmination of Mary’s experiments, and then prepare to fight. Defeat the coloured hobbes through red, green and blue, and in a flash of light Mary will reappear as a fire hollow man.
Defeat that, and the ancient hollow men that spawn, and Mary will turn into a white balverine. Poison balverines will break out of their tanks in pairs during this part of the battle, so a Summon Creatures Potion may help to draw some of the attention away from you.
Once you have defeated the white balverine, Mary will reappear as herself. You will then have the choice to either spare her or kill her. This will be the end of the quest. You will be rewarded with 50 guild seals.
Heroes and Villains
This is the last quest of the DLC. In this quest, the Hero must confront the mysterious General Turner. After ending the 4th quest, head to the records room in Ravenscar Keep to meet Milton and Hobson. But when you enter the room, you will find Milton unconscious on the floor. When he regains consciousness, he will explain that Turner has been hiding in the prison all the time and he has abducted Hobson.
Follow Milton through a secret passage out the back of the Records Room and to a store room. Open the chest here to pick up General Turner’s Diary III from one of the boxes. Follow Milton through the boiler room and into the morgue.
Lead the way into the Pit, and a cutscene will show the Asylum Prisoners being released from their cells. This will begin a wave of attacks. Once all the waves are cleared, a cutscene will play. Milton will be injured and won’t be able to continue. The hero will decide to go ahead alone.
Continue onwards into the torture chamber, where you will see Hobson tied up in one of the chairs. Make your way over and untie him, and he will reveal the secret behind the third prisoner. Third prisoner was Milton all along! Commander Milton will then arrive and explain that Turner died six months previously, and that he wasn’t going to let everything Turner believed in die with him.
Milton will then use a machine similar to the one Mary Godwin used in the Lab. He will try to extract your Heroic essence. Using Witchcraft Mary’s research, and Professor Faraday’s technology, Milton has succeeded in becoming you. But he will be much more powerful than you.
You will now have to fight against your doppelganger. Listen as Milton provides the requisite antagonist’s monologue, and once he finishes, your attacks will have more effect.
He has access to your Heroic powers, but not your potions, so make use of Slow Time and Summon Creatures to help whittle down his health while you restore your own. Eventually, he will fall, and deliver one final speech about how the people will reclaim their freedom.
This will be the end of the main storyline of the Fable 3 Traitors Keep Walkthrough and the DLC. You will be rewarded with 50 guild seals for this quest.