Final Fantasy 7 Remake Chapter 17 Deliverance from Chaos, has you struggling against the Shinra’s forces, as you try to make your way through its facility by completing a series of tests. Initially split apart, you must reunite with your team and attempt to break through the opposition presented in front of you.
Chapter 17 of FF7 Remake has to be the most intense compared to any previous one. You will face a variety of enemies, that are as challenging as they come, we have suggested tips, and created a detailed walkthrough for you to use and navigate across parts you might find yourself stuck at.
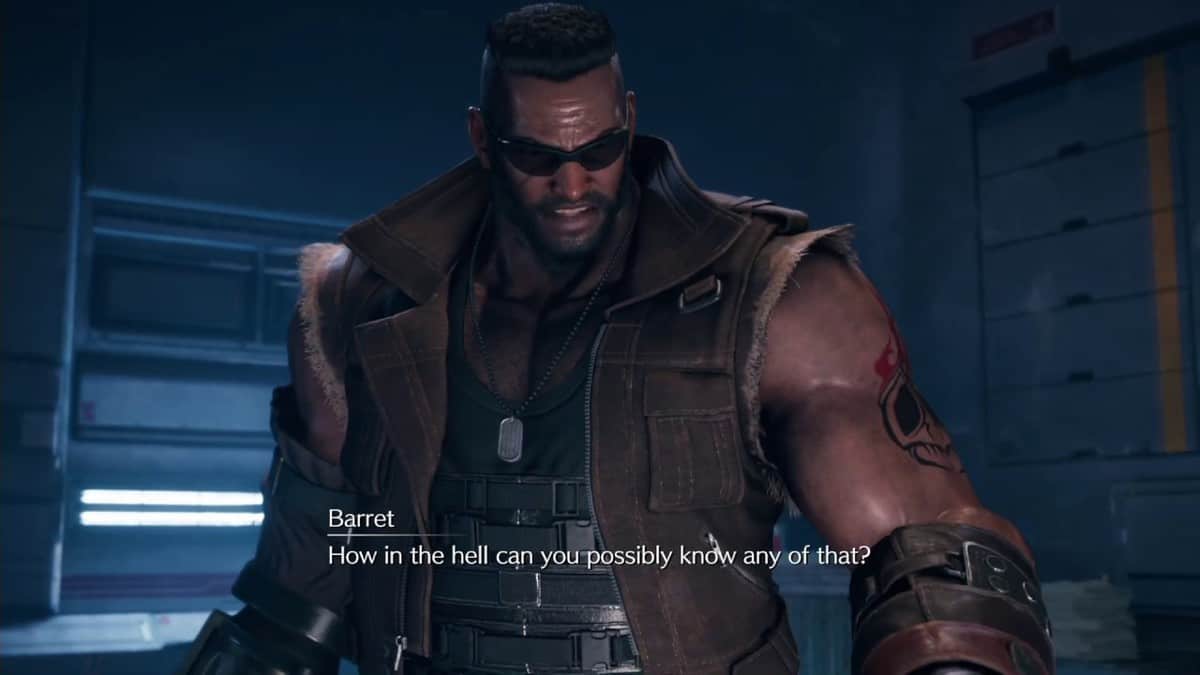
Final Fantasy 7 Remake Chapter 17: Deliverance from Chaos
After passing out, you will have been brought to Aerith’s home; where she and her mother used to live.
Chest: When you can finally move around, go to the purple chest and acquire the ‘Reinforced Staff’.
Go ahead and talk to everyone, but speaking to Aerith, will progress the objective. Once the cutscene finishes, and you have finished talking to Domino and Wedge, start heading out through the door that just opened.
Chest: A chest can be found to your left as you move on the path, containing a bottle of ether.
Chest: A second chest can be found containing 2 remedies, to your right, on the main path, in the laboratory.
After going up the elevator, you will be ambushed by ‘Unknown Entities’, three of them. They are weak to Ice, and Lightning attacks. Regardless, they will be pretty easy to take down.
Blue Bench and Vending Machine: Opposite to the objective marker, you can find a blue bench and a vending machine to upgrade and restore yourself.
Use the elevator to proceed further. At this point, the bridge will be cut off, and you will be separated from your party.
Find the Others
After falling down, make your way to the right and pull the lever to make a path to jump across. Head down the stairs, and continue along the path. Turn to the left where the path diverges to find an orb of Poison Materia.
Continue back to where you came from, and Red XII will join you in battle. Clear out the enemies, and proceed to the objective marker by going back up, and asking Red XII to flip the switch on the other side.
Quickly though, jump back through the previous pods and grab the Phoenix Down from the chest behind. Continue through the newly made path, and squeeze through the gate to reunite with Barrett.
Kill all the Monodrives. Eventually, Unknown Entities will join the battle, coming out of the test pods. A M.O.T.H. Unit will bang through the front door, take it down using Lightning attacks if you will.
Head through the newly opened door, and it will lock behind you.
Chest: You can find Twin Stinger in a chest to your left, prior to going up the staircase.
Proceed up the stairs and pull another switch using Red’s wall-running ability. After this, a cut-scene will start, once it ends, vault over the test pods.
Chest: Immediately after traversing the pods, head to the room in your right to find 3,000 Gil in a chest.
Activate the PHS Terminal to talk to Tifa and Aether in the energy cell. A cutscene will begin with Hojo explaining his evil plan. Once done, switch to Tifa and Aether’s party.
Research the 3rd Ward
Hojo has asked for collecting some data, and it is necessary to entertain his request. Proceed up the stairs to find the door to the research ward locked.
Continue to the lever, and pull it to use the test pods to get across. Feel free to use the PHS Terminal to switch back parties.
Chest: To your left, you will be able to find a chest containing a bottle of ether.
Vending Machine and Blue Bench: There is a vending machine and a blue bench just behind the test pods you traversed from, use them if you like.
Use the Central Terminal
Use the PHS Terminal to tell Cloud regarding the central terminal. Switch parties, and go through the newly made path by Tifa. On the other side, you will encounter Blast-Ray. It is weak to Lightning like all other enemies.
Take it out, and pull the lever found on the same platform to extend a bridge to the central platform. Walk across and to your left you can obtain an orb of Time Materia.
Here, you are supposed to pull the lever labeled 03 in order to open the 3rd ward. Now switch back to Tifa and Aerith and the previously locked door will be unlocked.
After switching, head into the unlocked door and you can find a switch; activate it, and clear out all the enemies therein. Continue to squeeze through the door.
Chest: To your right you can find a chest that contains a Mega-Potion.
Proceed forward and you will be ambushed by Bloodhounds. Defeat them and go underneath the obstacle into the next area.
Chest: You can find a chest to your left containing 5,000 Gil.
Moving forward through the newly discovered hallway, your path will be cut off by Zenene. Prior to this fight, you can try and equip your party with fire materia and make this fight a tad bit easier.
Once you’ve defeated Zenene, head into the room to the right, activate the lever, and proceed down the newly opened hallway. Turn right, and continue up the stairs to the second floor.
Walk across to the next area using the pipes. You will fall down, surrounded by Zenenes. Kill them both, and activate the lever in the room to open the metal door to the previous room.
Chest: You can head up the nearby ladder to find a chest with a Mega-Potion in it.
Chest: Open the chest behind the newly opened door to find a Force Bracelet.
Continue through the main path (Outside where the central terminal was), and proceed to head down the metal platform; attack the sentries and go up the ladder.
Activate the lever, and two sets of test tubes will extend, allowing you to get across, as well as Cloud and Barrett.
Chest: Retrace your steps, and go back down the ladder. Head on straight, and go down the stairs to discover a chest at the back of the platform, containing a bottle of ether.
Find a PHS Terminal and switch parties with Cloud. Use the central terminal and use the lever labelled 02. Utilize the newly unlocked path by Tifa to get across.
Blue Bench and Vending Machine: To your right, you can find a Blue Bench and a Vending Machine to restore and upgrade.
Head on into the Ward 02 when ready. Continue through the path, only to be locked in the room alongside two Zenenes. Kill them both, and head through the path to your right.
Chest: To your left you can find a chest with Astral Cuff that was previously locked behind a metal grating.
Continue into the second test chamber and you will be confronted by a M.O.T.H. Unit, use Lightning to deal extra damage to the machine.
After defeating it, a new path will be opened, use it to continue to the next test chamber.
After the cutscene, take care of the Sledgeworms that spawn in your room, and start playing Whack-a-Mole.
Proceed through the door and save Red.
Chest: Before going up the stairs, you can find a chest to your right containing a Chain Bangle.
Move on up the stairs, and go through the door to your left. Here, the objects around you will start moving and attempt to trap you.
The thing causing this trouble is the previously encountered Brain Pod which was holding Red. Since it’s a machine, continue to use Lightning to take it down. Watch out, as it will summon various copies of itself.
The 4th Ward
Once defeated, continue through the door to find yourself in the area surrounding the central terminal once again.
Blue Bench and Vending Machine: Go up the stairs to find the fourth ward, here you can find a blue bench and vending machine just beside the ward.
Head down the stairs, and have Red jump across the gap, and activate the lever. Traverse the test pods after taking care of the enemies that spawn (Unknown Entities) and use the PHS Terminal to warn them that Red is in danger.
Rescue Red XIII
As Tifa and Aether, continue through the test pods, and descend the ladder; killing all enemies in your path. Go underneath the test pods, and save Red from the Unknown Entities.
To the Central Terminal
As Tifa and Aether, make your way to the lower level, and use Red to activate the lever on the other side.
Go across the test tube, and use the lever to extend the bridge to the central terminal. Clear enemies that will spawn afterwards and proceed to use the lever labelled 04.
A Way Up
Use the PHS Terminal to switch back to Cloud and Barrett. Chop your way through enemies, and go through the 4th Ward’s now-unlocked door.
Chest: Through the pipe system, head to the left and you can find a chest at the end with 2 mega-potions.
To the right of the pipe system is a lever, activate it and go on through the big room, into another pipe. Here, you will be attacked by a Swordipede, which is essentially a flying fish, a sharp fish at that too.
Barrett is more effective considering this boss never really comes into melee-range. If you are using Cloud however, make sure to use as many spells as you can.
After dealing enough damage, it will escape and head to Tifa and Aerith. Use ranged attacks as Aerith, or Tifa’s uppercut ability to deal damage to it at this point.
Head to the elevator once you’ve defeated the Swordipede as Tifa and Aerith, follow the path and then use the switch to open another door.
You will now be re-united with everyone who was previously separated. The game, will warn you through Red that if you happen to go through beyond this point, you cannot go back, and that this will lead you to the end of the game.
The Ominous Trail
Once you’re at the top, follow the trail of the purple substance and continue outside to the rooftop.
Blue Bench and Vending Machine: Here, you can find a Blue Bench and Vending Machine to top your characters up for the final fight.
After the cutscene ends, the boss-fight with Jenova will begin.
Jenova Dreamweaver, Rufus and Darkstar, and the Aresnal
Jenova doesn’t have any weaknesses, so you’ll have to study its moveset and act accordingly. Check out our guide regarding Jenova Dreamweaver’s extensive abilities if you are having trouble getting past it.
Once you defeat Jenova, go outside and to the other side of the window.
Blue Bench and Vending Machine: You will come across another Vending Machine and Blue Bench.
After restoring your HP and MP, go up the ladder to start another boss-fight with Rufus and Darkstar. Defeating him will lead to the final fight with the Arsenal.
This will conclude Final Fantasy 7 Remake Chapter 17 Deliverance from Chaos.