One of the core mechanics of Ghost Recon Breakpoint is the ability to select a class to specialize in. You are presented with the option to specialize in one of 4 unique classes (although you are later given the option to change classes at your behest).
Choosing a class affects your playstyle, your abilities, and your position as part of a unit. Therefore, it’s imperative that when starting up the game, you know exactly what you’re about to get into, and what would be the best class for you to start Ghost Recon Breakpoint off with.
Ghost Recon Breakpoint Best Class
Firstly, you must be made privy to what exactly each class is and what it brings to the table. In this Ghost Recon Classes guide, you’ll learn the ins and outs of all the 4 classes.
Field Medic
A supporting class that also doubles as the perfect class for those wanting to hop into the fray by their lonesome. This is due to the Field Medic’s inimitable ability to self-heal via Medkit, and the Healing Drone on top of that; this pretty much makes the Field Medic the most difficult person to kill on the battlefield.
However, what really distinguishes this class is the ability to self-revive, something indispensable for those planning on tackling this game solo.
Class Item:
- Medkit: Can be used to heal yourself or allies
Class Proficiencies:
- Phoenix: Can self-revive when downed
- First Aid: Revives allies faster
- Pallbearer: Carry bodies much quicker than normal
Class Technique:
- Healing Drone: Heals allies when you’re unable to.
Assault
This one doesn’t really require an explanation, but I’ll give one anyway. This is the brawler class, the class that boosts the highest damage; perfect for the players who wishes to go into every situation guns a-blazing!
Class Item:
- Gas Grenade: A powerful tool, especially against enemies who have fortified themselves
Class Proficiencies:
- Resilience: Extra health
- Assault Proficiency: Assault Rifles and shotguns are given bonuses
Class Technique:
- True Grit: Increases damage resistance, and reduces recoil.
Panther
This can otherwise be seen as the stealth class. This class and everything therein is present to give you as much of an advantage in getting behind enemy lines without being detected, and to give you the tools needed to perform quick and silent actions, all of which amounts to a flawless and undetectable victory.
Class Item:
- Cloaking Spray: Enemy drones cannot detect you
Class Proficiencies:
- Silent Death: Handgun and SMG suppressors do not reduce damage
- In the Shadows: All stealth attributes are boosted
- Swift Steps: Movement speed increased
Class Technique:
- Cloak & Run: Enemies are less likely to detect you.
Sharpshooter
If you don’t wish to get your hands dirty, or believe the mission is a bit too dangerous for a more personal approach, then this class is the one for you.
Specializing in long-range combat, this is for all those players who feel at home with a sniper rifle.
Class Item:
- Sensor Launcher: Mark enemies one-by-one
Class Proficiencies:
- Deep Lungs: Hold your breath for longer when aiming down the sight
- Long Range Proficiency: Bonus granted for Sniper Rifles and DMRs
Class Technique:
- Armor Buster: Shots fired from sniper rifle ignore enemy armor resistance.
Now you know what each class entails, however, what must be noted are the Class Techniques. These techniques are essentially that particular class’s super ability, but it’s not something you can spam or use indefinitely.
Each Class Technique has a gauge that must be filled before that technique can be used. How you go about filling that gauge differs from class to class.
- Field Medic: To fill the Class Technique gauge, players can either revive allies, destroy or damage enemy drones, or simply have their teammates score kills.
- Assault: To fill the Class Technique gauge, players must destroy or damage enemy drones, kill enemies with the aid of explosives, or kill as many enemies in close-range as possible.
- Panther: As was the case for the previous two classes, you can fill the Class Technique gauge by destroying or damaging enemy drones; it can also be done by killing enemies in close-range, or killing enemies while in stealth.
- Sharpshooter: Repeating it ad nauseum – destroy or damage enemy drones to fill up the Class Technique gauge; or getting long-range kills or headshots.
Once the gauge is full, you’re able to exploit your Class Technique. None of these are too difficult to fill up, but you should still take into consideration the requirements for each Class Technique before deciding on which Class to pick first.
How to Change Classes
As I mentioned earlier, although you have to pick a class early in the game, you are allowed, later on, to change classes whenever you want to do so. The process to do so is a simple one, but for those not wanting to figure it out on their own, this short segment ought to make it clear.
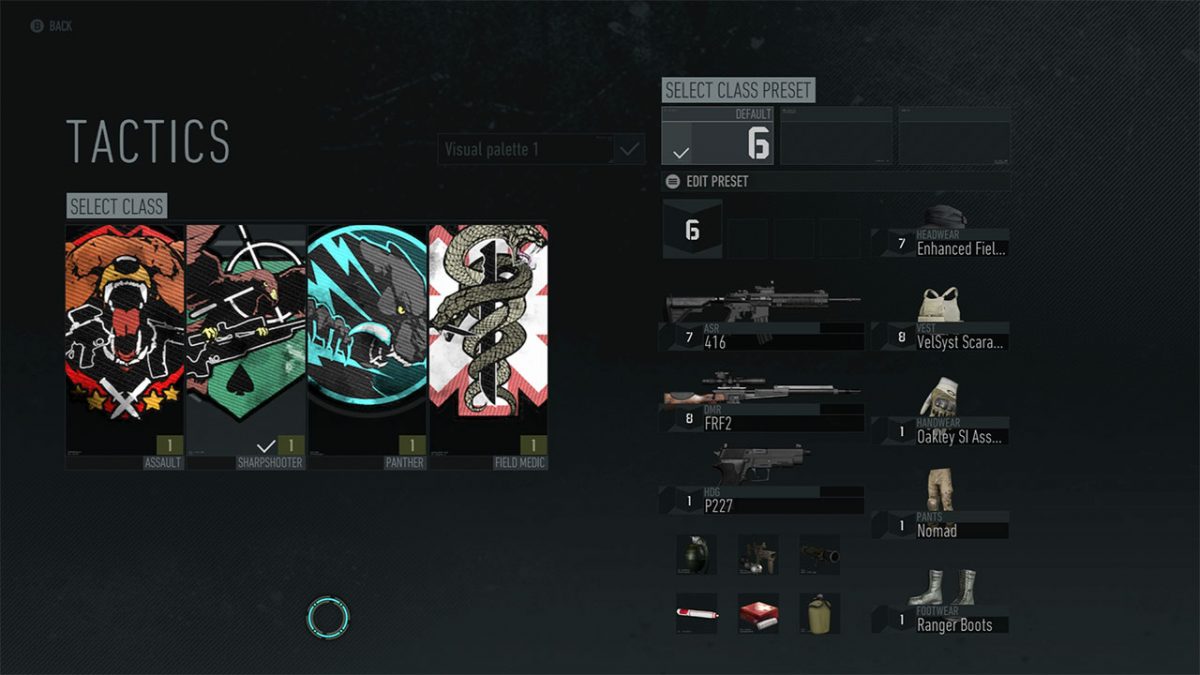
Once you’ve unlocked the skills for another class (meaning you can now equip that class) go to a Bivouac. Once seated, you can access the ‘Tactics Option’, and it’s here that you’re able to change classes, and even equip preset loadouts.
It should be noted that you can only change your classes at a Bivouac, it cannot be done anywhere else; not even at the main menu. Therefore, before diving into any mission, consider your choices carefully and choose the class that best suits the present situation.
Skill Tree
Someone unfamiliar with mechanics such as these would think, “Well, that wasn’t too bad. Not a whole lot to it.” That person would be wrong, but we know better, don’t we?
As expected, the classes are only the building blocks for what comes later. What might that be? Skill Tree!
Each class has a branch on the skill tree that specifically caters to it, however each class ultimately connects back to every single branch; in other words, choosing a class is of great importance in the short run, but in the long run it really isn’t all that important.
The following are all the skills available in the skill tree:
BASICS
- Pack Mule: Increases ammo pick up by 10% and increases maximum ammo by 40%.
- Experience Upgrade: It provides a 20% XP bonus.
- Parachute: You can deploy a parachute by pressing the spacebar.
- Night Vision: Night Vision can be activated simply by pressing V key.
- Perk Slot: This is an extra slot to equip an extra perk
WEAPONS
- Close and Personal: It provides additional mobility of 10 and also increases reload speed by 15%.
- Pistolero: Boosts hand cannon damage by 20% while also increasing reload speed by 15%
- Maximum Ammo: This increases maximum ammo by 25%.
- Better Dismantle: It can help to hunt more parts when dismantling weapons.
- Rocket Launcher: It is an Unguided explosive missile that can be unlocked for crafting and in Maria’s shop.
MARK UPGRADES
- Mark Upgrade: It allows you to refine and customize weapons by upgrading them to MK.2 in the gunsmith.
- Mark Upgrade: It allows you to refine and customize weapons by upgrading them to MK.3 in the gunsmith.
RECON
- Thermal Vision: You can activate the thermal vision by pressing the V key.
- Drone Cooldown: After the recon drone is destroyed, the cooldown reduces by 50%.
- Intel Grenade: Intel Grenade comes in handy to mark the enemies in a specified area.
- Resources Detection: As the name implies, Resources Detection adds icons to your mini-map that indicate nearby resources to pick up.
- Recon Mastery: This increases your XP Gain by 40% while also reducing technique cooldown by 10% for every enemy marked by your drone.
DRONE UPGRADES
- Drone Upgrade: This increases your drone range by 20%.
- Drone Upgrade: This increases your drone speed by 20%.
- Drone Upgrade: It increases the drone cooldown by 50%.
- Drone Upgrade: This increases the drone mark area by 50%.
- Drone Visions: You can press the V key to activate the thermal and the night vision of your drone.
SNIPER
- Rolling Thunder: If you’re using a sniper rifle, your weapon and drone damage are increased by 20%.
- Gunslinger: This increases your handling and accuracy by 15% for each hit.
- Iron Lungs: This provides you with the perk of 100% breath control for both swimming and aiming.
- Ballistic Advantage: It boosts your accuracy by 20 while also tweaking the range by 40.
SURVIVAL
- Stamina Regen Speed: It boosts your stamina regen speed by 20%.
- Rations Lvl.2: This enables you to create advanced rations in the bivouac for improved effects and longer durations.
- Tireless: This helps to decrease stamina consumption (cost) by 20%.
- Burst Forth: It boosts your stamina regen speed by 75% while also increasing moment speed by 10%.
TACTICS
- Specialized Item Carrier: It provides an additional item class capacity.
- Inspired: When your ally gets a kill, this helps to instantly heal some of your health.
- Technique Accelerant: This reduces the technique cooldown by 10%.
- Revivalist: It boosts your damage resistance by 40% and increases the moment speed by 20% if one of your allies drowns.
TACTICS II
- Technique Accelerant: This reduces technique cooldown by 10%.
- Specialized Item Carrier: This adds a slot to item class capacity.
- Convoy Upgrade: This increases your chances of getting better gear and weapons from convoys.
- Drone Hunter: This helps you regain some of your heaths back as you destroy a drone.
ECONOMY
- Armory Upgrade: When buying on demand, this provides better weapon quality.
- Skell Credits: This provides you with 10% better loot from Ghost War and kills.
- Skell Credits: This provides you with 10% better loot from Ghost War and kills.
- Shop Clearance: This reduces the costs of consumables by 50% in Maria’s shop.
- Helicopter Sale: This makes the helicopters available for purchase in the store.
- Weaponized Vehicles: This makes heavy and weaponized vehicles available for purchase in the shop.
SURVIVAL
- Mountaineer: This boosts the slide control by 75%.
- Water Filter: This helps to fill up your water bottles in swamps and saltwater.
- Speed climber: It boosts your climb speed by 20%.
- Rations LV.3: This aids in the preparation of extreme rations in the bivouac for greater effects and longer durations.
STEALTH
- Sixth Sense: This provides additional 25m markings for all enemies in range however, this can not be used in Ghost War.
- Sync shot Drone: remote killer – press the G key to put on the target, and hold the same key to activate it. This is a remote killer. Press the G key to lock the target and activate it.
- Sensor Hack: This boosts drone evasion by 40% while also increasing the damage to drones by 10%.
- Slim Shadow: It boosts stealth by 50%.
GADGETS
- Explosives MK.2: This upgrades C4, frag grenades, and mines by enhancing your AOE and damage.
- Item Capacity: Apart from class items and syringes, this adds a slot in item capacity for everything.
- Breach Torch: This is a high-temperature tech torch that comes in handy to cut holes in wire fences.
- Explosives Expert: It provides the perks of a 40% increased throw damage, with an additional 20% AOE and explosive damage.
GADGETS II
- Shop Clearance: This reduces the cost of consumables by 50% in Maria’s shop.
- EMP Grenades: EMP Grenades have the ability to stun enemy drones.
- Item Capacity: Apart from class items and syringes, this adds a slot in item capacity for everything.
- Drone Scavenger: This helps to hunt for more parts from destroyed drones.
ASSAULT
- Guerrilla: This boosts damage resistance by 10% and health regen speed by 20% for every hit with a shotgun.
- Healing Pouch: It adds a slot to the syringe capacity.
- Adrenaline: This helps you to regain some of your health back as you score a kill in close quarters.
- Rocket Launcher: You can unlock a rocket launcher either through crafting or in Maria’s shop
- Maximum ammo: It provides an additional 25 to maximum ammo capacity.
ASSAULT II
- Healing Pouch: It provides an addition to the syringe capacity.
- Feel No Pain: This contributes to the relentless perk, which means you can’t reach critical injury levels. It also boosts your injury resistance by 25%.
- Syringe MK.2: This helps you to heal faster and remove some injuries.
- Twig: It boosts health regen speed by 100% while reducing damage resistance and health regen delay by 30%.
As you progress through the game, you’ll earn skill points that you’ll use to obtain new skills or upgrade existing ones. The list above paints a pretty detail portrait of the skill tree present in this game, so study it closely and see what you’d like to have.
Work towards getting the necessary skill points and continue to build your character.
Ghost Recon Breakpoint Best Builds
Now you’re aware of Classes and all the skills available in the Skill Tree… but to what end? Here’s the thing, you can create loadouts (character builds, in other words) that you can preset and load up at a Bivouac.
A loadout can be built for an explicit purpose; for extreme assault, or to height your stealth capabilities, or if you’re fighting long-range, have a sniper build ready to go.
By picking the right class and augmenting it with the proper skills, you can have a set of builds ready that have you prepared any and all contingencies.
The following are just a handful of builds that can be at your disposal, of course, these are only suggestions from us – it’s recommended that you test the waters and make a build that best suits your own playstyle, but if you want to give these a whirl, you’re more than welcome to.
Multi-Situational Soldier Build
This build is about helping you adapt to different situations. It has perks that give you solid all-around capabilities.
Class: Any
Recommended Weapons: Anything you are comfortable with.
Perks
- Gunslinger: You get weapon accuracy and enhanced handling.
- Burst Forth: Getting you bonuses for any perk this is an all-rounder.
- Sensor Hack: Sensor hack allows you to avoid enemy drones. Drones being the trickiest to deal with makes you an excellent fighter. It also enables you to give pretty good damage to the drones as well.
Heavy Gunner Build
When it is about raining bullets on your enemy, the heavy gunner is the build to go for. You are capable of constant fire and causing high damage.
Class: Assault
Recommended Weapons: LMGs, Assault Rifles
Perks
- Pack Mule: If you are an LMG user this perk is for you. It also enables you to carry 40% more ammo.
- Close & Personal: Gives you increased reload speed. This can be very beneficial in close-up combat.
- Gunslinger: With enhanced handling and accuracy of your LMG no one can stop you!
Squad Player
The Squad Player helps you perform better when you are with your allies. This a co-operation focused build.
Class: Field Medic, Sharpshooter
Recommended Weapons: Whatever you’re comfortable with
Perks
- Inspired: A unique perk that helps you regain your health if an ally gets a kill. You can get a lot of benefit out of this perk if your group is good at sweeping the enemy.
- Recon Mastery: Grants you better technique cooldown when you mark an enemy with your drone, helping out both you and your buddies. Combines well with the Sharpshooter class.
- Revivalist: Helps you revive a teammate and proceed as a team. Leave no one behind!
Grenadier Build
If you want your explosives to be as destructive as possible then The Grenadier build is what you should go for.
Class: Assault
Recommended Weapons: Whatever you’re comfortable with
Perks
- Explosives Expert: You get a bigger blast radius, longer range, and more damage.
- Feel No Pain: When you aim wrong and a grenade comes back at you, this perk makes you feel no pain!
The Sheriff
Are you a fan of handguns? If yes, then The Sheriff build is for you. Dish out justice with your sidearm.
Class: Panther
Recommended Weapons: Handguns
Perks
- Pistolero: Combined with the Panther’s Cloak and Run technique, it enables you to be an expert in hit-and-run tactics. Pistolero increases the damage and gives you an XP bonus.
- Gunslinger: Discussing the Sheriff build, and we don’t talk about the gunslinger perk, that is impossible. When firing successive rounds from a handgun, it is always an advantage to have more accuracy and precision.