Set 5 years after the events of the first game, Cal is wise beyond his years in Star Wars Jedi: Survivor and is no longer a Padawan. Cal had 2 lightsaber stances in Star Wars Jedi: Fallen Order, single-bladed and double-bladed. In Jedi Survivor, he has gotten access to 5 blade stances including two brand new and one that was teased in the previous entry, dual wield, available from the very beginning of the game.
The remaining two Star Wars Jedi: Survivor stances are unlocked with story progression and are available early in the game. Each lightsaber stance has its own unique skills that can be unlocked by spending skill points.
This all seems too good to be true but there is a catch. You can only equip two stances at a time for use in combat.
How to switch lightsaber stances in Jedi Survivor
Stances can only be switched with new ones at the Meditation Points which also resets the enemies making it a chore. This is a strange design philosophy that adds an additional layer of frustration when games like Nioh and Ghost of Tsushima allow you to switch between all 4 stances seamlessly.
Nevertheless, lightsaber stances add a nice fun layer of combat to the formula established by Jedi: Fallen Order. However, this also leads players to wonder what the best Star Wars Jedi Survivor stance is among all five and that is why we are here.
Star Wars Jedi: Survivor best stances
Here is a detailed explanation of every lightsaber stance available in Star Wars Jedi: Survivor along with the skills to overcome its drawbacks. There is no stance superior to others, it is just a matter of preference and playstyle. Certain situations will demand you to use a specific stance so you need to be flexible.
We recommend that you try all of the stances in Star Wars Jedi: Survivor to see which suits you perfectly.
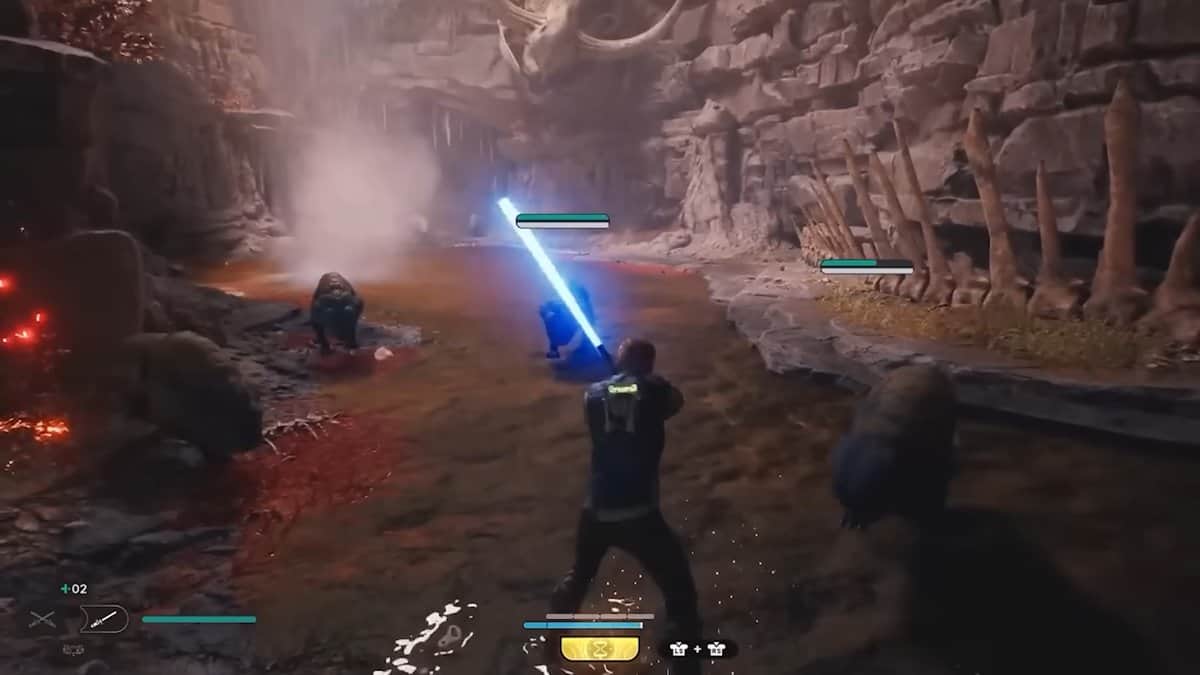
Stance # 1 – Single Bladed
This stance is a perfect example of a jack of all trades and a master of none. Following the tradition of the first entry, the single-bladed stance has average speed, range and strength. This is your go-to stance if you are having difficulty mastering the rest.
Single bladed stance in Jedi Survivor can be used to deflect and parry incoming attacks with relative ease, and it is effective in taking down larger bosses. It can be used to control the crowd, but it is not very effective when you are surrounded by all sides.
This stance can further be enhanced by unlocking various skills like Lunging Strike, Cyclone Smash, Charged Throw, Aerial Assault and Dash Strike.
Unlocking these skills allows Cal to throw his lightsaber at enemies or simply swing it overhead to clear some area around him. The Lunging Strike allows Cal to close the distance between him and his enemies while the Aerial Assault gives Cal an upper hand when he is at the high ground.
Stance # 2 – Double Bladed

Once again, carried over from the previous entry, this stance allows Cal to extend his lightsaber at both ends just like Darth Maul in the prequel trilogy. The double-bladed style is super-fast and allows Cal to control the crowd effectively.
This style involves a lot of lightsaber spinning to destroy the enemies around you. While this style seems brilliant on paper, reduced damage output and less blocking stamina make you vulnerable to enemy attacks even during the attack’s animations. This is not an ideal stance to fight big and scary bosses.
Double Bladed stance’s shortcomings can be improved by unlocking its skills from the skill tree. Gathering Tempest, Double Orbit, Endless Hurricane, Multifold Reactions and Controlled Throw are the skills we recommend unlocking if you decide to go with Double Bladed stance in Star Wars Jedi Survivor.
These skills allow Cal to throw his lightsaber at the enemies in a circle or perform an extended combination of attacks to deal some extra damage. Gathering Tempest allows Cal to cover the distance between him and his enemies with a powerful strike. Cal can also deflect the blaster shots and make them hit the enemies instead.
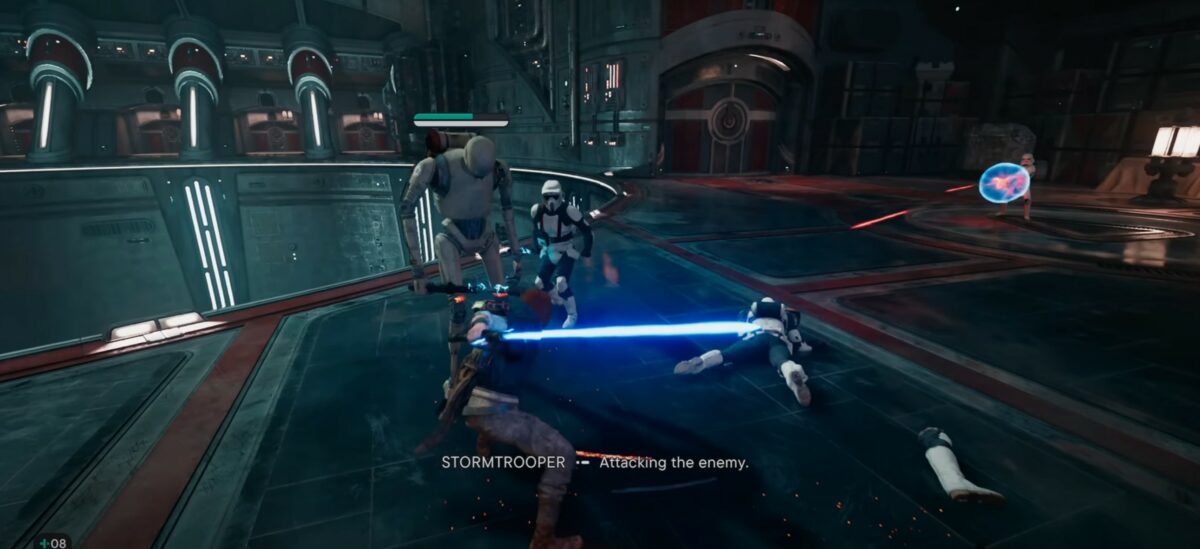
Stance # 3 – Dual Wield
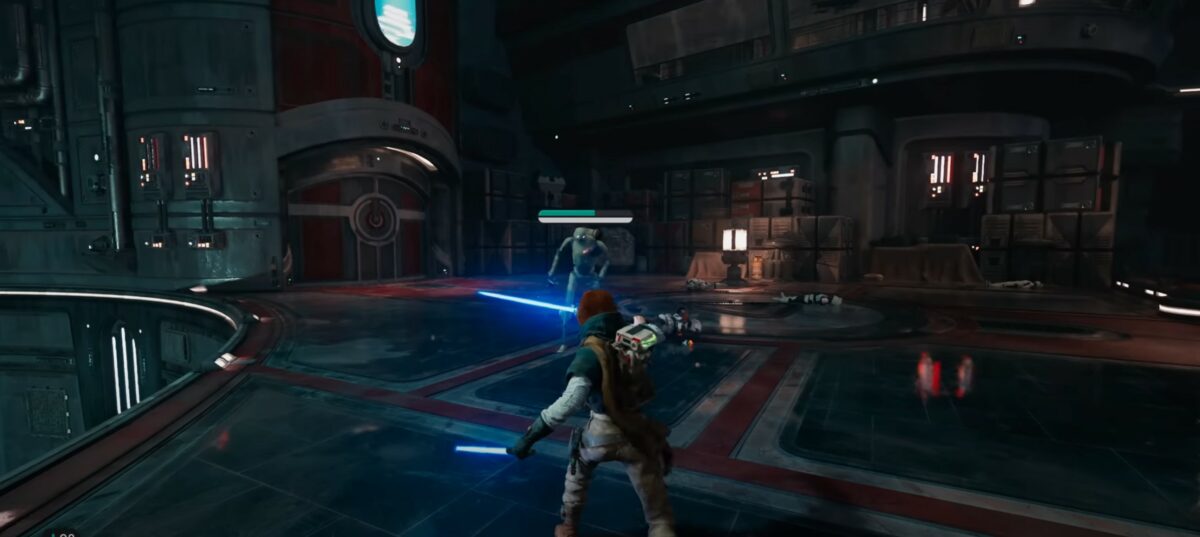
Teased in the first game as a special move only, this stance is finally available for Cal in Star Wars Jedi: Survivor. This is the most difficult style to master and can be awkward for first-time players. Dual Wield does a lot of damage with lighting speed but also makes Cal vulnerable to incoming attacks.
Cal takes a ton of damage in this stance and needs proper timing to execute every move. The best part about Dual Wield stance is the cancel attack just like Sekiro. This skill is only available for this stance and allows Cal to cancel any attack animation by simply pressing the dodge button. This saves him from a lot of difficult situations as stronger enemies can attack Cal during his offensive.
Dual Wield can be made more lethal by unlocking Uncoiled Strike, Focused Parry, Precision Release, Twin Vipers and Dancing Blades. These skills allow Cal to stun enemies and deal double damage while keeping his distance. We also recommend Split Reflection to hit two enemies at once with the deflected blaster attack.
Stance # 4 – Crossguard Stance
A nod to Kylo Ren’s lightsaber, this stance allows Cal to wield his lightsaber in the form of a great sword. This is akin to using Claymore in other games with massive overhead swings. Crossguard stance is high-risk high reward. Because of its slow and powerful swings, Cal will be exposed to enemy attacks during the animations.
Cal gets easily staggered in this stance making it a frustrating one if you mistimed your swing. But this weapon can take down even the largest enemies with ease because of extremely high damage output.
The drawbacks of Crossguard Stance can be offset by unlocking its skills. We recommend Greater Impact, Greater Cleaving Swing, Charged Reflection and Rolling Thunder.
These skills allow Cal to inflict some more damage while keeping his distance from the enemies. Rolling Thunder allows you to hit multiple targets from a distance with the same amount of damage without exposing Cal to unnecessary dangers.
Stance # 5 – Blaster Stance
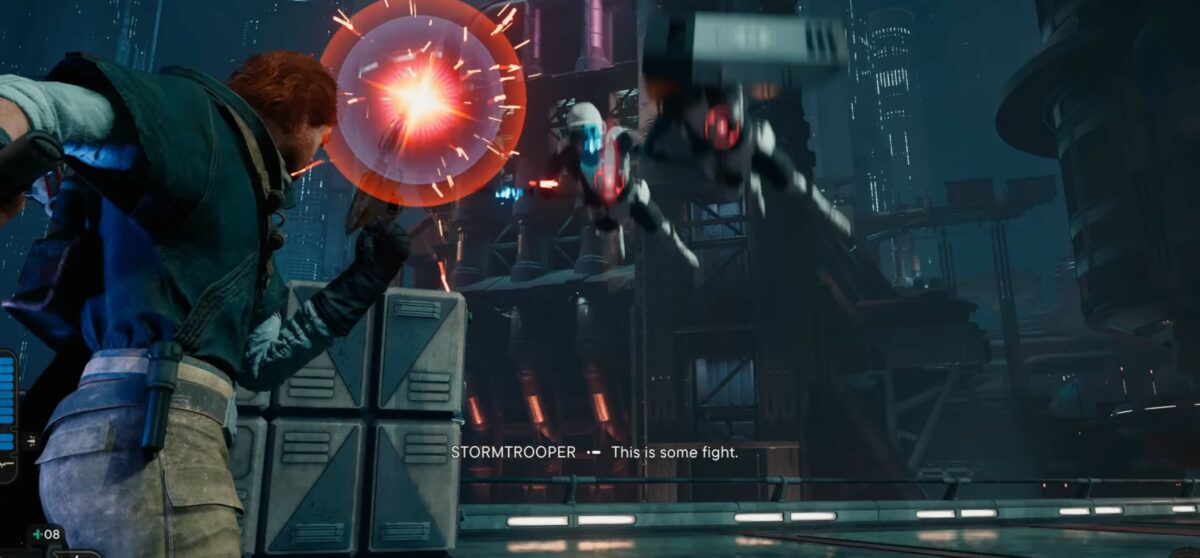
Desperate times call for desperate measures. There is no shame in using all the weapons available in your arsenal. This stance involves Cal using a blaster in addition to his trusty lightsaber. Don’t fret as it doesn’t suddenly change a melee-based game into a shooter.
Blaster is used in this stance as a support weapon only and most of the enemies can easily deflect it. Sometimes even deflect towards Cal to hurt him so you need to be extra careful while using it. Cal can’t spam blaster shots as it loses its charge and can only be recharged with more ammo by hitting enemies with his lightsaber. Due to the minuscule amount of damage output by the blaster, it is only useful to break enemies’ guard.
Blaster Stance in Star Wars Jedi Survivor comes with a lot of skills to unlock but we will be mentioning the ones we found helpful with this style. Blaster Cool down, Improved Clip, Efficient Heat Transfer and Quick Draw.
Who doesn’t want to shoot multiple enemies by placing a target on all of them in slow motion? Quick Draw is Star Wars Jedi: Survivor’s version of Deadeye from Red Dead Redemption and one of our favorites.