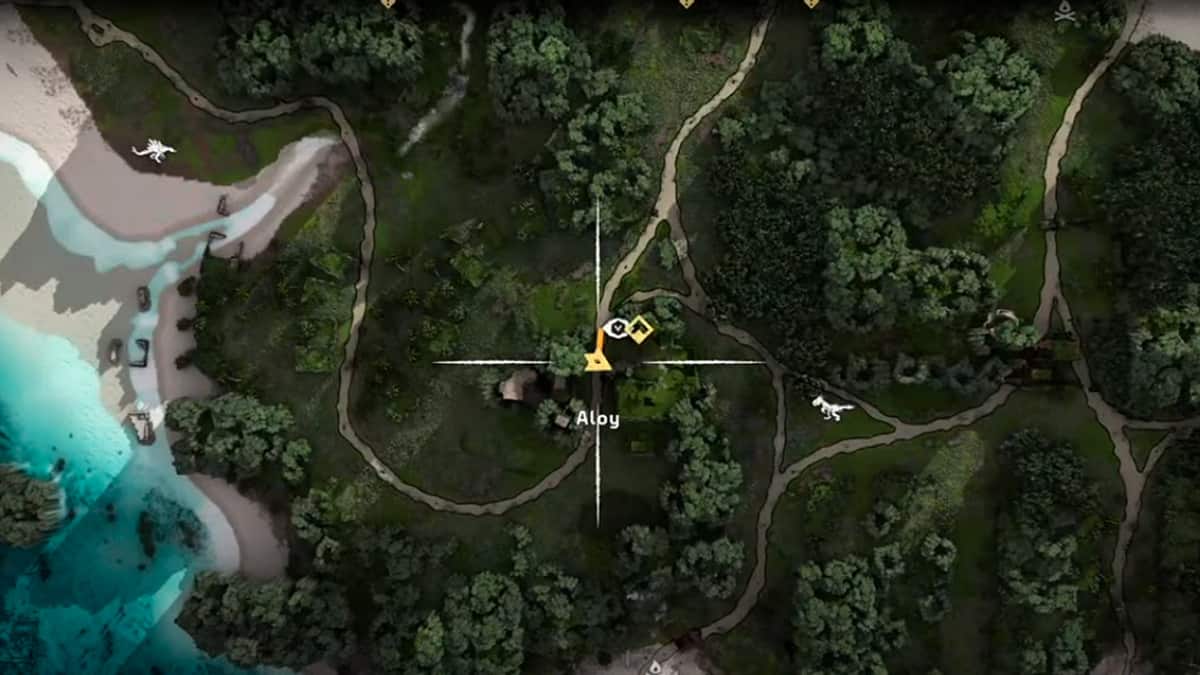
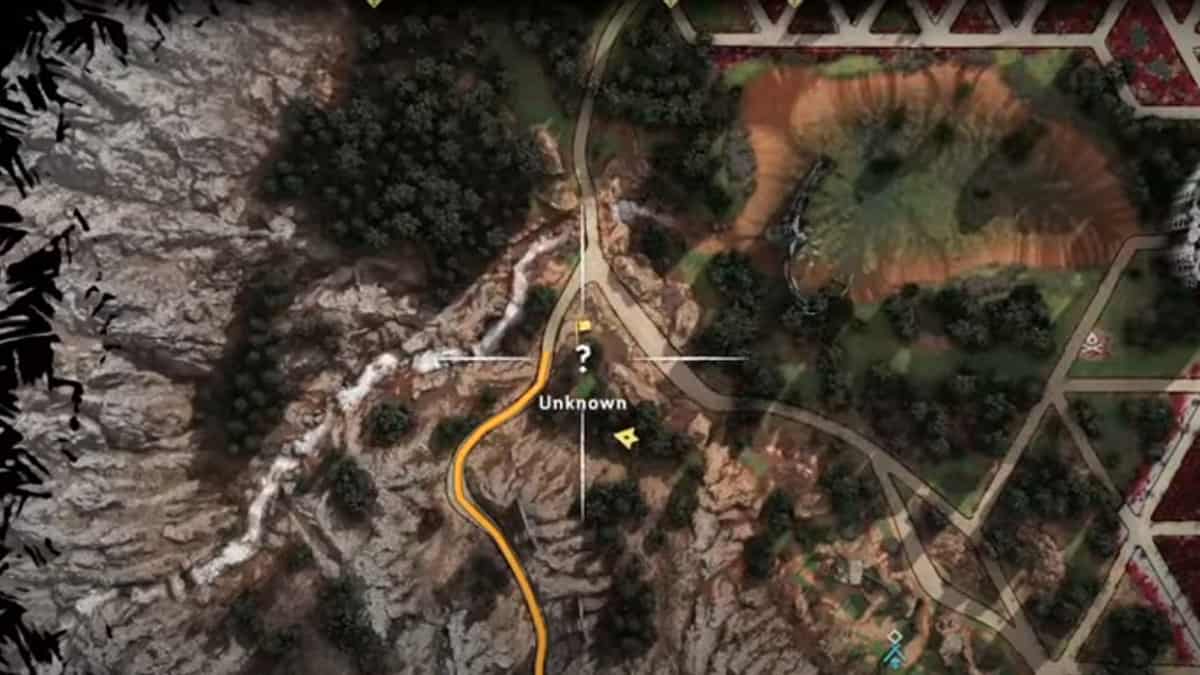
While journeying through Horizon Forbidden West, you will likely pass through towers called the Vista Points. These are more collectibles to take on and as such you, “completionists” in particular, will be eager to know more about them.
Collecting Vista Points won’t be that easy though, they are scattered throughout the whole map. You’ll need to travel a lot of distance to reach each one of them. You’ll then need to solve a puzzle for each Vista Point to complete it.
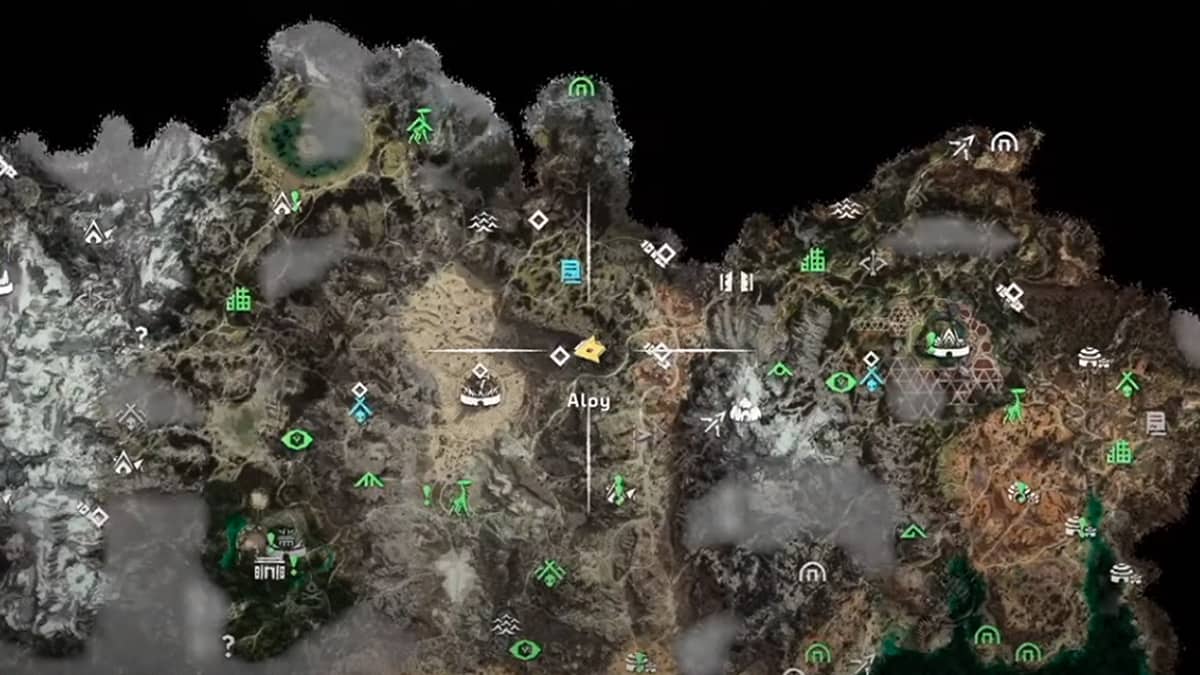
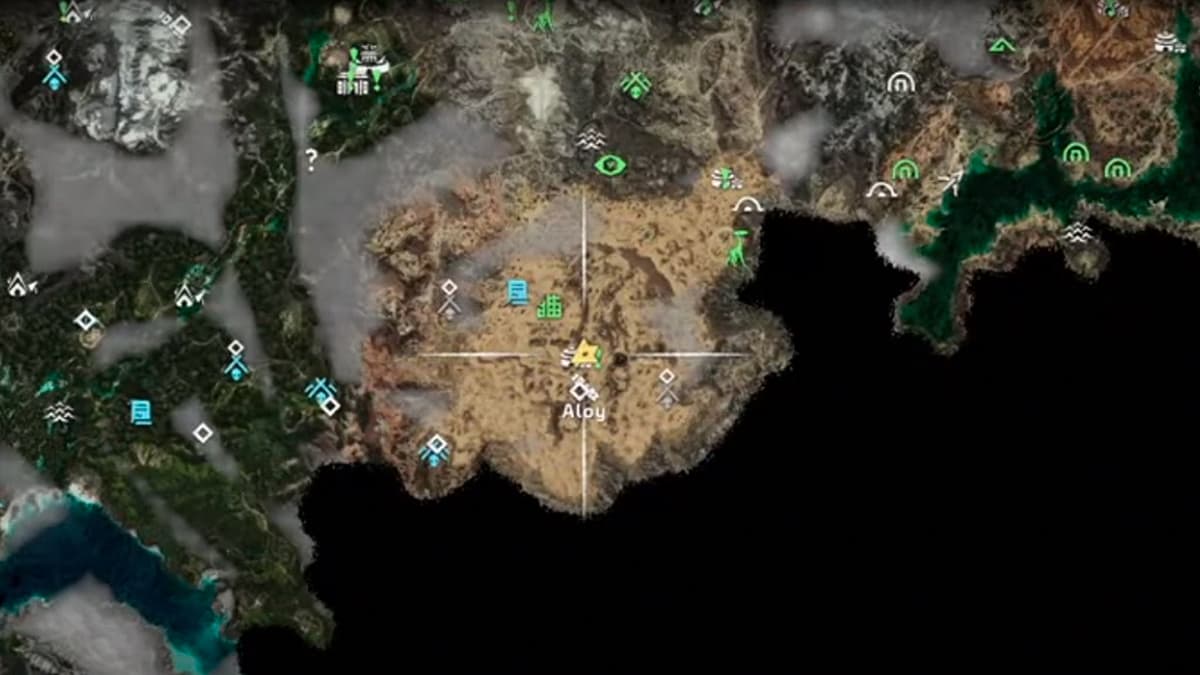
The following guide marks where all of the Vista Points in Horizon Forbidden West are located. There are a total of nine Vista Points in HFW, each of which has been marked on the map below.
How To Activate Vista Points In Horizon Forbidden West
Each Vista Point requires you to solve some sort of a puzzle to complete it, these puzzles will always have a subject related to the ruins of the Old Ones.
All you need to do is to use your focus and line up the fragmented pictures you received to complete the puzzle. You’ll receive the fragmented pictures once you scan the satellite towers of the Old Ones.
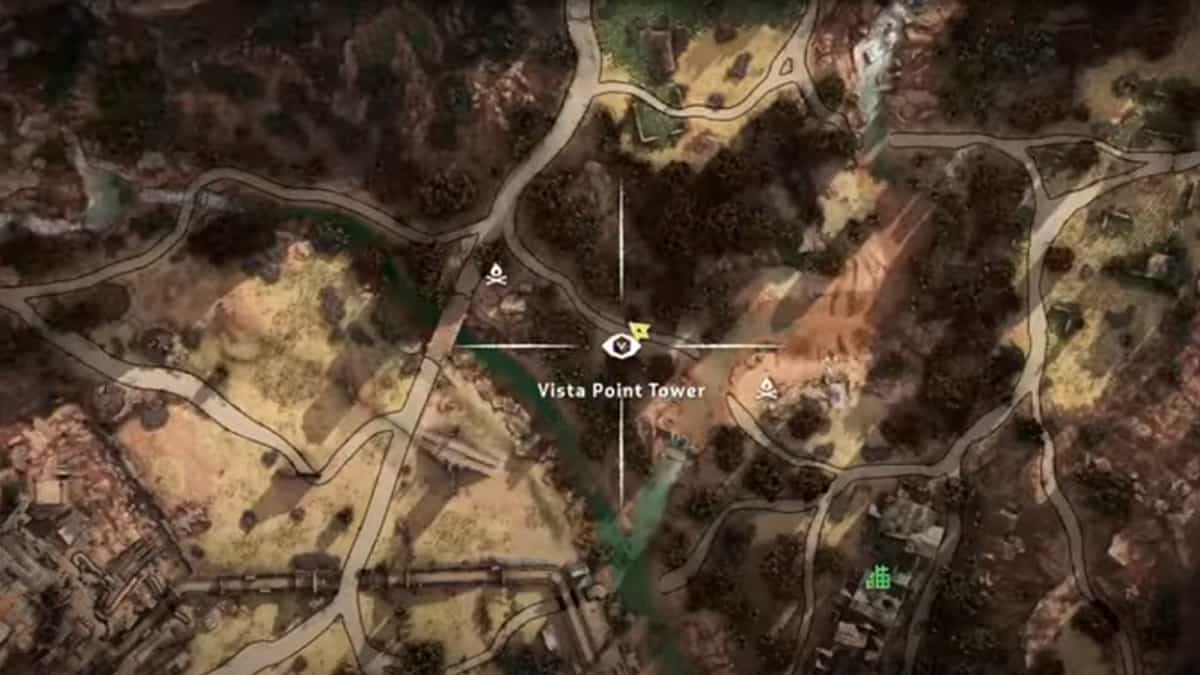
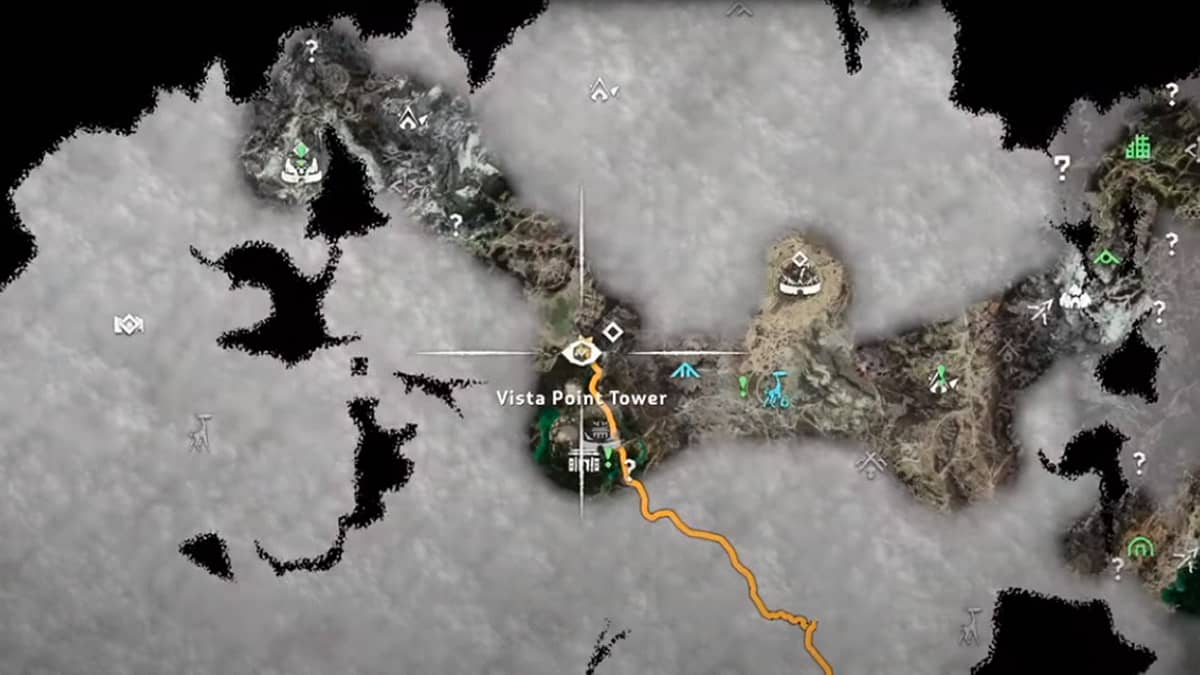
All Vista Points Locations In Horizon Forbidden West
- The Daunt
- The Memorial Grove
- The Long Coast
- Plainsong
- Shrouded Heights
- The Stillsands
- Scalding Spear
- Dunehollow
- Isle of Spire
Vista Point: The Daunt
The first Vista Point can be found in The Daunt which comes right after you set on the journey for Forbidden West. Now, follow the map to reach the exact location. Next, scan the surface underneath the tower to find the required image.
How to Solve: You will see a broken bridge towards the north of the tower providing you access to the view of ruined hotels located close to it. Next, players just need to match the image with the view that they can see from the bridge. Doing this will complete the first Vista Point.
Vista Point: The Memorial Grove
The marker below on the map shows the exact location for this Vista Point. Follow the map below to reach this area and you’ll easily find out this point. Scan the tower to get the image here.
How to Solve: Once you find the image, move towards the top of the hills along with Vista Point. After reaching the satellite tower, you need to match the image and Vista Point will be completed.
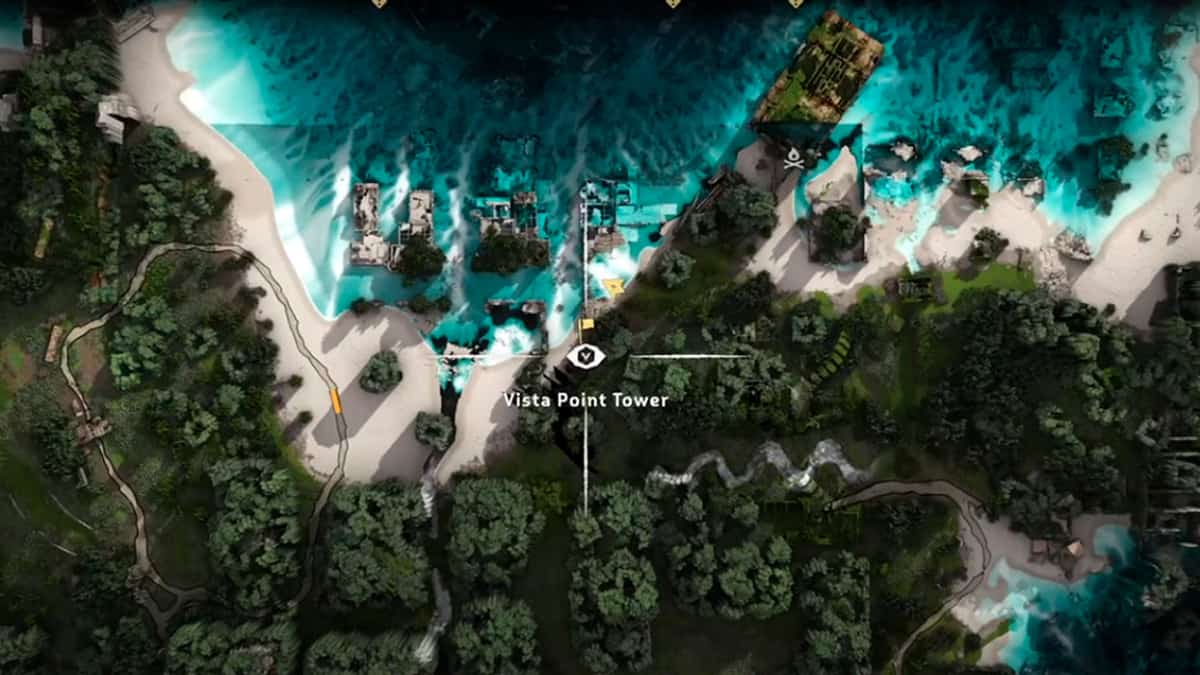
Vista Point: The Long Coast
To find this Vista Point, players need to move southwest of The Greenhouse and north of Tide’s Reach. Vista Point is located adjacent to the trees and close to the water.
How to Solve: After scanning the base and grabbing the image, move west to reach small islands located on the water. View The Greenhouse by climbing and matching the image accordingly to complete Vista Point. The following image shows the exact location on the map.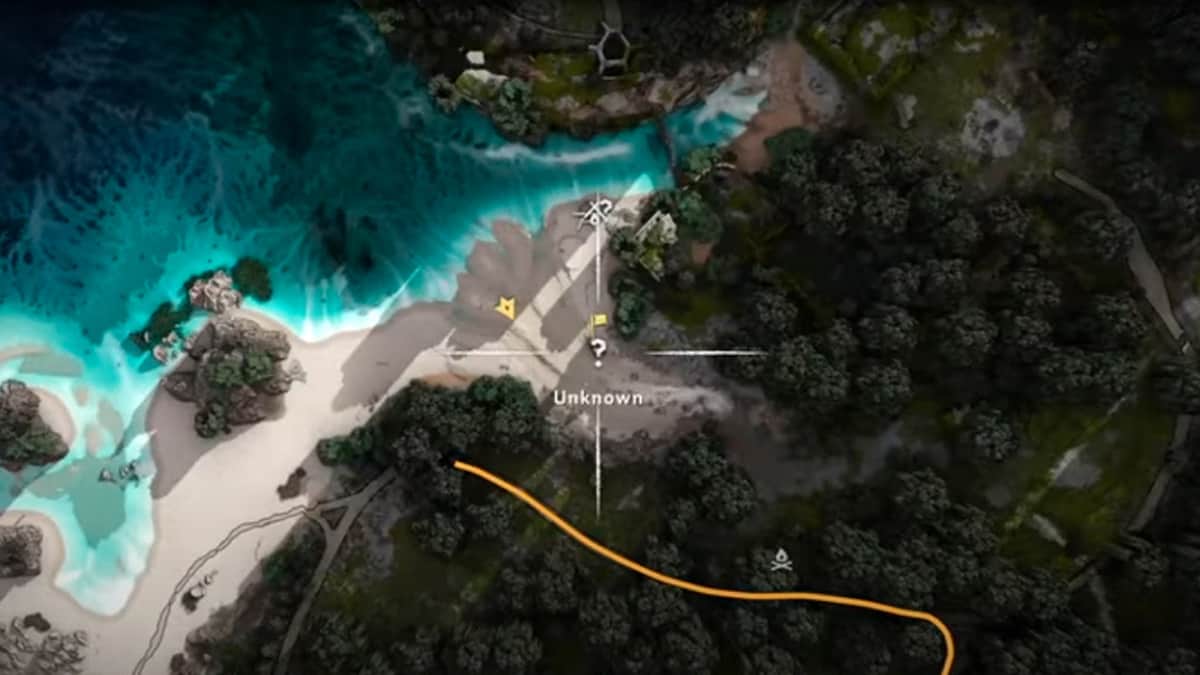
Vista Point: Plainsong
The fourth Vista Point can be found going towards the west of Plainsong. You will see Vista Point adjacent to the ruins. Scan the tower to grab the image you need to match.
How to Solve: Move towards the top of the ruins and you will see a broken balcony along with a ledge. At this point, players need to see from the middle of two wind turbines. One of the turbines will be broken as well. Arrange the view of Plainsong to complete Vista Point.
Vista Point: Shrouded Heights
Move towards the northern corner of San Francisco. From here, you will find the Vista Point icon adjacent to the ruins. Spotting it will become a lot easier by scanning the signals that you receive from the base of this tower.
Grab the image at this point to make your way towards the point where you can make a proper view.
How to Solve: Dive into the water at the location shown in the marked image below. Ledge will let you move quickly from here, but you need to slow down to see the ruins and arrange the image accordingly.
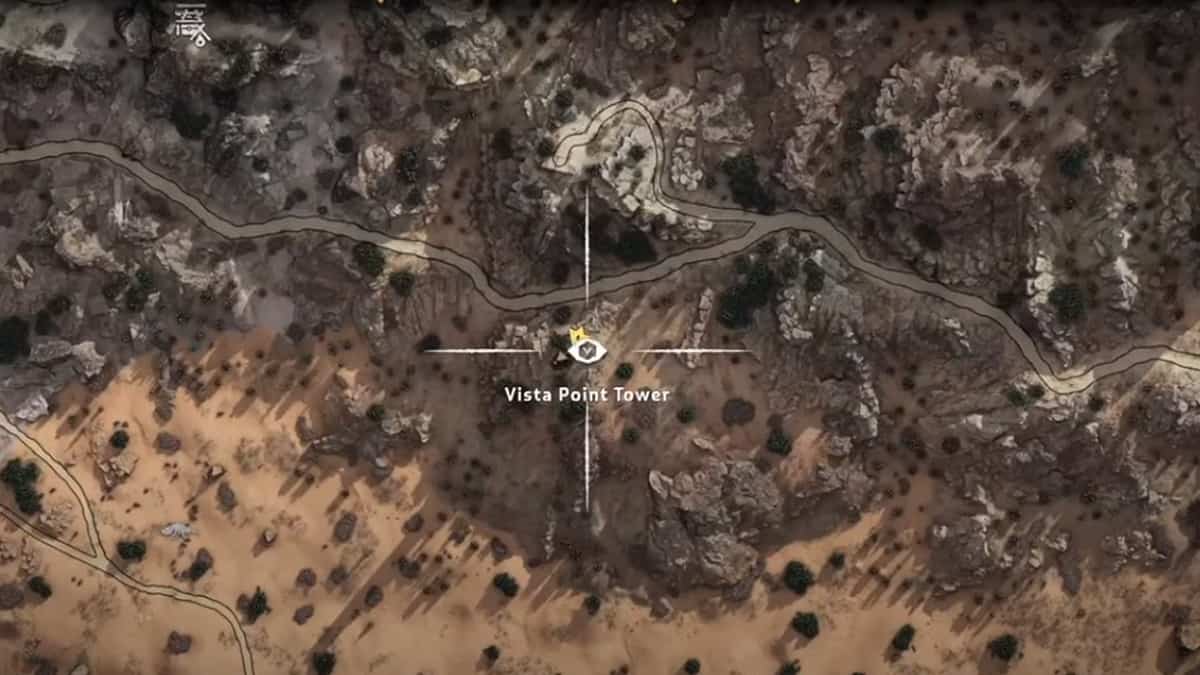
Vista Point: The Stillsands
Move to the location as shown by the map i.e., towards the north corner of the desert. You will easily find the Vista Point icon here in this region. Scan it to grab the image.
How to Solve: Move towards the north side of the hill to get a full view of Las Vegas. Clear some borrowers and arrange the image according to the view to complete this Vista Point.
Vista Point: Scalding Spear
This Vista Point can be found by going towards the east of Scalding Spear. Adjacent to Sunwing Territory, you can find it easily by following the marked image on the map below.
How to Solve: After grabbing the image by scanning the tower, just move down as depicted by the map below. Now, you will get even closer to Spalding Spear and opposite to Sunwing as well.
Here, you need to arrange the image by getting on top of the roof of one of the buildings. Once you have arranged the image, Vista Point will also be completed.
Vista Point: Dunehollow
To find the second last Vista Point, move towards the Dunehollow either by taking part in side quests or by using the elevator known as Hidden Ember. Move closer to the ruins where you can see FatShake sign.
Snapmaw and fellow machines are roaming here as well, so players need to clear them out as well. Scan the base of the tower to grab the required image.
How to Solve: Now, come back to the same point where your combat with Tideripper took place. Stand at the ledge by climbing the bridge and completing the image.
Vista Point: Isle of Spire
This is the last Vista Point that you can find in the game. Players can only find this one only by completing all the 8 Vista Points. Move close to the large metal structure as shown on the map. Scan the tower and grab the image.
How to Solve Isle of Spire: Pass through the metal structure to reach the point where you can climb the perch point located on the opposite side. Use pullcaster to pull down some ledges and arrange the image according to view. Once you arrange the image fully, the final Vista Point will also be completed.