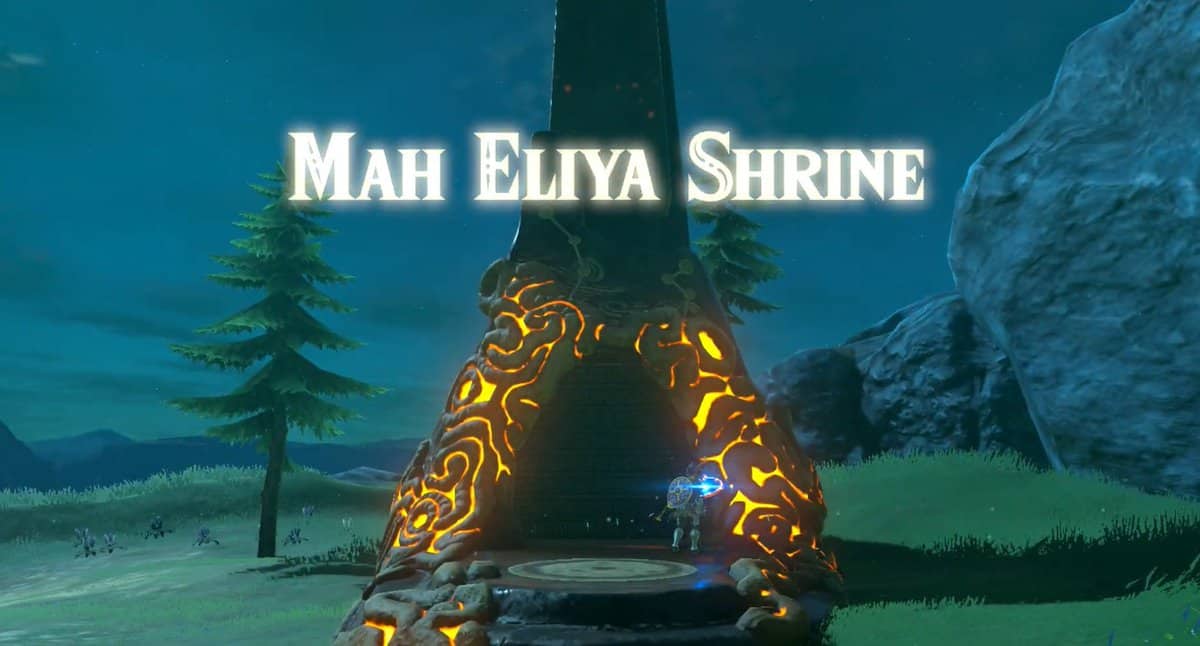
Mah Eliya Shrine in Zelda Breath of the Wild is one of the oldest shrines in the vast district of the Lanayru Region. It’s important to remember that players can only access Mah Eliya by starting the DLC Quest known as the “EX Champion Mipha’s Song” in Zelda BOTW.
Mah Eliya Shrine location
The Mah Eliya Shrine in Zelda BOTW is positioned beneath Ploymus Mountain in the northern direction. You’ll just have to pass through Lulu Lake and Mikau. But to reach there, you’ll have to face some challenges.
You’ll have to pass through a waterfall and travel through its rings individually to reach there. On the map, the waterfall is shown in Zora’s Domain. Once there, look towards your right; you’ll notice a shining portal in front of you as you pass the bridge constructed over Mikau Lake in Zelda BOTW.
You’ll have to enter the portal but remember to put on the Zora Tunic beforehand. Enter the portal, and there will be a waterfall in Zelda Breath of the Wild. There will be another portal. Now just swim up to the waterfall. If you stand right under the portal before swimming up to the waterfall, you’ll notice that you’ll be carried away on your own through each ring.
Once you pass one ring, there will be another, and you’ll reach the final waterfall. Keep going through the rings individually, and once you cross the last one, Mah Eliya Shrine will be right in front.
Zelda Breath of the Wild Mah Eliya Shrine walkthrough
In Zelda BOTW Mah Eliya Shrine, exactly right in its heart, there is another waterfall. You can also notice some metal boxes stacked nearby at some distance. You’ll see a platform to your left, to get on which you’ll have to use the Magnesis.
You must lift the box to your left and let it fall. A moment before it hits the ground, use Cryonis and land a block beneath the box to keep it elevated. Now you can easily climb your way up.
The next step involves creating stairs, this might be a little perplexing, but if mastered, you’ll nail it. There’s an ice block beneath a metal box to one side. Use the Magnesis to lift this box even higher and drop it again as you did earlier with a Stasis in Zelda Breath of the Wild.
Lift the left block high enough to be easily transported over both platforms. In this way, it will support the block on top of it. Once done, place a Cryonis ice block and prevent the left block from falling when you remove it.
Hop onto the left block and lift the box on the right side as high as possible. Quickly use the Stasis before this block falls back on the ground, and if you’re lucky enough, you might pass the Mah Eliya Shrine Monk in Zelda BOTW.
Then position the other ice block beneath the remaining blocks. Then go on by removing the left box, which is beneath the small box, and then lift it to push the right box above the one which is the left box. Now move the small metal box to its left side, creating a stair leading you to the Monk.
There will be a metal chest over the platform. At the top of the waterfall, you’ll have to position one more ice block. Then just reverse the metal boxes. Get on the left metal box and use the Magnesis to drag the chest. Inside it will be a reward that is the Royal Shield. Go to the Shrine Monk and get a Ruta Emblem in Zelda BOTW.