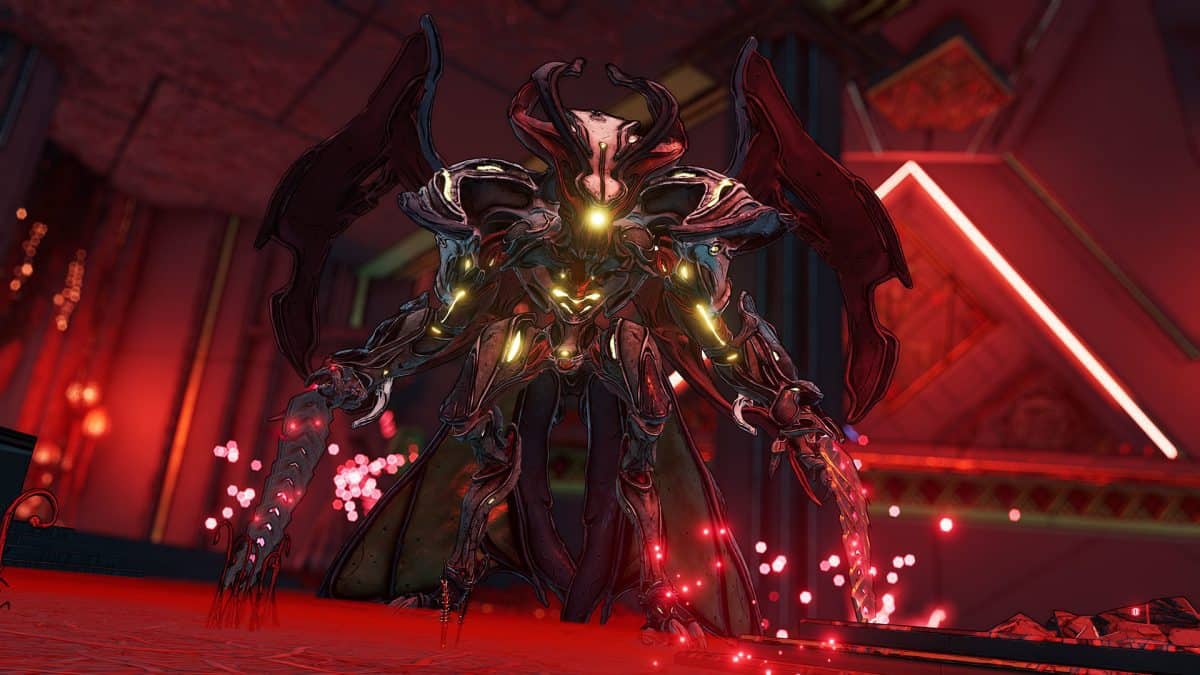
This Borderlands 3 Skin to Win Crew Challenge Locations guide will walk you through all the necessary steps that you need to take to find all the bosses in the new DLC, Bounty of Blood, and eliminate them so that you can save up your time and get straight to business.
Borderlands 3 Skin to Win Challenge Locations
The much-awaited DLC of the Borderlands 3 Bounty of Blood is finally here and while the urge to explore the new planet of Gahenna makes complete sense, it is also crucial to your enjoyable experience of gameplay that you give this guide a go before you attempt this challenge.
Below we have listed all the regions which are part of this Bounty of Blood Skin to Win crew challenge along with the respective bosses whom you will have to overcome.
Ashfall Peaks
Abbadoxis Boss
Head towards the right to your spawning location. Rush past the mountainous ally. You will see a waterfall in front. Use the elevated rocks nearby to jump to the cave on top of it.
Exit the cave through the opening to the cave and then keep proceeding forward until you’ve reached another waterfall in the area.
Just like before, jump to the top of it where Boss, Abbadoxis will be waiting for you.
Defeating him shouldn’t cause you much trouble. Just spray continuously on him while making sure that you dodge his attack and you’ll be all good. You will get Contained Blast as a reward.
Bloodsun Canyon
Minosaur Boss
Head towards the right to your spawning location. Take the first left and jump across the stream, rush forward and then, take the first right.
As you move ahead, you will come face to face with the Boss, Minosaur who will be encamped on over a rock right in front of you.
While fighting him, avoid staying still. Just keep moving back and forth, spraying at him while maintaining a fair distance from him. Also, be wary of his lightning attacks as they can seriously make your life difficult!
You will get Flipper as a reward.
Obsidian Forest Skin to Win Challenges
Hydrogoian
From your spawning spot, head to the cave in front. Keep sprinting until you’ve reached the waterfall and then, dive into its stream. Move inside the room at the end of it and then boost yourself up the top of it.
There, you’ll see a crystallized building with several enemies surrounding it. They will charge at you – just take cover and you’ll easily be able to retrieve the Proprietary License.
Lectrikor Boss
Follow the same initial path as in the case of Hydrogoian. This time, take the right of the stream and get to the wooden building where many of your foes will welcome you with gunfire.
Try to avoid them and rush past the building, taking the rightward exit.
Once you’re out, you will be facing more and more of your enemies. Activate your shield and sprint past each and every one of them, take the tunnel with curved entrance ahead and head to your top left where a bunch of crystals will be separating you from Lectrikor.
Destroy the crystals and get to the other side where you will catch Lectrikor off guard. Use whichever weapon is suitable, keeping the distance between you and him in mind and start shooting.
He will launch an offensive but if you keep your firm, it wouldn’t make a difference and he will be down before you know it.
As a reward, you’ll acquire Frequency.
Lasodactyl Boss
Head forward from your spawn. Proceed forward, passing the wooden bridge and a wooden house on your way.
Take the right ally up ahead and at the end of it, you’ll see Lasodactyl emerging from among the two crystallized structures ahead.
Lasodactyl is a flying beast so aiming at him can be a bit challenging but don’t worry, all you have to do is activate your shield. You gunfire will do the rest!
You will get Lightshow as loot from this encounter.
The Blastplains Challenges
Pteradomini Boss
Drop to the ground to the left of your spawn and sprint past the streams to your left until you’ve arrived in Amplecore Veins.
There will be enemies all over the place. Engaging with them will only waste your time.
Just keep pushing forward and when you’ve found a boosting portal, head right into it to enter the fighting arena.
Just like in every important battle, remember to activate your shield.
As Pteradomini is a dragon-like creature, facing it can be intimidating especially because he’s got his flying buddies around to fight by his side.
Do keep an eye out for his buddies but keep your mind to the main objective that is to take Pteradomini down. So, don’t waste ammo on anyone other than him.
Eliminating him will get you Dowsing Rod.
Slithermaw Boss
Head left to your spawn and drop to the ground. Sprint forward and use the portal ahead to get to the King’s teeth.
Once in King’s teeth, make your way to the left cave where you’ll find Slithermaw sitting in the center near the stream.
Getting too close to him will prompt a battle. Use the same tactics as mentioned in all of the battles above and you will be just fine.
Victory in this battle will grant you Mother Too.
Varducken Boss
Engage with the Control Panel near your spawn to get yourself a hovering chair. Mount on it and proceed forward to face Varducken who will be waiting for you over a mountain with a waterfall behind.
He will charge at you, spitting fire in all directions. Try to dodge his fire and rain gunfire on him until he is blown to pieces.
Fight off the fragments that remain of him to complete the Bounty of Blood Skin to Win Challenge.
For defeating Varducken, you will get Satisfaction
