You will need to collect all the Minikits in LEGO Pirates of the Caribbean for Hoist the colours! achievement/trophy since it requires you to sail all the minikits in the hub. You can follow our LEGO Pirates of the Caribbean Minikits Location guide to locate and find all the minikits in the game.
LEGO Pirates of the Caribbean Minikits Locations
Chapter 1
Minikit #1
A minikit can be found on the upper platform in the workshop. To reveal it, use the orange handle to pull down the wall.
Minikit #2
In the jail corridor, look for the lamps on the ceiling. Grab onto each lamp to reveal the minikit.
Minkit #3
In Jack’s cell and the one beside it, look for the 4 skeletons. First shoot them and then rebuild them to get the minikit.
Minikit #4
Move through the hole in one of the cell’s walls. Head down through the ladder and shoot the structure in between red and white walls. Climb back up the ladder and move the wooden bar to the right. Use the platforms revealed after pressing the handle and then the switch to get to the minikit.
Minikit #5
Search for the wooden post (using Jack’s treasure compass). After digging it up with the dog, jump onto the posts to reach the minitkit.
Minikit #6
In the area where to door to the docks is located, use a female character to reach the green support (using the crate) below the window. Head inside it to attain the minikit.
Minikit #7
Destroy the drums and crates to the left of the docks’ gate. Head inside and use one of the the David Jones’ crew members to get the sausage from the balcony. Give it to the pirate at the lower level to get the minikit in return.
Minikit #8
Choose the character that can walk under water. Release the crab from it’s cage to get the minikit.
Minikit #9
You need to extend three blue flags throughout the level to get the minikit.
Minikit #10
You need to build 5 boats from the scattered LEGO pieces across the beach area.
Chapter 2
Minikit #1
You need to get inside the small room. For that, you will have to destroy the silver bars (using Marty) on the balcony.
Minikit #2
Free the rowboat from the hutch to get the minikit.
Minikit #3
Near the tower center, climb the ladder to reach the balcony and then to the rooftop to reach the bottle.
Minikit #4
You will find a bottle behind the cluttered rounded stones. You will have to blow them using an explosive character.
Minikit #5
Light 3 fireworks boxes to get the minikit.
Minikit #6
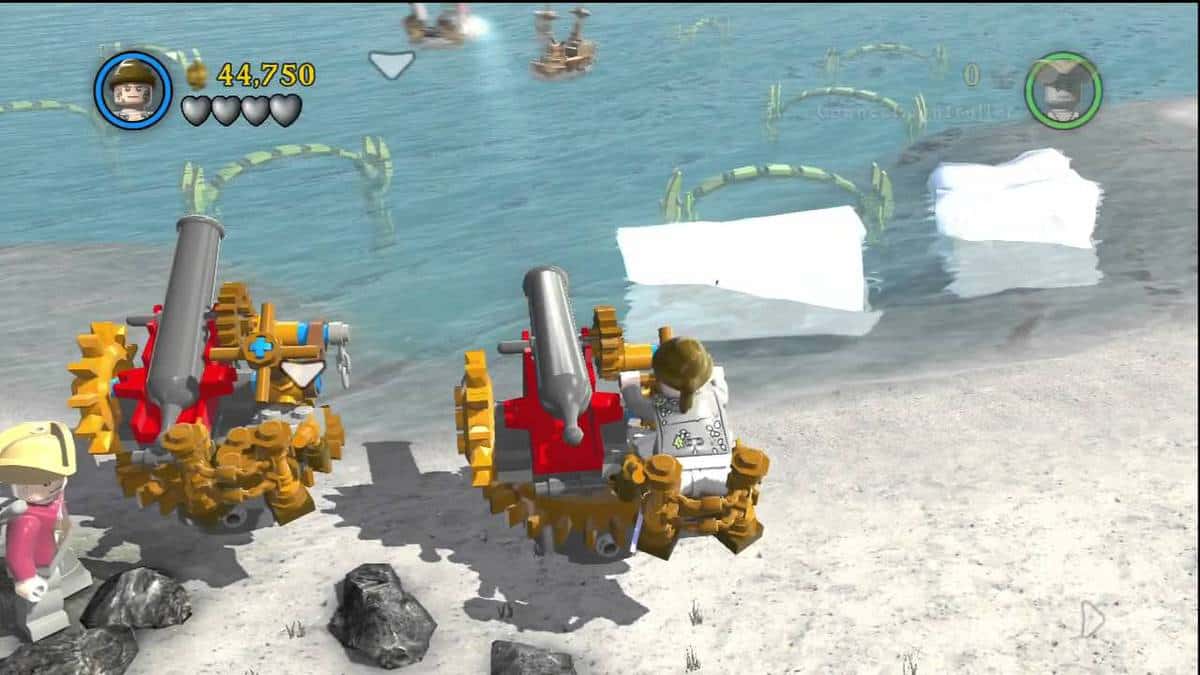
Build a cannon and then shoot all the targets using the cannon.
Minikit #7
To the right of pig area, dig up the wood which will be accompanied by a minikit.
Minikit #8
After jumping up to the bell tower, hop onto the rope to reach the bells and the minikit.
Minikit #9
Use Syrena’s scream to destroy a glass cabinet at the same place where Cotton is trying to get his parrot back.
Minikit #10
Switch to a strong character to pull the orange lever in the store. Use the rope then to reach minikit.
Chapter 3
Minikit #1
Near the ship’s wheel, open the structure (with silver lock) to reveal the minikit.
Minikit #2
A minikit can be found on the platform which is behind the mast. Drop down and then move sideways.
Minikit #3
You can remove the skull using the black beard and then get the minikit using the net.
Minikit #4
Select Jack and get onto the mast using the rope at the back end of the ship. You can now use the compass to find the minikit.
Minikit #5
Use Black beard to remove the hurdle (skull) blocking the hatch. Move down the stair to get the minikit.
Minikit #6
Select Black beard and move down the hatch. Explore the left side area to find the bottle.
Minikit #7
Select a character that can sing. Destroy the 5 glass crates spread throughout the ship to get the minikit.
Minikit #8
Move down the hatch once again (this time with Jack) and use his compass to find the chess with the minikit.
Minikit #9
You need to destroy 5 flags on the lower level using the canon. For canon to work, use Black beard and get a torch from the chest.
Minikit #10
The final minikit in this level is below the level where you found the chest earlier.
Chapter 4 Minikits
Minikit #1
You can find a minikit if you dig the small patch where you start the level.
Minikit #2
You can reach the ledge and then to the minikit (through the door) by building a sand castle.
Minikit #3
Climb the tree near the hatch on the 2nd island.
Minikit #4
In the caver, beneath the water, you will find a crate you need to break to get the minikit.
Minikit #5
You will find a silver bell on the ruined ship. Use explosives to destroy it to gather the minikit.
Minikit #6
Pull the orange (you will need a strong character as before) lever in the cavern to reveal the minikit.
Minikit #7
To remove the tentacles from the underwater minikit, you will have to redirect the light beam.
Minikit #8
Staying in the cavern, use a Flying Duthcman crew member to get through the coral to reach the minikit.
Minikit #9
You can destroy the small ships using the mounted turrets to get the minikit.
Minikit #10
Use the character with song ability to free the turtles and then race with them.
Chapter 5
Minikit #1
Jump in the rowing boat and row towards west to get the first minikit, then cross the walkway and go east to get the first parrot.
Minikit #2
From the parrot, go left and shoot at the target. To get to the minikit, you’ll have to use a female character. The second parrot will be in the next location.
Minikit #3
You can find the third parrot for the minikit near the end of the cave.
Minikit #4
For this one, you’ll have to use a character which can scream, so you can break the underwater icicles. Once the cut scene about icicles ends, get out of the water on the opposite side and line up the colors by starting the machine.
After that, move the carts in. Do this for all of the colors and even more will be dropped down. Now, mix the colors to form the one in the center and you’ll get the fourth minikit.
Minikit #5
In this same location, travel west, then spawn a jump pad using the compass and dog icon. To get to the rope above, use a female character and the fifth minikit will appear.
Minikit #6
In this area, head to the right and pick up the coin using Jack Sparrow. This will give Jack the ability to go underwater. Hop in the water and find the bronze helmet using the compass, then pick up the helmet by switching to a character who can walk underwater. After that, head back to the left and get the minikit by putting the helmet on the statue.
Minikit #7
While you’re underwater, head left and enter the hidden cavern. While you’re on the surface, switch to Jack Sparrow and find a clam using the compass. Once you find it, switch to a character who can walk underwater to acquire it. Open the clam to get the seventh minikit.
Minikit #8
In the previous location on the docks. Repair the cannon and break the item using Blackbeard. Here, you can play a minigame by using the torch to your right to ignite the cannon. The minikit will spawn right next to the hip if you win this minigame.
Minikit #9
On the ship, there is a target. Shoot at it and then climb up to the top using the rigging. From there, hop on the chain to your right and slide your way down. You’ll find the minikit in the ruin at the very end.
Minikit #10
Destroy the ice to the right of the main area and enter the other cave. Open the crate using bombs. After that, travel back to that coin which makes Jack Sparrow sink in water. From there, get the telescope using Jack’s compass. Now, head back to the man in the crate and you’ll get the minikit from him.
Dead Man’s Chest
Chapter 1
Minikit #1
Close to the very start of the level, you’ll see some glass bricks to your right. Use explosives to destroy them and then enter the secret cave and you’ll find the first minikit.
Minikit #2
Use explosives to destroy the glass bricks on the bridge, then head down the ramp. From there, you can acquire the minikit by getting the ball out of the maze by running in the hamster ball.
Minikit #3
Use Blackbeard at the mountain’s peak and destroy every statue to acquire this minikit.
Minikit #4
Find the telescope using the compass near the camp of the previous minikit. Get the fourth minikit by looking through the telescope.
Minikit #5
While you make your way down the mountain, look for a red and black door. When you find it, open it using the Blackbeard. The minikit will be at the end of the cave.
Minikit #6
There is an opening in the wall above the exit of the aforementioned cave, pull the lever there using a powerful character and make a bridge. Cross the bridge and get to the other side, then go up the palm tree to get the minikit.
Minikit #7
Find the telescope near the previous minikit using your compass, look through it to find this minikit.
Minikit #8
Use the zipline to get to the other island, then use the cannon to finish the minigame and get this minikit.
Minikit #9
Near the previous minikit, use your compass to find the ninth minikit.
Minikit #10
Using a character who is able to walk underwater, jump into the river and search for a crab in a cage. Free the crab and ride it to the end of the river where you will find the last minikit.
Chapter 2 Minikit Locations
Minikit #1
Get to the fishing platform by hopping off the ramp, then shoot the glass blocks. Double jump up to the vine using a female character, then climb up to the very top to get the first minikit.
Minikit #2
While on the raft, you’ll see a vine above you. Climb it to get this minikit.
Minikit #3
There is a zipline on the wooden platform to the left. Use it to reach this minikit.
Minikit #4
There will be crates next to where you found the previous minikit; push them off the edge then go under the platform and find a beachball using your compass. Once you find it, pick it up and go to the other side of the swamp, and give it to the man on the elevated platform – he will reward you with this minikit.
Minikit #5
To get this minikit, feed the crocodile three pieces of food and then take it out.
Minikit #6
In the back area if where you find the fourth minikit, get on the jump platform using a female character to get this minikit.
Minikit #7
Across the water from the fifth minikit, break the box using Blackbeard and repair it to get this minikit.
Minikit #8
At the very end of the pier area, there is an orange handle. Pull it using a powerful character. After that, throw the piranha some fish and then follow it to get the minikit – which it will regurgitate.
Minikit #9
Use bombs to demolish the gates in Tim Dalma’s house, then get the minikit by going down the tunnel.
Minikit #10
While in Tim Dalma’s house, climb up the stairs and open a door in the wall of the room using Blackbeard, this will lead you to the minikit.
Chapter 3
Minikit #1
Jump into the fishing net from the ship and you’ll find this minikit.
Minikit #2
To get this one, just use Blackbeard on the ship’s wheel.
Minikit #3
Break the glass on the top of the mast using a character who can sing, then go up higher using the rope. From there, slide down to the crow’s nest to find this minikit.
Minikit #4
Open the deck below you using the lever on the prison deck (use a powerful character). Then get the minikit by using Blackbeard on the skull, which is on the wall to the left.
Minikit #5
On the deck where you found the previous minikit, teleport through the coral wall using a character which has that ability. Then, use a sword in the lever there and then in the lever in the main room. Now, get the minikit by building a snail which will move around.
Minikit #6
Head to the main prison deck – the one above where you found the previous minikit – with a lantern, then clear the tentacles from your path using it and go in the corner to the right to get the minikit.
Minikit #7
Head into Davy Jones’ Chamber and find the wheels. Put them in the proper position by turning the wheel on the left once, then doing the same with the wheel on the right. Repeat this process four times to get the minikit.
Minikit #8
In the area where you found the previous minikit, blow up the hatch on the left to open the entrance to a hidden room. Then, move the crate to the wall in the back to get the minikit.
Minikit #9
In the same room, head out the door in the back and go up the decks to acquire this minikit.
Minikit #10
Again, in the same room, destroy the fish tank glass, using a character that can sing, and get the minikit.
Chapter 4 Minikit Locations
Minikit #1
At the bottom left corner of the beach, dive underwater to get this minikit.
Minikit #2
On the same beach, find a chest using your compass. It will have the second minikit.
Minikit #3
Pull the orange handle at the shipwreck to get this minikit.
Minikit #4
Get inside the graveyard by demolishing the gate, then dig up the bones from the graves and create a barrel using them. Get the barrel on the platform, which will open a gate leading to the fourth minikit.
Minikit #5
Find the lever in the area which has a bunch of cogs, then use the sword on it thrice to spawn a Blackbeard chest. Open the chest sing Blackbeard to get this minikit.
Minikit #6
Get up on the ruined tower and spawn a rope by using Blackbeard on the skull. This will allow you to get on the roof. Use the telescope there to find Davy Jones. Then get the minikit from him.
Minikit #7
While you’re on the waterwheel, a minikit will pass above you. Jump at the right time to get it.
Minikit #8
Get to the broken waterwheel by teleporting through the coral underwater. Then, take the cog with you and go back through the coral. Now, head west and place the cog on the machine; this will spawn a bridge. Cross it and get your minikit.
Minikit #9
Teleport through the same coral. Then switch to a female character in the ship and jump on the deck above to get the minikit.
Minikit #10
Cross the bridge you spawned while getting minikit 8. Then, find a couple of crab pieces using your compass. Once you find them, build the crab and swing from the bars in the trees above you using a female character.
Push over more crab pieces by swinging from the final tree; then, build another crab. This will make a huge crab and the last minikit.
Chapter 5 Minikits
Minikit #1
While going down the secret area, use Blackbeard to get rid of the obstacle blocking the stair on the left. Then, push the kegs over in sequence from left to right and you’ll get the first minikit.
Minikit #2
Next to the kegs are two crates, attack them and pick up the small one and drop it in the bigger one. After that, attack the bigger one to make this minikit appear.
Minikit #3
Pull the orange handle on the gate to the right using a powerful character, then get your minikit from inside.
Minikit #4
On the upper deck, break the glass wall using a character that can sing. Get your minikit from behind the glass wall.
Minikit #5
Hop over the side of the boat (using the bars) on the main deck of the ship to get this minikit.
Minikit #6
There are two orange handles on the right side of the ship. Pull them using a powerful character to get the minikit.
Minikit #7
Go from the middle of the boat’s main deck to the front mast by riding the hoist. Then walk by the plank to your right to get this minikit.
Minikit #8
Hop on the front mast (the one where you were at for the previous minikit) then get down to the mast on your left using the zipline. Walk on the plank from there to get this minikit.
Minikit #9
Teleport through the coral on the left while battling the Kraken. Then, ignite the bombs using a torch. This will grant you a minikit.
Minikit #10
While battling the Kraken, shoot at the crate to its left to obtain the final minikit