In X-Men: Destiny, each of the Propaganda Posters can net you 250 XP. These red posters are scattered throughout the game, and after finding them, you can level up your X-Gene and Mutant Powers.
X-Men: Destiny has over 36 Propaganda Posters, and you need to collect at least 25 of them if you want to obtain 2 achievements/trophies. Note that just like Dossier, you will earn a ‘Garbage’ achievement (worth 10 Gamerscore/Bronze Trophy) after collecting 1 poster. After collecting 25, you can earn the ‘Cleaned up the city’ achievement (worth 30 Gamerscore/Silver Trophy).
If you miss a mission, you can always replay it. This X-Men: Destiny Propaganda Posters location guide lists the positioning of the poster in each mission.
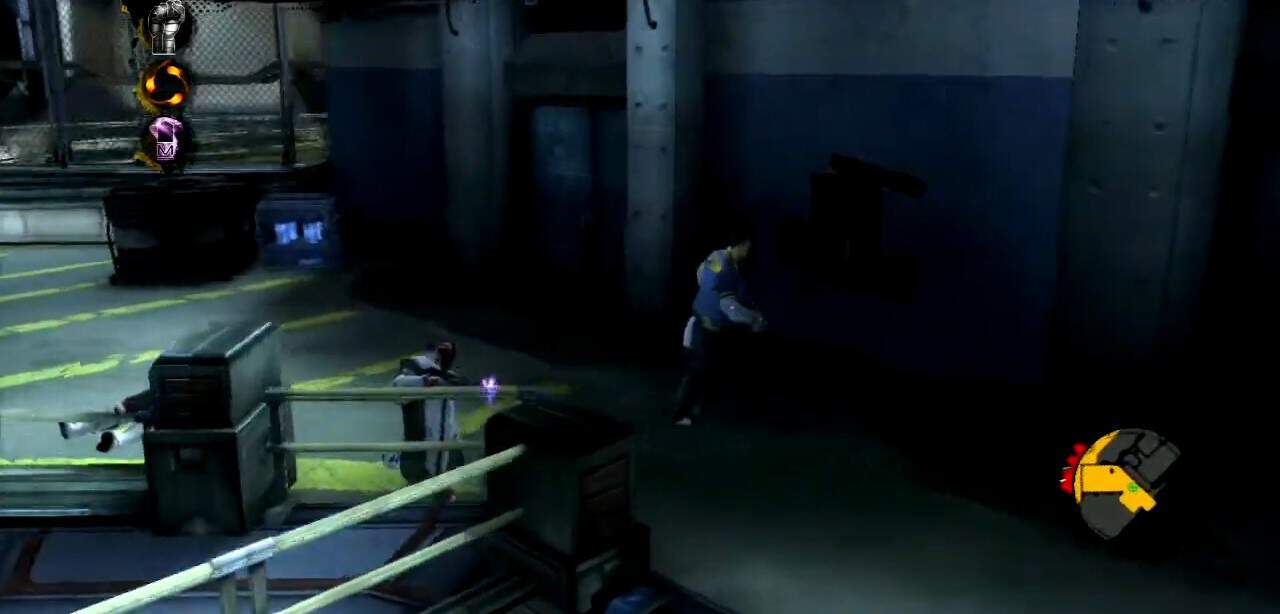
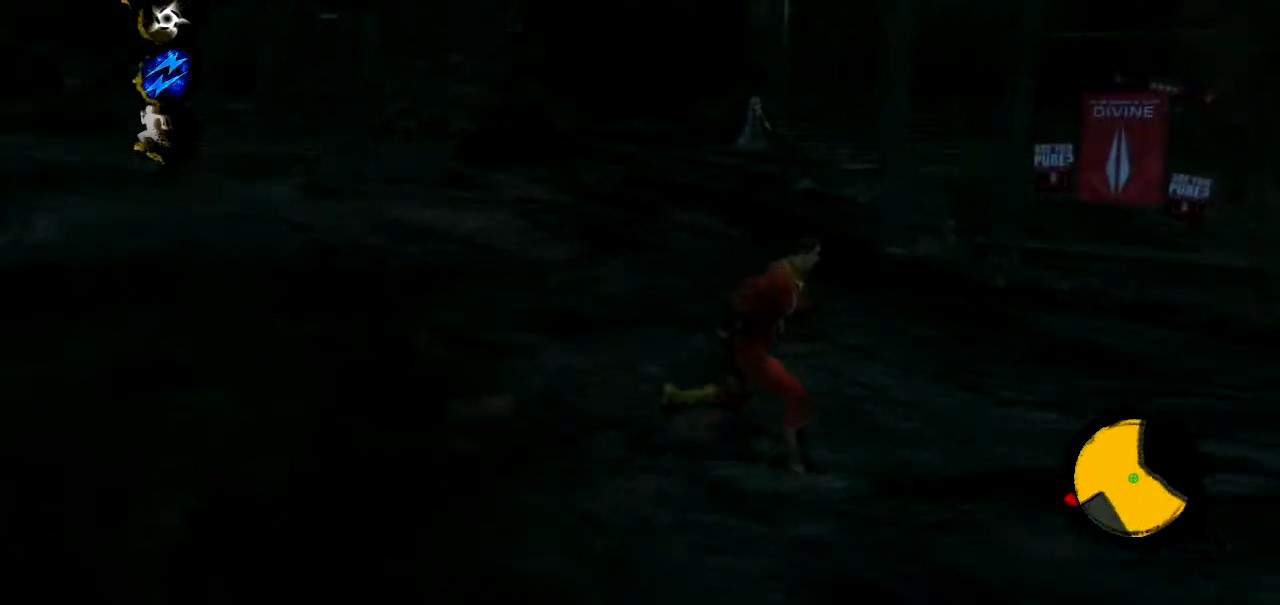
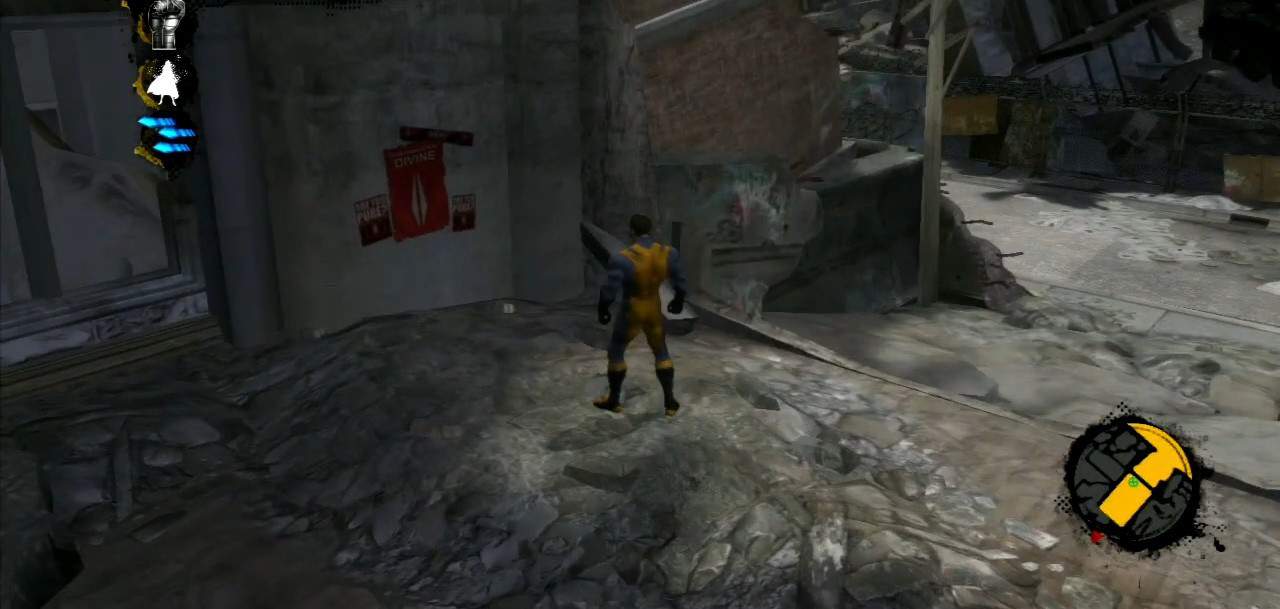
Propaganda Poster #1
Location: After completing the first group of Purifiers, the first poster is on the wall outside the hallway next to the staircase.
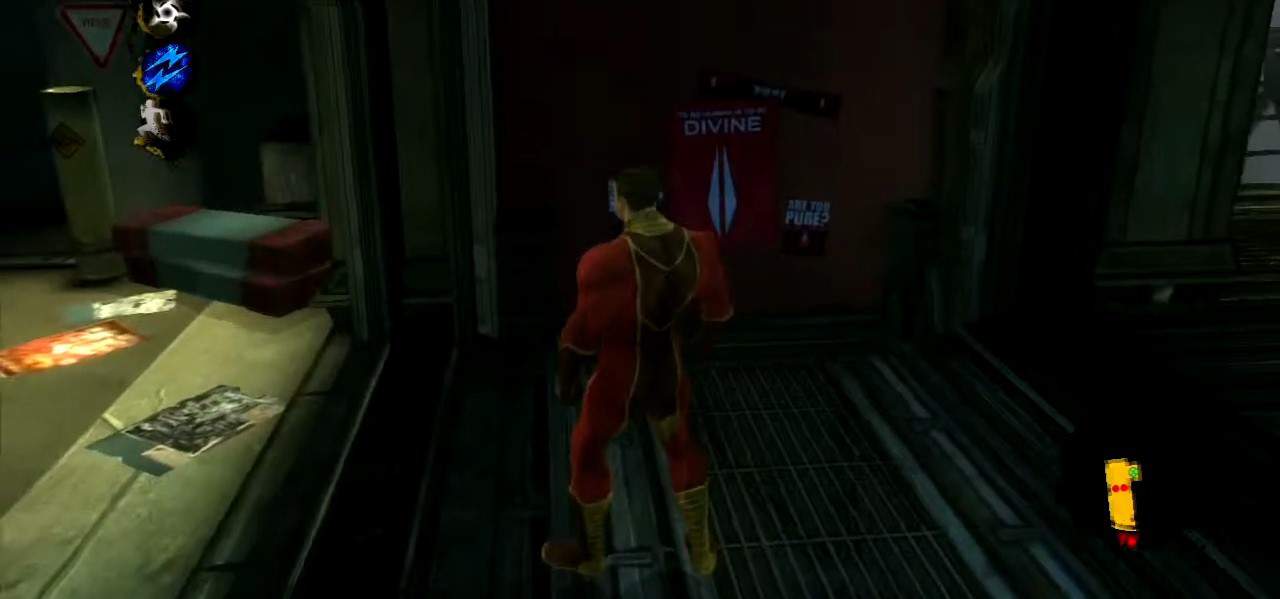
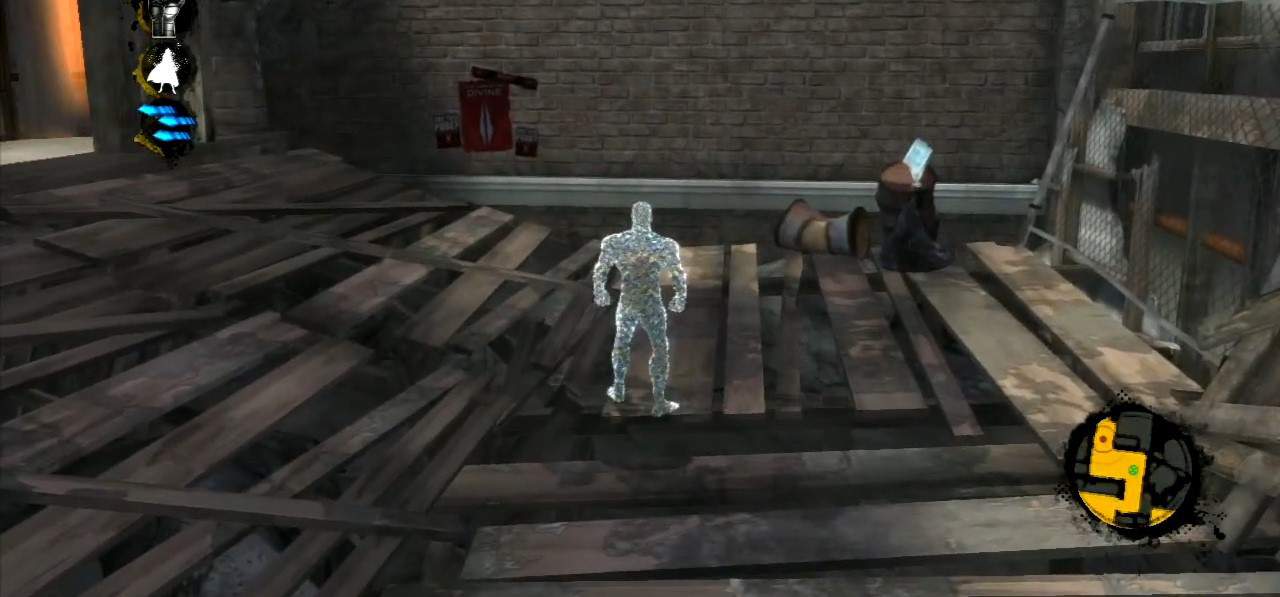
Propaganda Poster #2
Location: When you fight some enemies after a jump sequence with Toad and learn how to climb the walls, you will find the poster on a low wall near the stairs next to it.
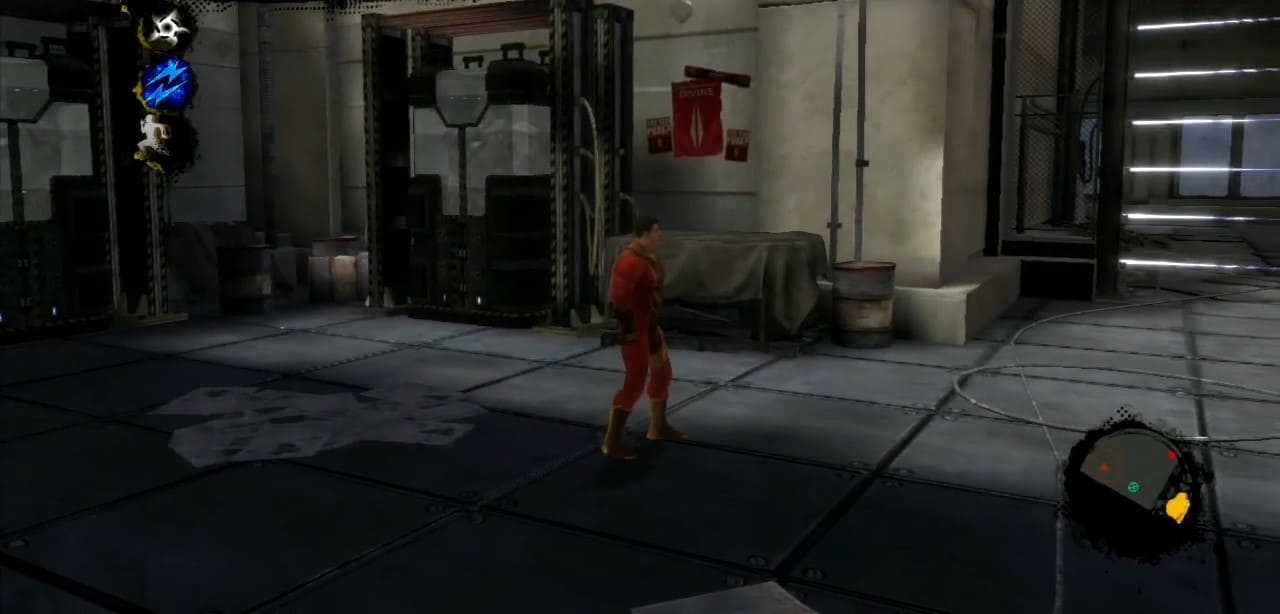
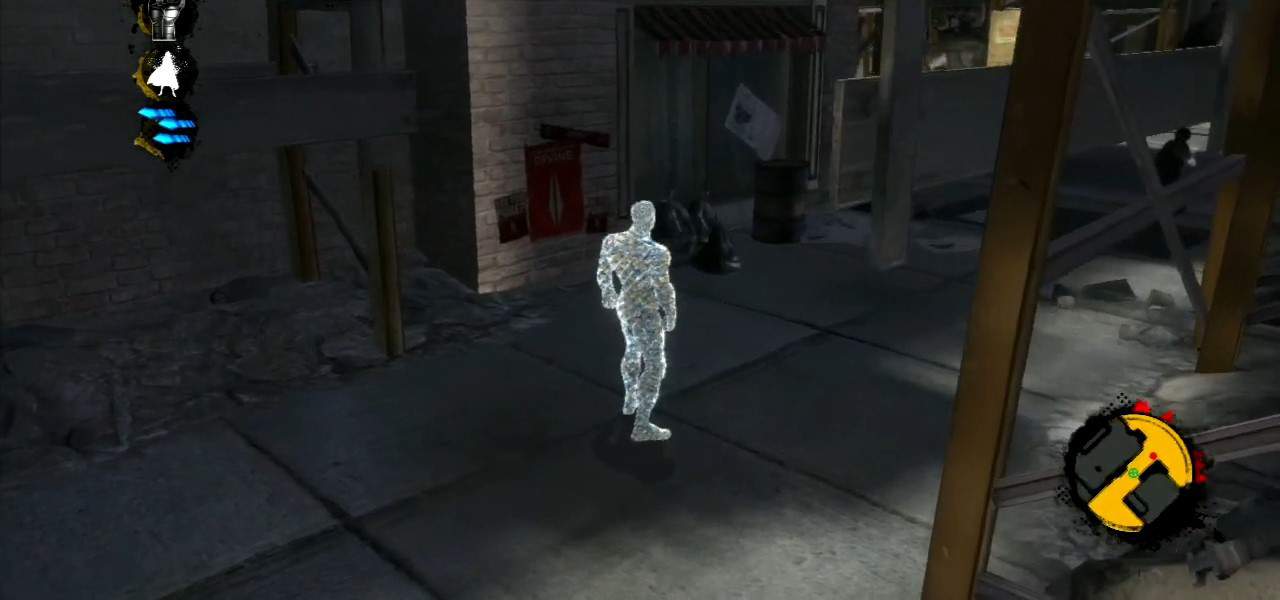
Propaganda Poster #3
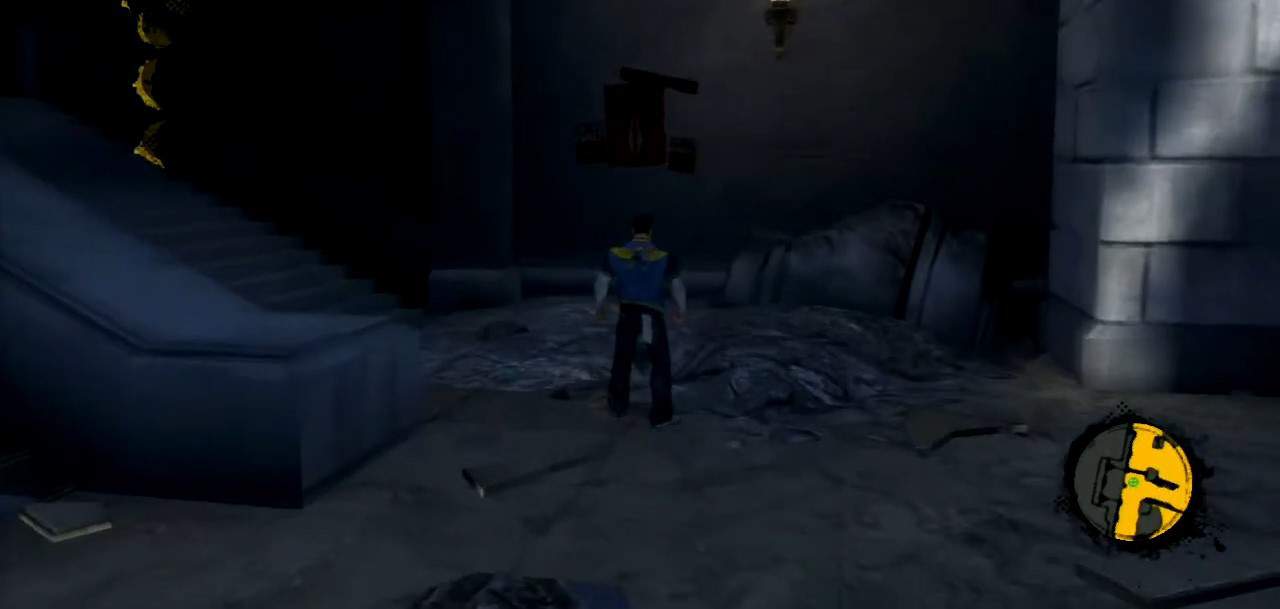
Location: After doing the ground smash, you will enter the sewers. Take a right turn, and you will see the poster between wooden shacks near the entrance.
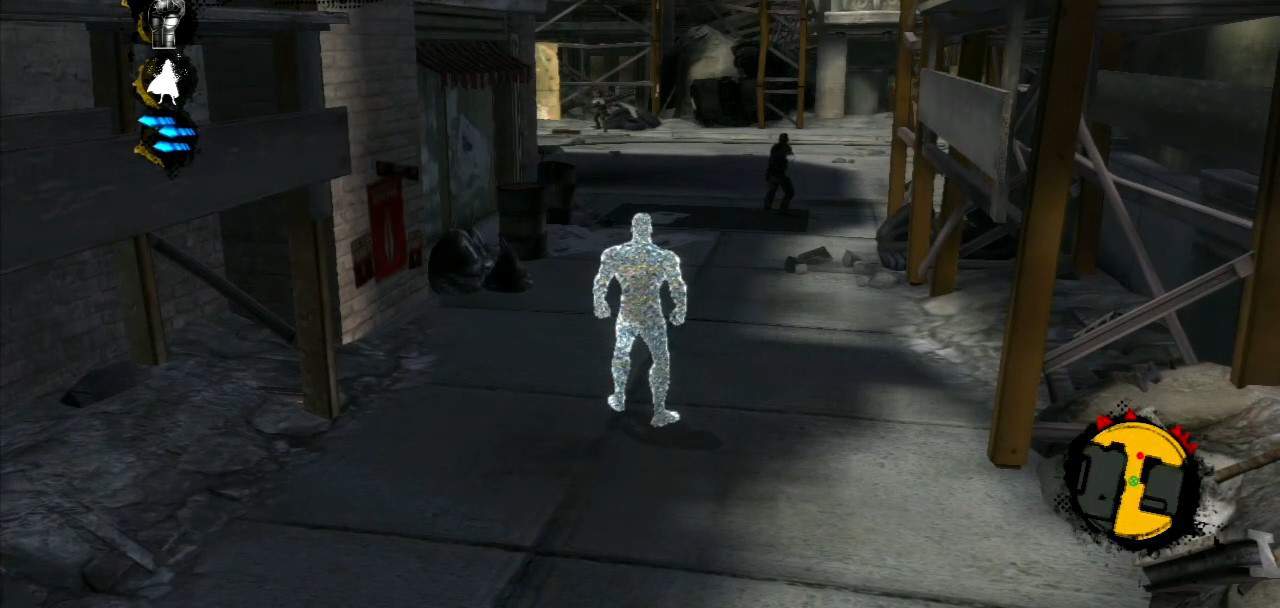
Propaganda Poster #4
Location: Turn around after the cut scene with Command Hodge finishes. The poster is on the bricked wall behind you on the left side.
Propaganda Poster #5
Location: You will find another poster on the right side of Pyro.
Propaganda Poster #6
Location: After meeting with Forge and going up on the roof of the building where you defeat the enemies. Look for it on the wall on your right.
Propaganda Poster #7
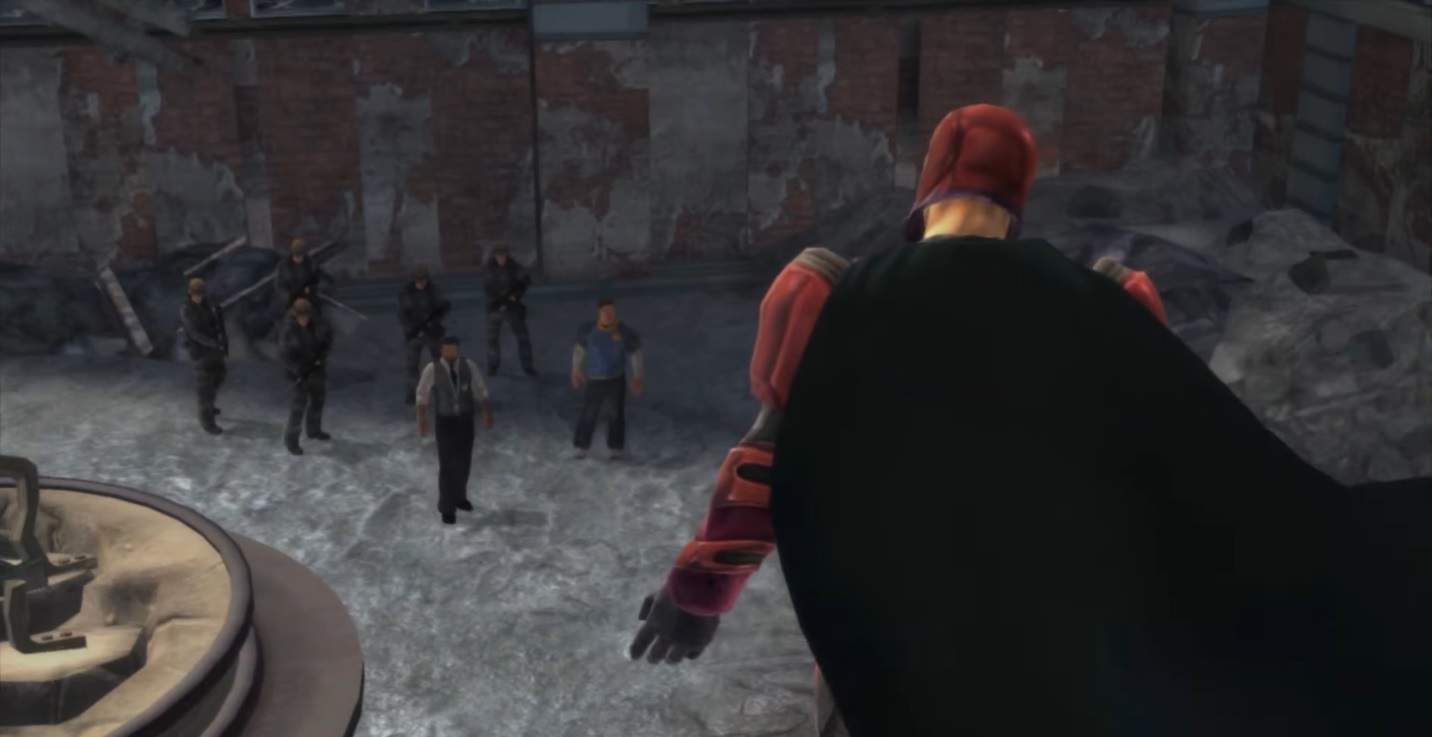
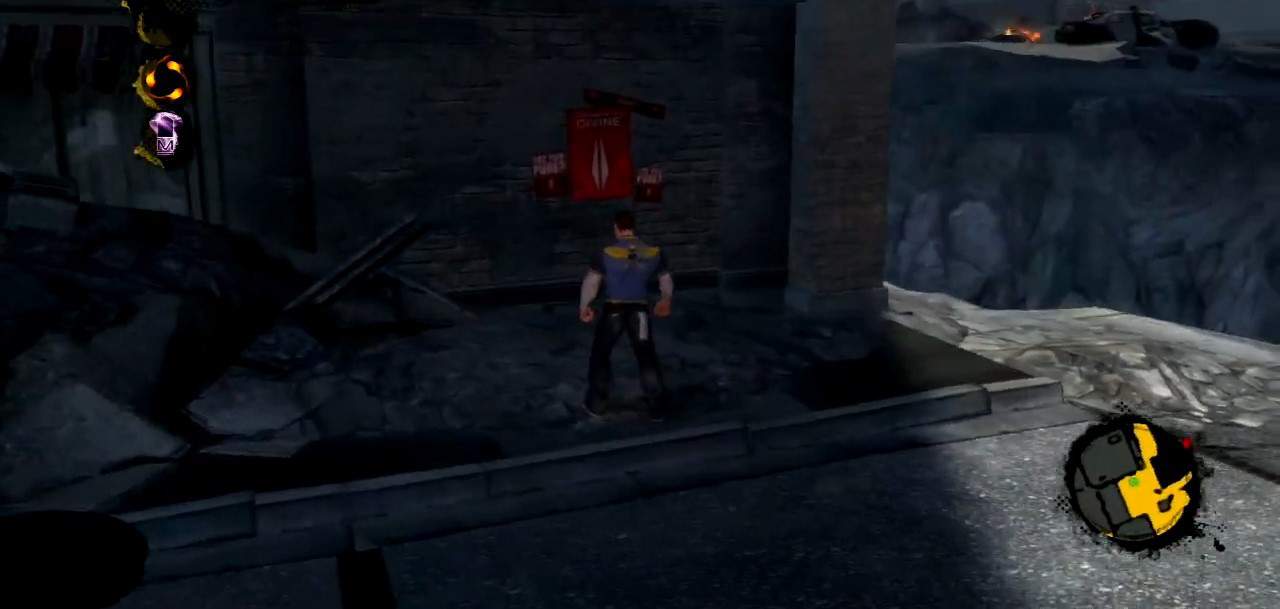
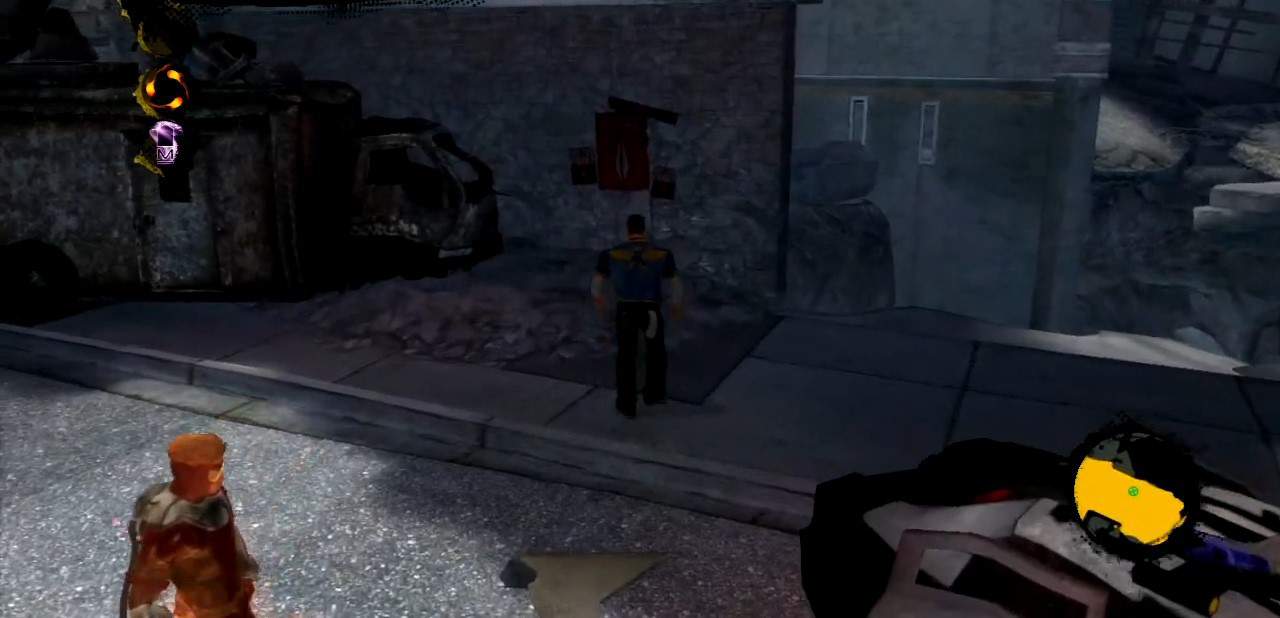
Location: After knocking down the large structure and Magneto’s cutscene ends, you will find this poster on the wall across the street in an area near the cells holding prisoners.
Propaganda Poster #8
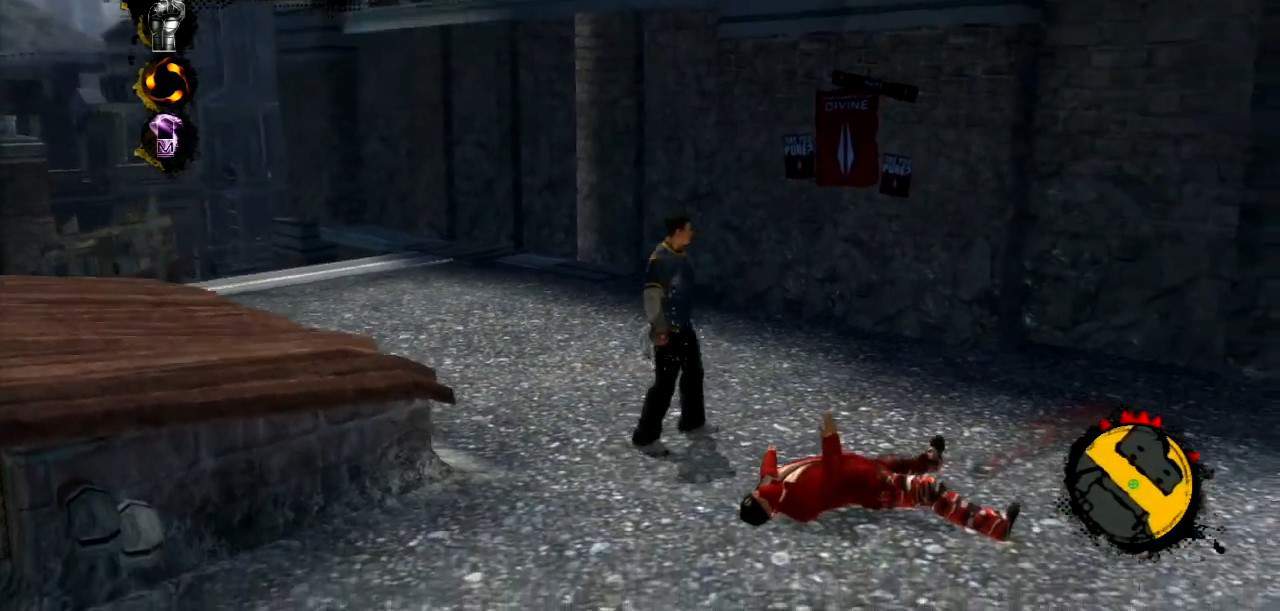
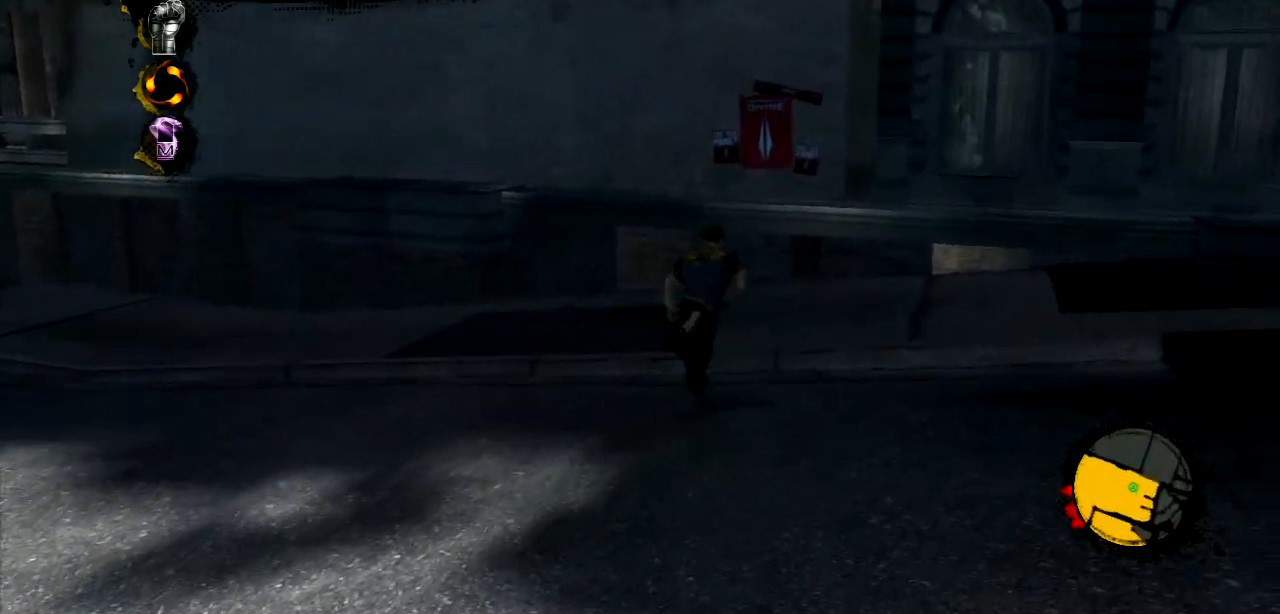
Location: Once you defeat 50 enemies, Commander Cameron Hodge appears. You will find the poster on the left wall of the building from where he is standing.
Propaganda Poster #9

Location: When you encounter the first batch of enemies in this mission, instead of jumping down, make a right and take the stairs to the train station lobby. You will find one of these propaganda posters in X-men Destiny at the bottom level to your left.
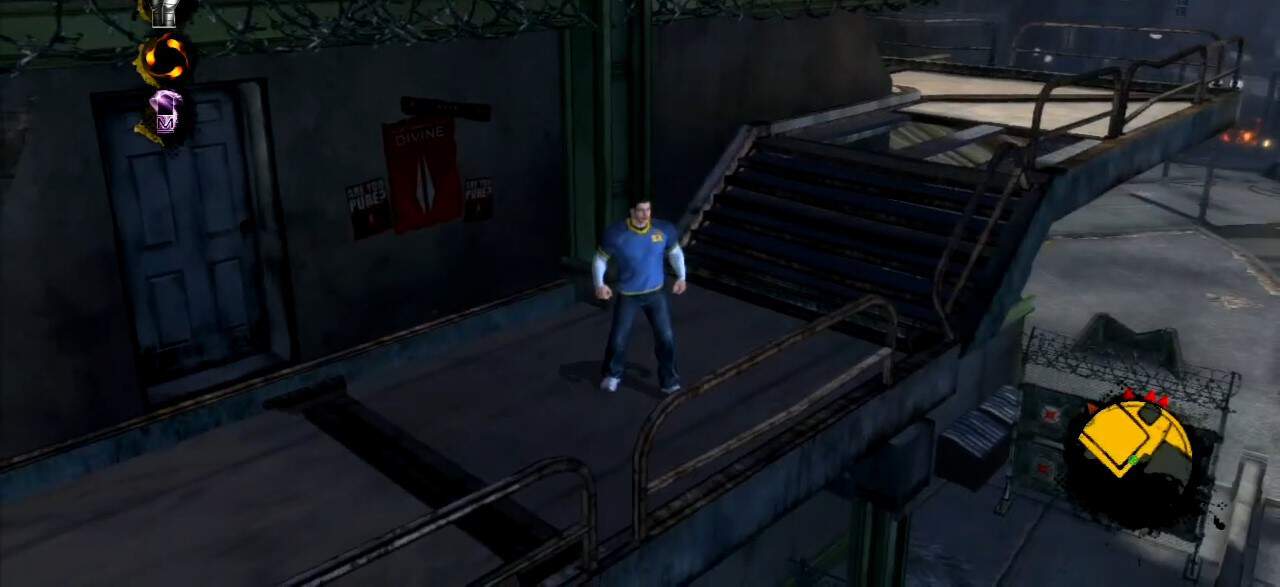
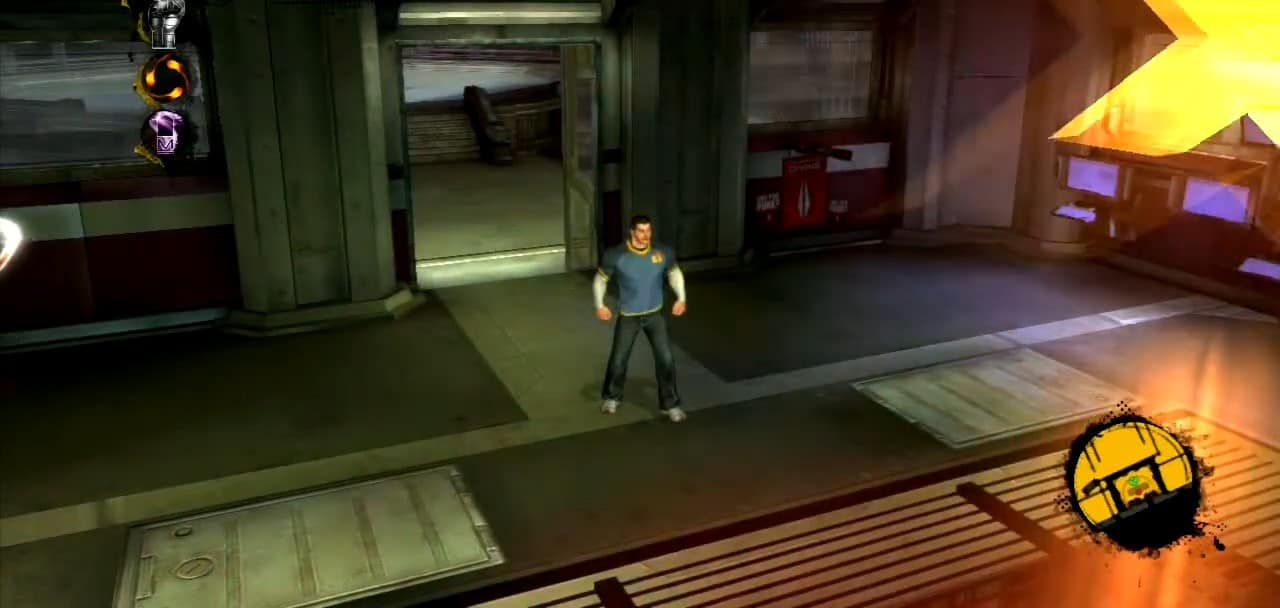
Propaganda Poster #10
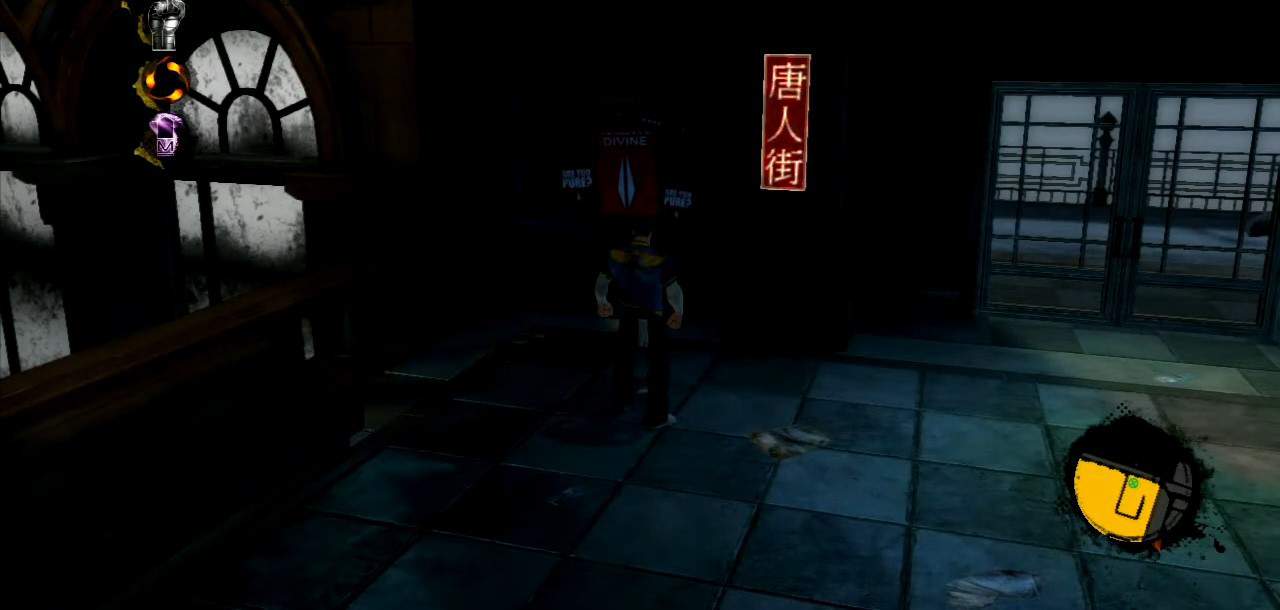
Location: After collecting the previous poster, head up the stairs. You will find another poster on the left side of the closed door opposite the exit.
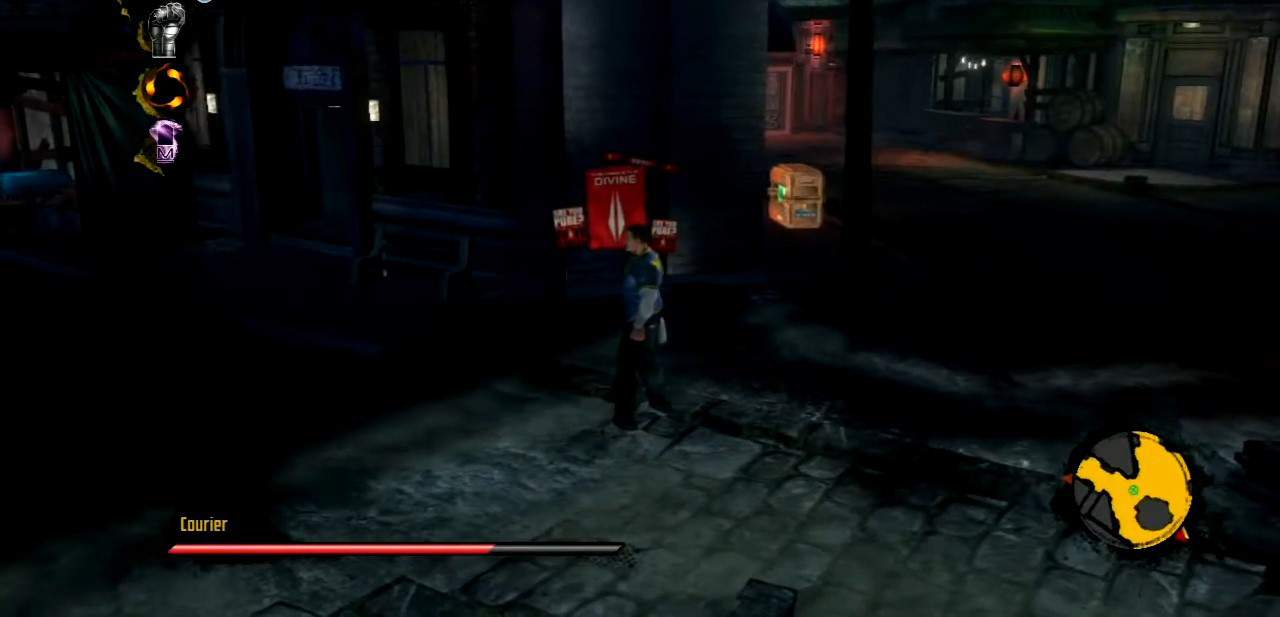
Propaganda Poster #11
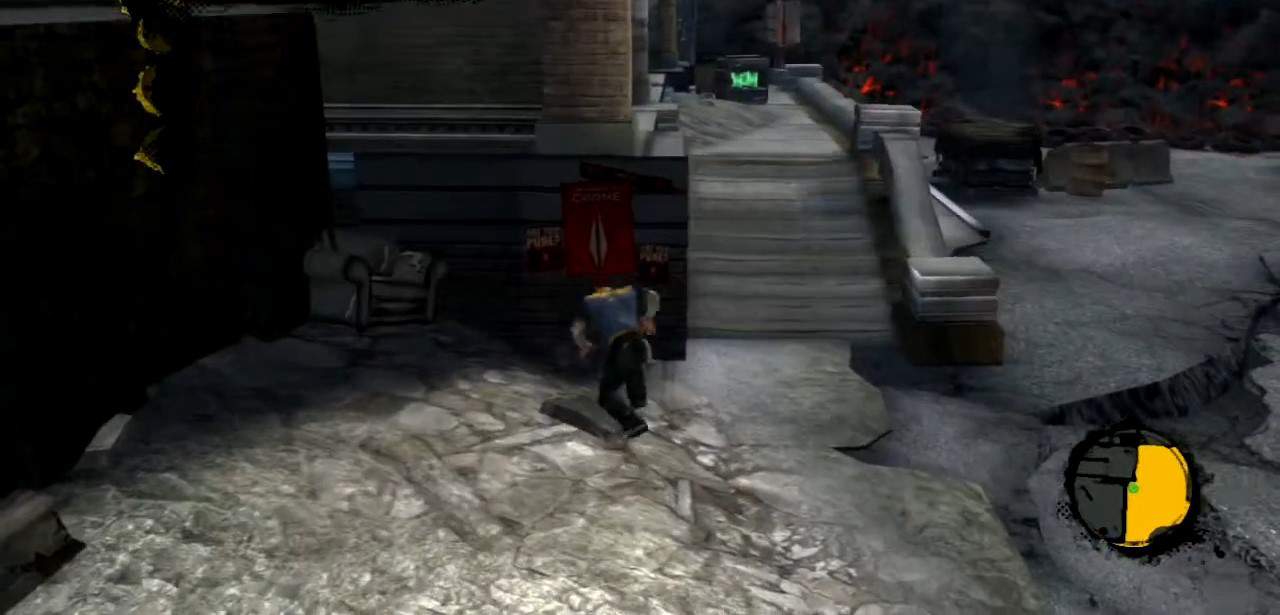
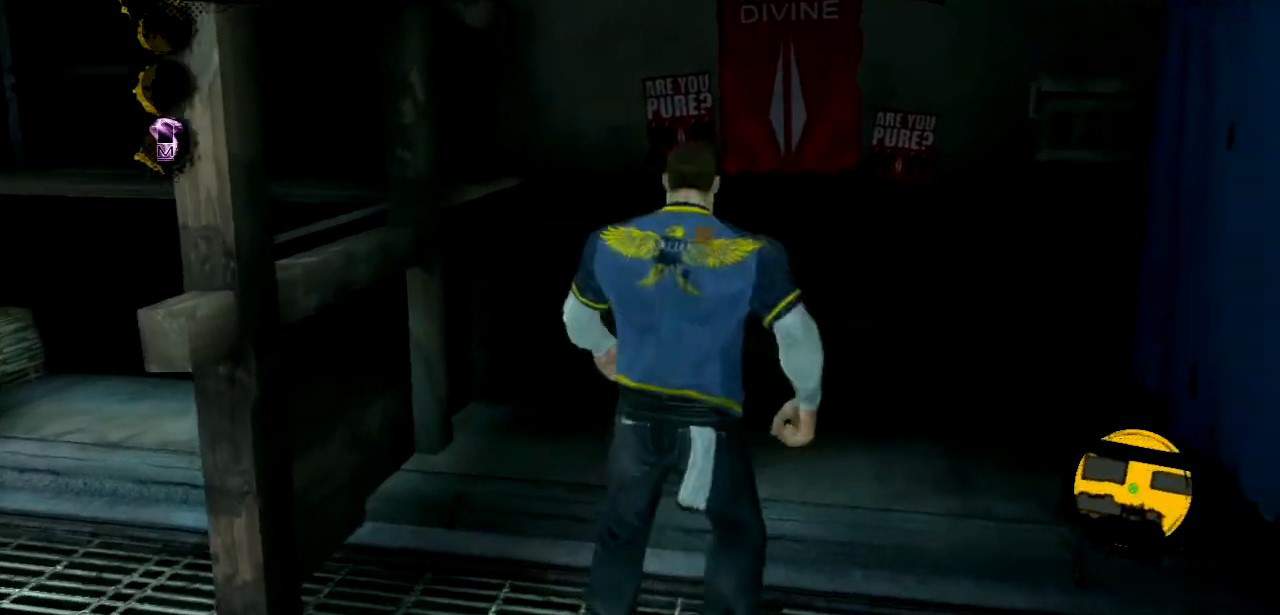
Location: After climbing up the long steps to get to a higher level in Chinatown, you will find the poster on the left wall of the bridge. Remember to protect the carry in this area.
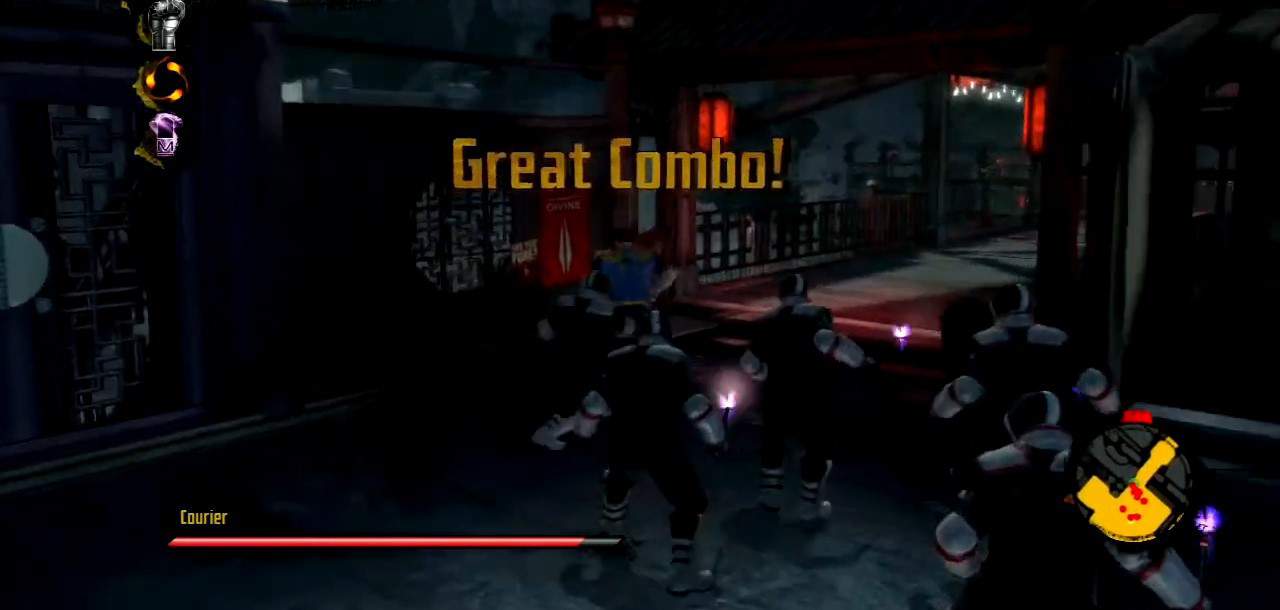
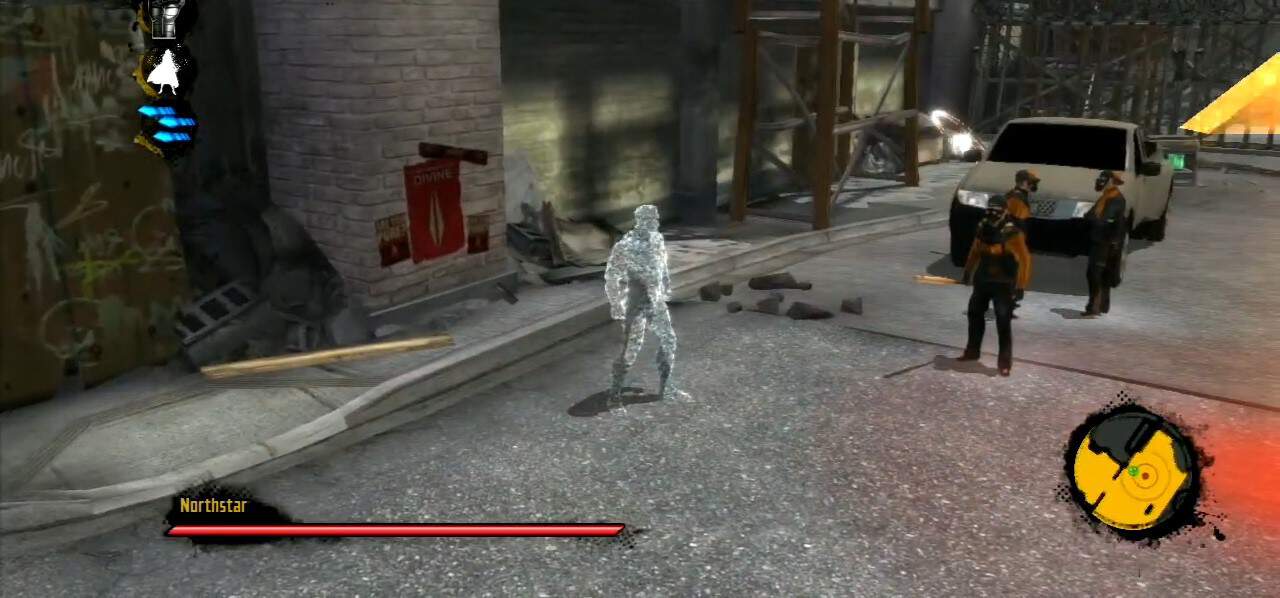
Propaganda Poster #12
Location: After defeating Northstar and protecting the carrier from the group of 28 enemies in the market area, you will find the poster on the wall of the building on the right side of the market entrance and left to a stand.
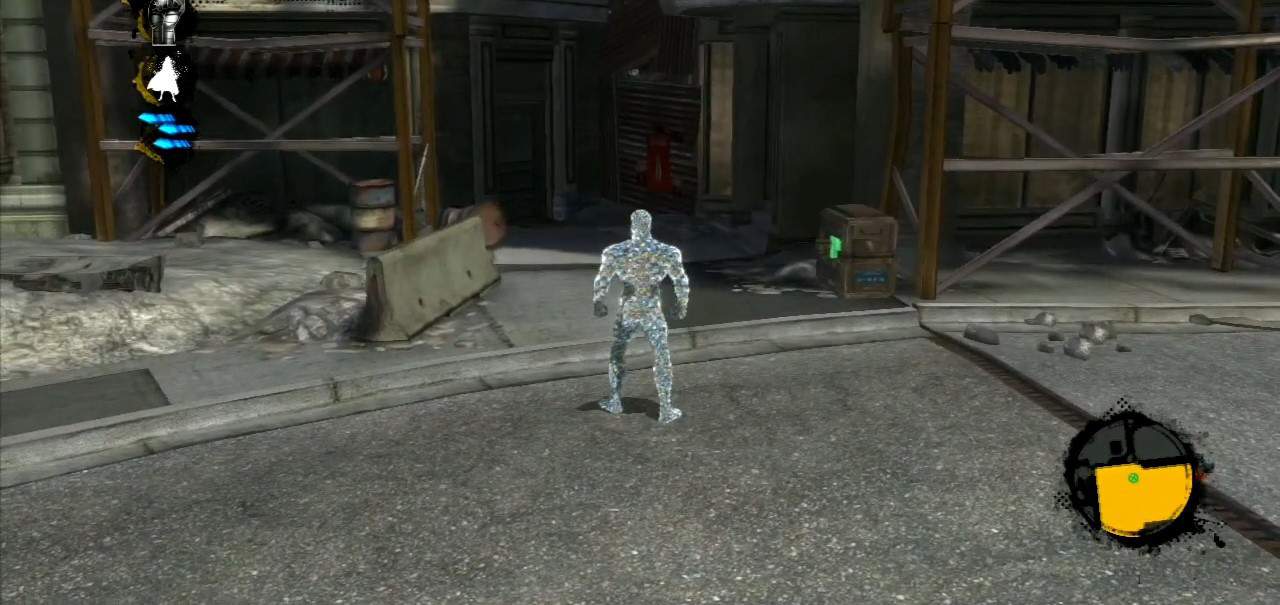
Propaganda Poster #13
Location: Look for it on your right when collecting the Propaganda Piece #12, you will find this poster on wall of V shaped edges.
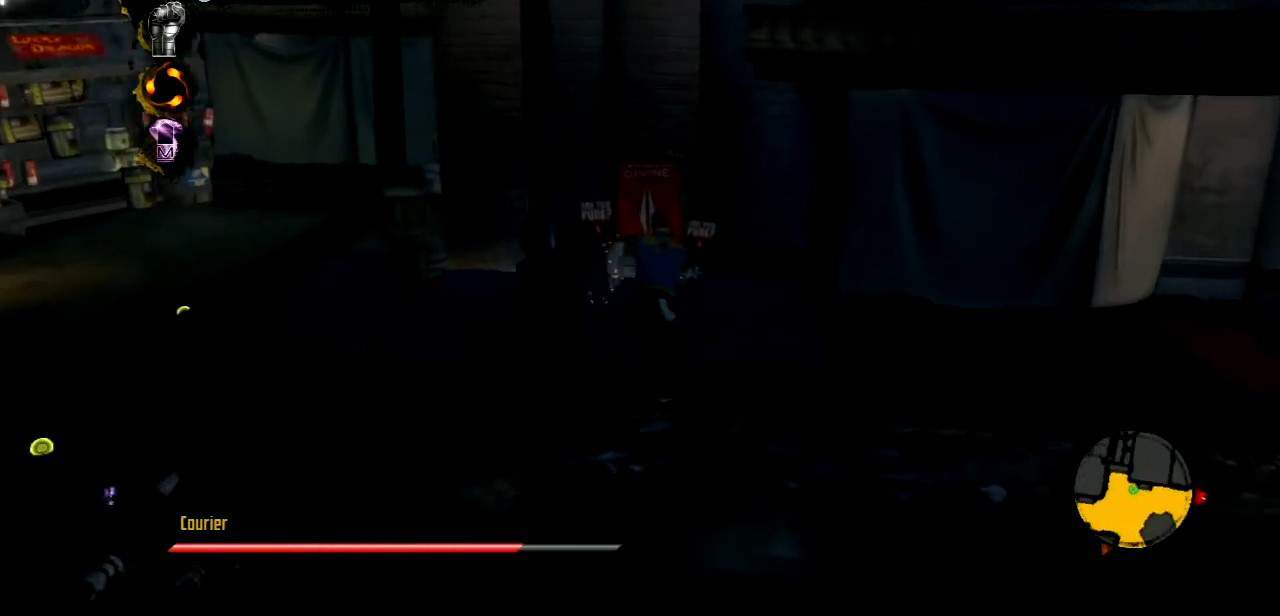
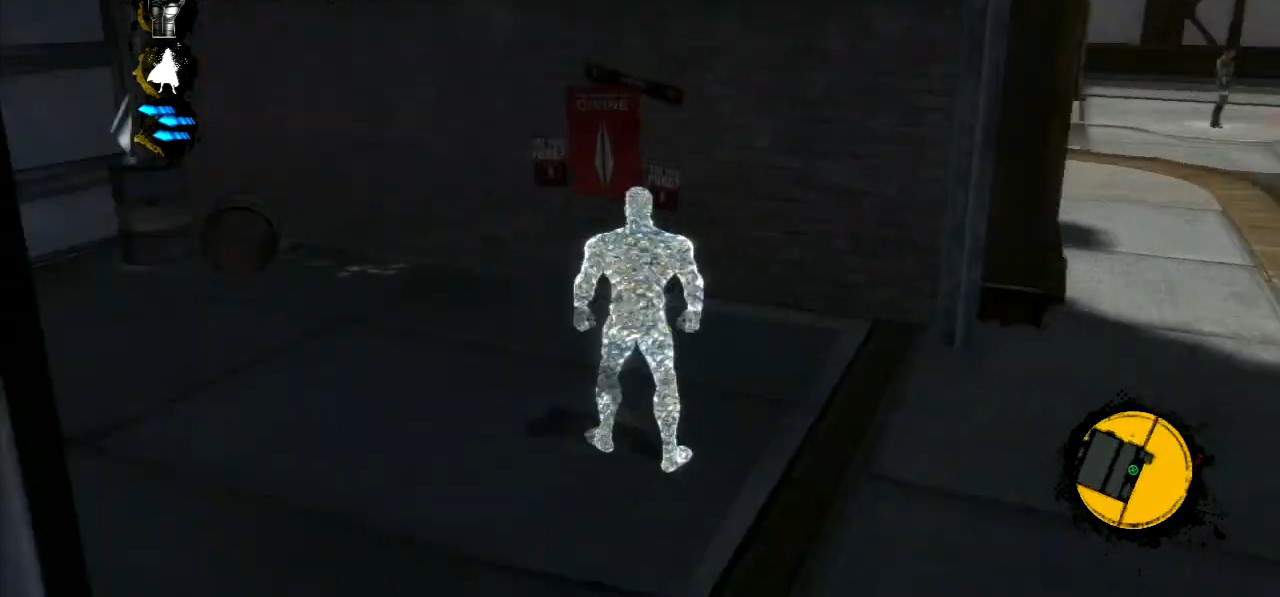
Propaganda Poster #14
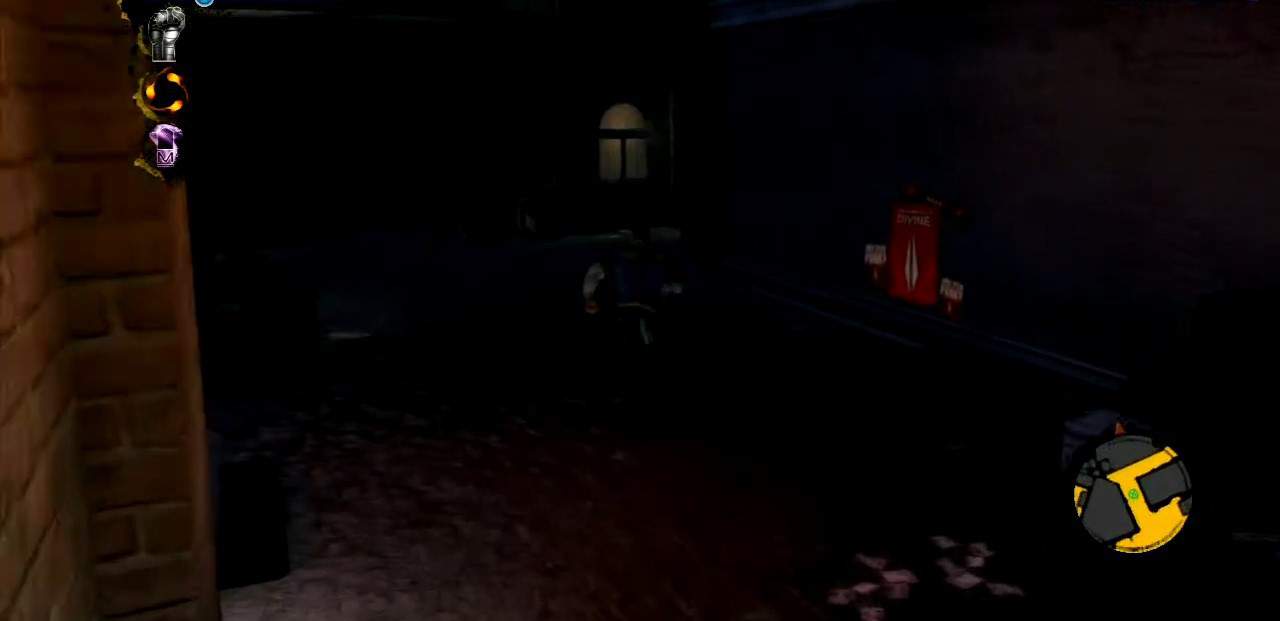
Location: When you leave the market area, take a left into the alley, and you will find it on the right wall.
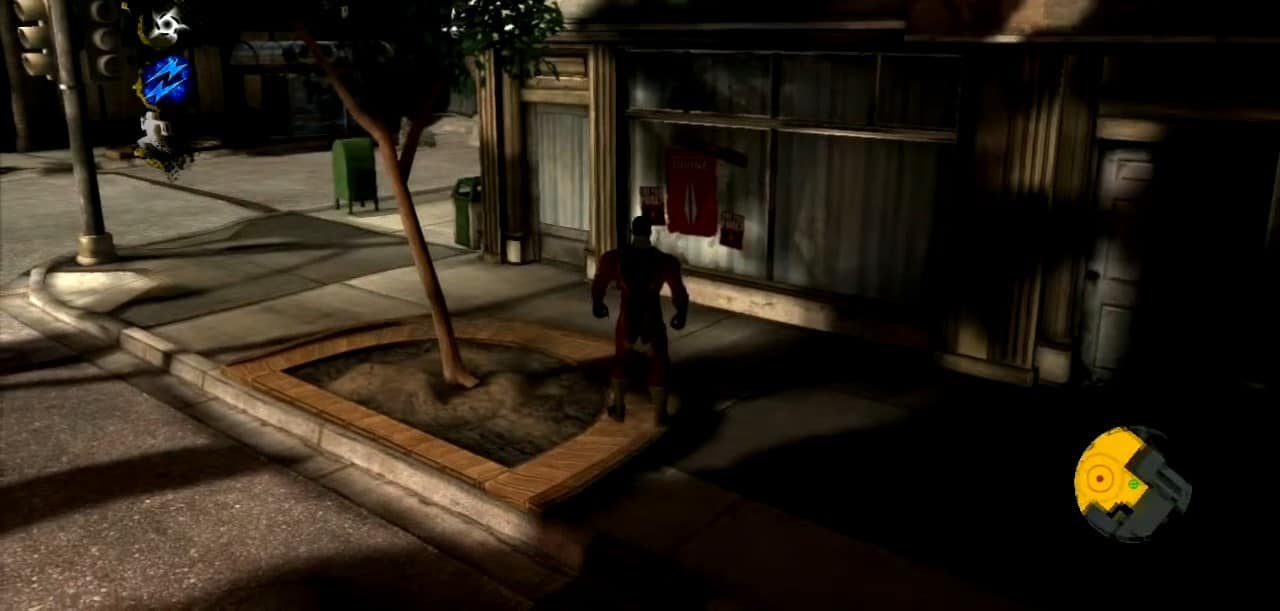
Propaganda Poster #15
Location: Before getting inside the ‘The Rogue Hand’ nightclub, you will find a poster on the wall of an abandoned building at the end of the street.
Propaganda Poster #16
Location: You will find a poster behind the billboard of ‘The Rogue Hand’ nightclub.
Propaganda Poster #17
Location: At the end of the mission, before the X marker, you will find a poster on the cargo container on top of the building. Two enemies will be on top, shooting at you.
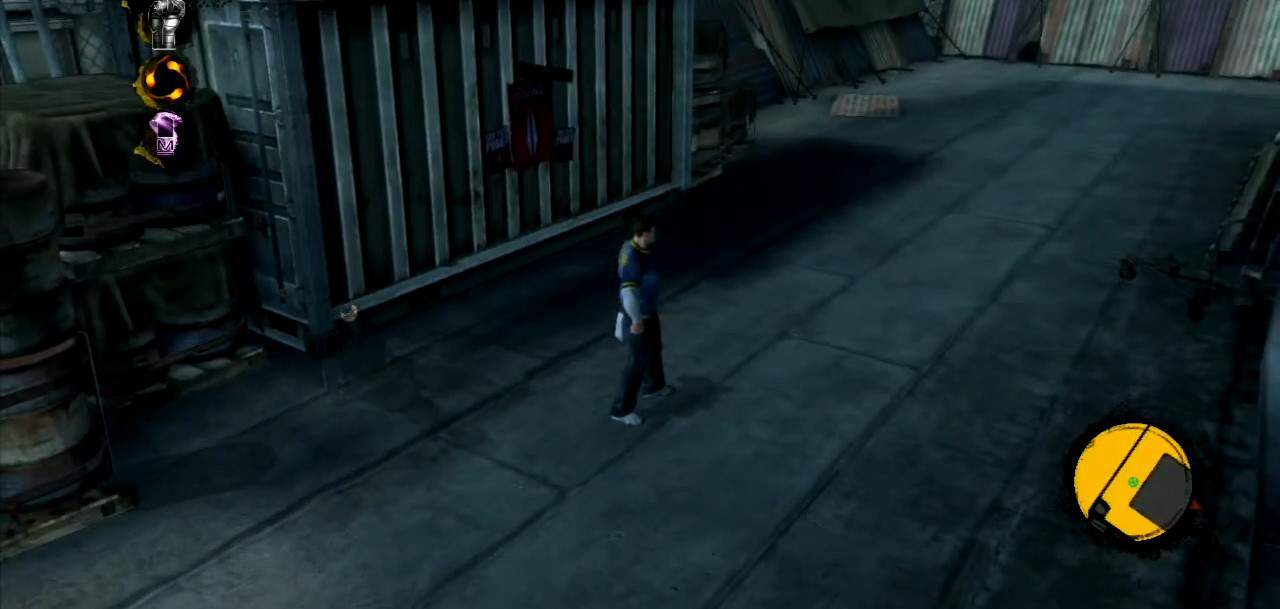
Propaganda Poster #18
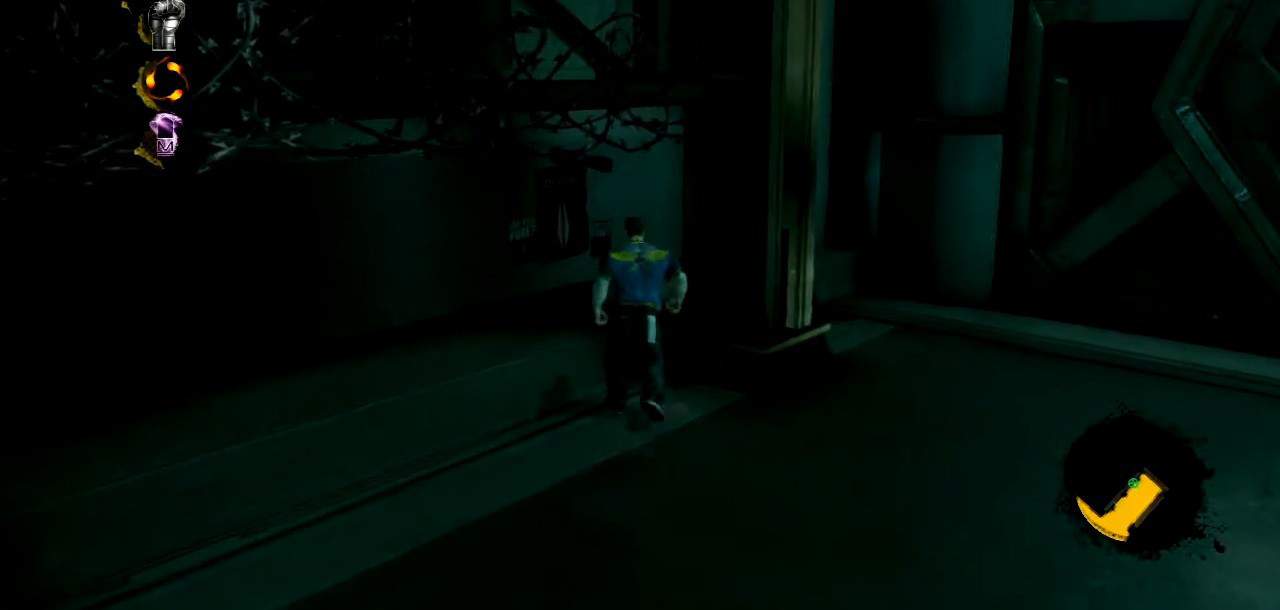
Location: At the beginning of the mission, after taking down a group of enemies, you will find a poster on the left wall of a dead-end hallway.
Propaganda Poster #19
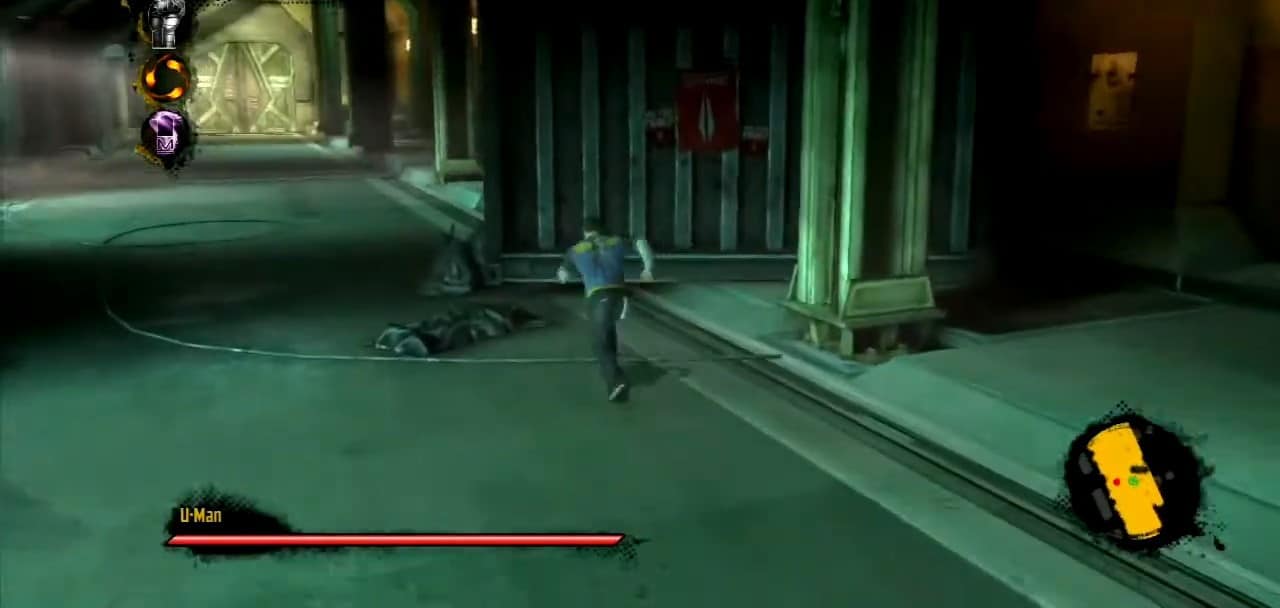
Location: In the 2nd large hallway, you will come across U-Man, defeat it, and get the poster on a cargo container.
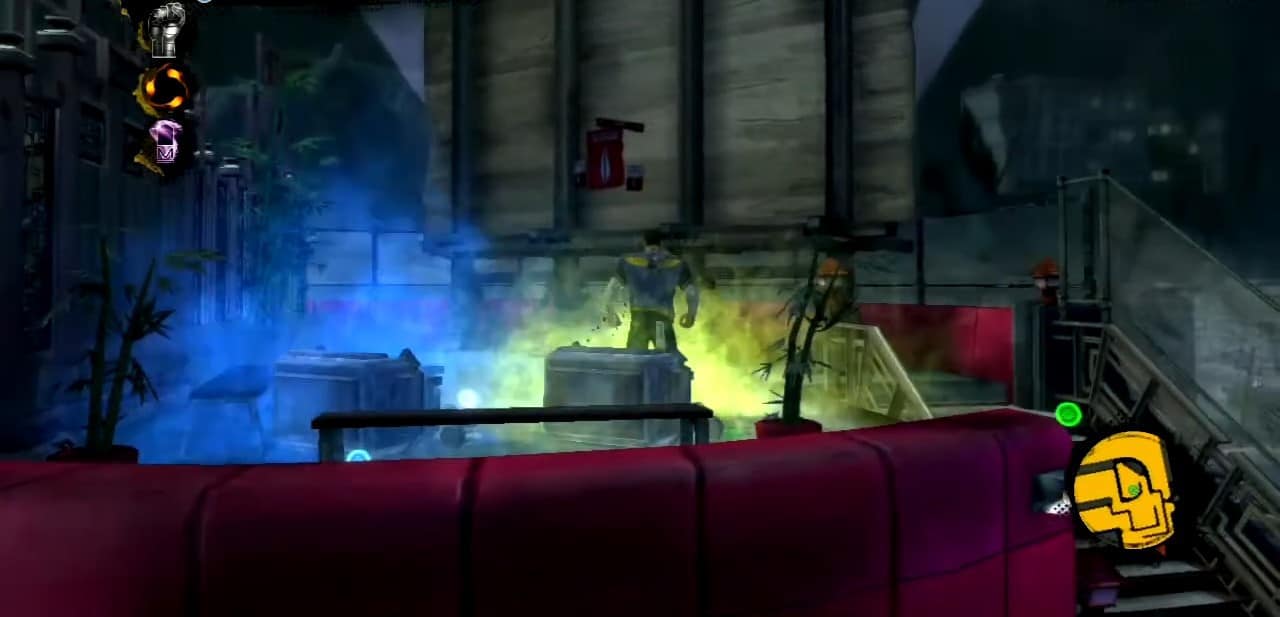
Propaganda Poster #20
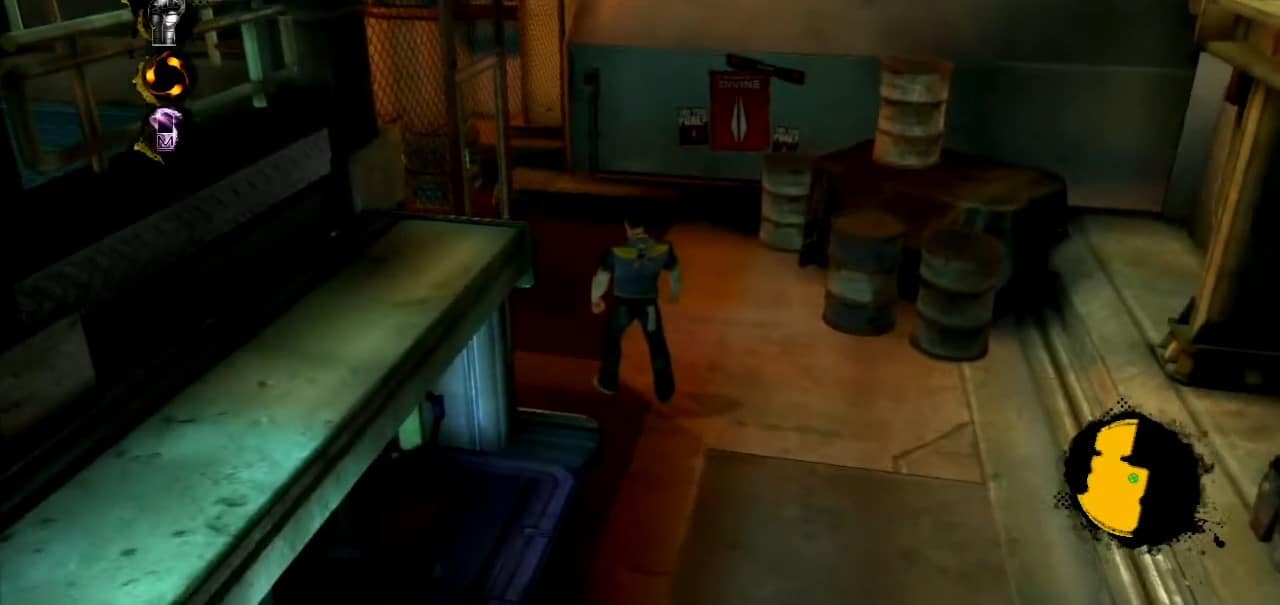
Location: After defeating the flamethrower, you will find a poster in the same room on the wall in the left corner behind the gated fence. To get the poster, you need to get to the other side of the fence.
Propaganda Poster #21
Location: After meeting Colossus and taking down the wave of enemies, you will find a poster on the left wall in the corner area.
Propaganda Poster #22

Location: You will find this one at the bottom of the ramp. The ramp is on the support column, and the control room is on the left side, underneath which is the propaganda poster.
Propaganda Poster #23
Location: As you enter, you will find this one of the propaganda posters in X-Men Destiny inside the control room on the left wall.
Propaganda Poster #24
Location: As the mission begins, look at the window of the building in front. You will find the poster in the middle of the street to the left side.
Propaganda Poster #25
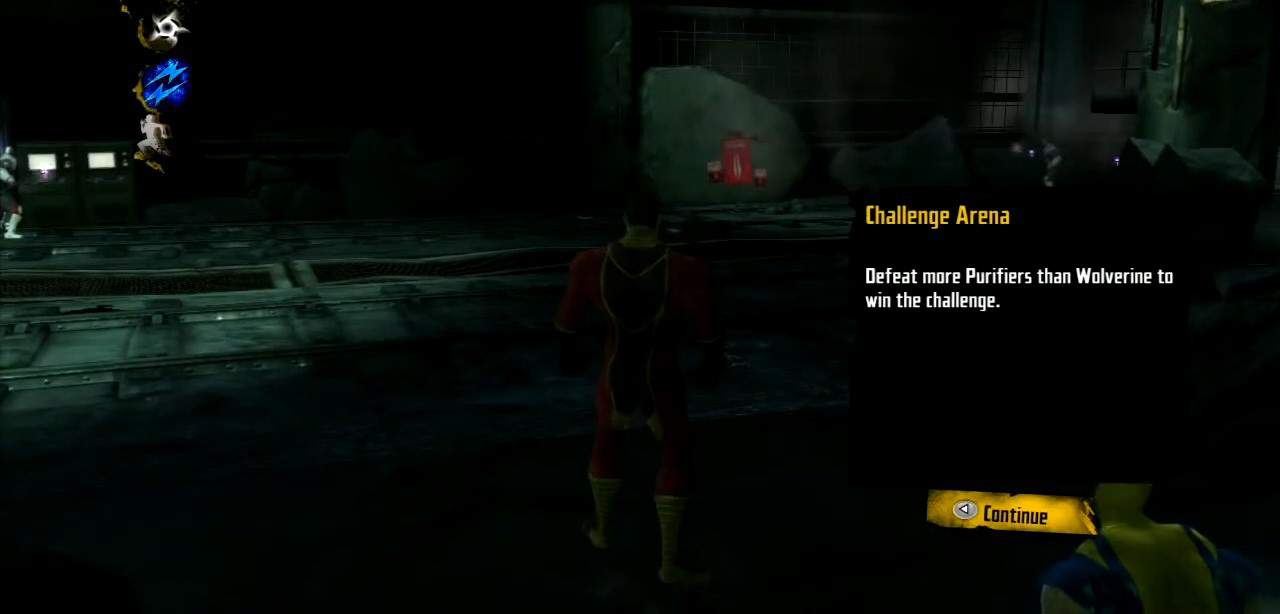
Location: After meeting Wolverine in the challenge arena, you will find the poster on a large concrete piece lying on the ball wall of the arena.
Propaganda Poster #26
Location: After you destroy the huge generator in the area below the Sentinels manufacturing platform, you will find the poster on a glass-looking fence.
Propaganda Poster #27
Location: When you finish Challenge 2, go to your next checkpoint across the bridge. As soon as the door opens, you will find it on the right side of that door.
Propaganda Poster #28
Location: At the beginning of the mission, you will come across a wall around the corner next to the laser beam security system doorway. You will find the poster just near the vent.
Propaganda Poster #29
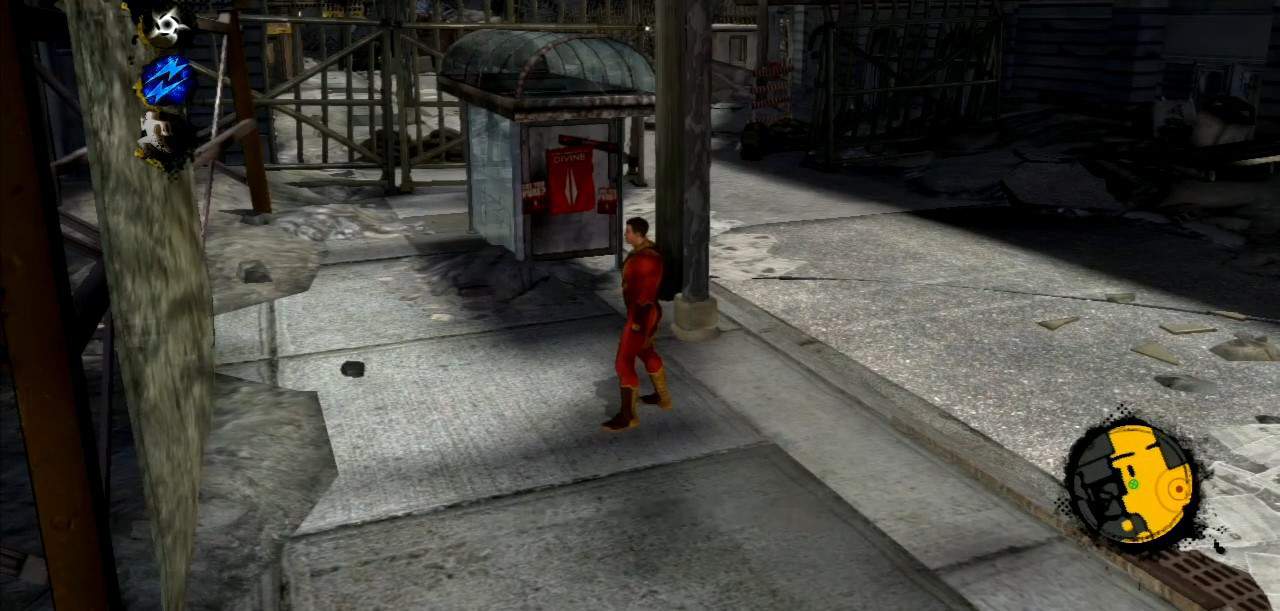
Location: After encountering Juggernaut, you will find a poster on the left side of the bus stop near the right end of the street.
Propaganda Poster #30
Location: After jumping over the cranes and breaking, the floor falls. Look for it on your left before exiting.
Propaganda Poster #31
Location: After you have defeated the three speakers with the Toad, take the stairs up, and it will be on your left.
Propaganda Poster #32
Location: After getting the previous propaganda, fall into an alley. Just before you leave the alley, you will find it on the left wall.
Propaganda Poster #33
Location: After freeing Northstar from mind control, head to the next street. The poster is on the support column of the building left of the X marker.
Propaganda Poster #34
Location: In the same area, you found Propaganda Piece #33; instead of making a right, make a left towards the checkpoint. You should find it on the left side wall at the nook of buildings.
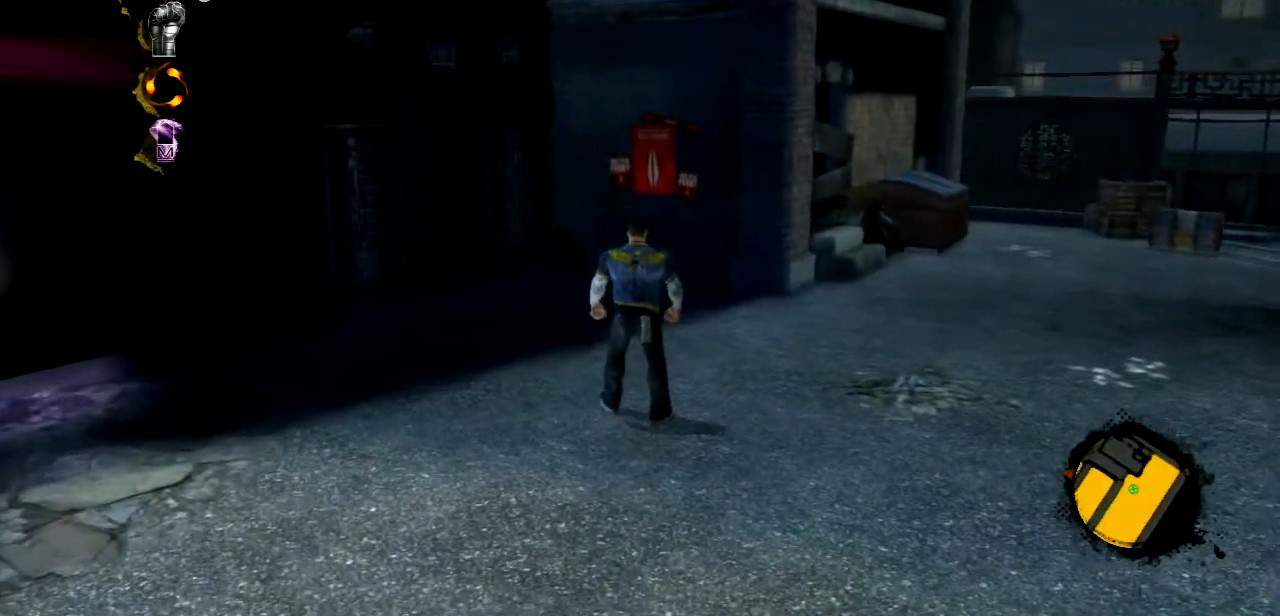
Propaganda Poster #35
Location: Make a left a little further down to an open garage in the same area. The poster is on the right wall.
Propaganda Poster #36
Location: From where you found the previous Propaganda poster, go to the next checkpoint. From there, you will see the next checkpoint, which is further down. Look for the last of the propaganda posters in X-Men Destiny on the left wall just before the checkpoint.