Abyss Dungeons are endgame places in Lost Ark where you can defeat bosses and get high-level gear and items. One such dungeon is the Sea of Indolence Abyss Dungeon in Lost Ark, which we will cover in our guide.
Lost Ark Sea of Indolence Abyss Dungeon
The Sea of Indolence Abyss Dungeon is the third Tier 2 dungeon that requires you to be Item Level 960 to take part in. It is also the first dungeon that you will play with eight players.
You also need to clear the previous Abyss Dungeons to take on the Sea of Indolence Abyssal Dungeon. It also has a new set of mechanics that you need to learn before going deep in the sea and fighting the bosses.
Giant Deep Sea Member Boss Fight
The first boss fight is somewhat unique, where you will face a sea dragon underwater while wearing a scuba diver suit and new fight mechanics. The boss is fairly easy, and it has few attacks that deal low damage.
One of its attacks will spawn red markers on the map, and puddles will appear that will deal some damage. In another attack will aim in a certain direction and charge towards it. Anyone caught in its way will get knocked back and slightly damaged.
The major part of the boss fight is when a mini-boss Shark will spawn in the arena. Kill the shark boss to get a damage buff that will easily help you take out the main boss.
Oxygen Mechanic
After the first boss fight, the second phase of the dungeon is where you will go through hordes of enemies without the Scuba Diver Suit. An Oxygen Meter will spawn on your character’s head, showing the amount of oxygen remaining.
When the oxygen meter is empty, your character will get out of breath and get extra damage.
To fill the Oxygen Meter, head towards the plants in the arena and click on them. Or, you can stand on the bubbles rising from the ground to regenerate Oxygen.
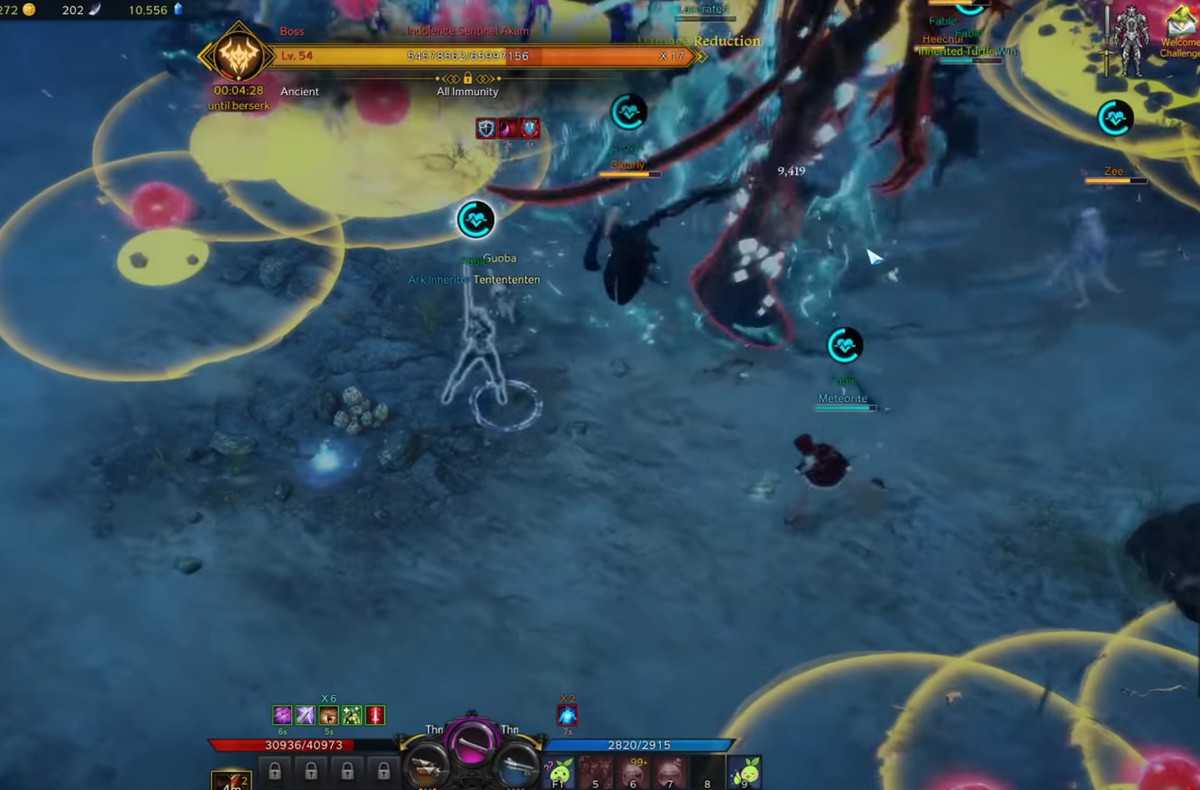
Indolence Sentinel Akam Boss Fight
The second boss fight will occur against a giant octopus creature that deals with massive damage.
The Oxygen Meter will stay throughout the fight, and you will need to replenish it from time to time. One of the boss attacks will take away half of your Oxygen when you get caught by it.
Yellow markers will spawn on the ground, and if you are inside them when the attacks land, your oxygen depletes, and it will deal massive damage to your character.
Getting hit many times by his attacks will get your character stunned. When the Petrification Debuff is stacked up to four times, your character will get stunned.
One of the main attacks of the boss is when it spawns a safe zone on one of your teammate and execute a high damage AoE attack in the area outside of the zone. If you get hit by the attack, you may die with just one hit.
Since the safe zone spawns on your teammate, make sure that all of your teammates are somewhat close to each other so you can easily get to the safe zone.
After dealing damage to the boss, its legs will soon break and perform a new attack. Finally, the boss will dash backward and charge forward while dealing damage to the players in its way and stunning them.
When the boss is about to charge, move to its sides so that you are clear of its path. When you are stunned, your teammates can help you out of the stun by breaking it.
Once you have defeated both bosses, you will receive Tier 2 rewards for completing the dungeon.