You will mostly come across travelers in Kingdom of Amalur as traders, tinkers and thieves. They are a notorious bunch and rely on the prophetic powers of their anonymous leader, The Hierophant. This guide will focus on Kingdoms of Amalur The Travelers Quests to improve your standing with them.
You will find them in Faelands in their main camps – Star Camp in Dalentarth, Moon Camp just outside Dokkalfar city of Rathir and Sun Camp in Detyre.
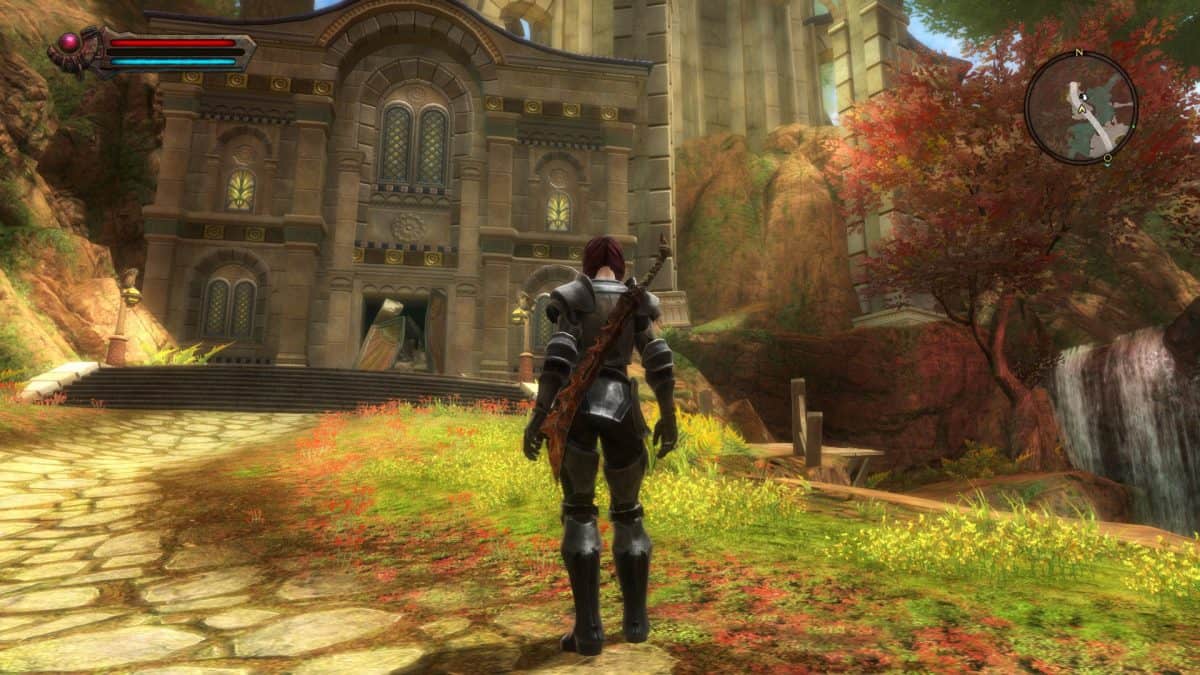
If you are curious to know their history and lead them to glory, you will get your chance to join them while moving from Glendara to Lorca-Rane.
For more help on Kingdom of Amalur, read our House of Warsworn, House of Ballads and Troubleshooting guide.
Kingdom of Amalur The Travelers Quests
Following is the complete quest-line of The Travelers in Kingdom of Amalur:
- The Guided Hands
- The Silent Step
- Jail Break
- Something Borrowed
- Going Rogue
- Mirror, Mirror
- Outside the Box
- Classic Misdirection
- The Purloined Letters
- Thick as Thieves
How To Join The Travelers
When you’re moving from Glendara to Lorca-Rane, you’ll be addressed by a Traveler sentry. Accept his offer to trigger the first quest.
The Guided Hands
It will be triggered when you accept the offer of the sentry. Grim Onwig at Star Camp is the sentry who’ll give you this quest. Try to do the side-quest Reprisal Reprised if you cannot find the camp.
Locate Crilgaren from the Traveler’s camp and she will ask you to move to the Hierophant temple and pray. You’ll be tasked to steal a medallion, a pair of daggers and a shroud of a saint in a monastery. You can easily track them using your mini-map.
The Silent Step
Trigger the quest by finding Aergase (The Sidhe). He will tell you the location of the boots and the Fae lord i.e. in Arduath.
Either go for full-blown attack or follow defend and avoid strategy. Grab the boots and take them to the Star Camp. You can explore the dungeon once you’ve killed Ametair.
Note: Don’t try to save/load the game during the battle with Ametair.
Jail Break
Search for Grim Onwig at Ohn’s Stand (Lorca-Rane). The dungeon is very big and full of enemies so you should try to explore it first and then do the quest. Whenever you do, make sure you’re well equipped and have a good armor.
There are three ways to get Onwig out: Get his stealth kit, steal the Missives of Sable and use it as a bargain or by getting the key. The easier way is to grab the key from the Gnome captain or get Onwig’s stuff. You can return to Star Camp once the thief is out.
Something Borrowed
Take this quest from the Star Camp’s leader. Move to the Moon Camp (Plains of Erathell) to start this quest. Talk to the elf’s leader in the second camp and to the Hierophant statue after. It will ask you for three items and suggest you to have more information about Irion and Maire.
Let the awareness meter fall down and drink some invisibility potions. Get closer to the cowl-bearer and take the items. Once you have the items, you can get back to Star Camp.
Going Rogue
Irion will redirect you to the Hierophant and you’ll be assigned a stealing task again. A traveler will go with you and you’ll move towards the dungeon of Rithen (Twili Coast).
You will have to work with Phasmer to go through the dungeon. The quest is quite easy and it doesn’t have that hard of enemies. Simply proceed forward and steal the items you have to.
The path of the hallway has a trap on it so you will have to be careful while leaving. Somebody will help you just when you’re about to leave. Take that medicine to Phasmer, a story locked amulet will be given to you as a reward.
Mirror, Mirror
After you go rouge during the discussion with Grim Onwig, you will be told to discover Glass of Ambient in order to remove Hierophant and for that you have to go to The Blackened Hall and to get there you have to go south and once you get there get the Grim Onwig’s equipment stash by entering.
Buru’s boots are important. Your options to travel the aisle are to use the boots and sprint, another way is to be stealthy and disarm the traps and the last option is to run through after fate shift.
Go through the maze ahead while fighting Niskaru. In the end you will have to take care of the Guardian.
You will have to place the amulet on him after defeating him and after that take the Tear of Mitharu out of the amulet and that will curse the Guardian.
Now get the Glass of ambient and return back to Grim Onwig at the dungeons entrance and you will get Shield of Ambient from him.
Outside the Box
You will be sent to talk to Argine by Grim Onwig and then you will be sent to Hierophant Shrine and there you will told to steal master’s pick from Eloren Criet in the Adessa Laboratories.
After that you will go to Adessa and then towards the laboratories, where you will speak with Eloren Criet who actually doesn’t possess master’s pick.
After that you will move towards Adessa Armory and collect the box by sneaking in and there will be a noted attached to that has the direction for opening the box.
Remember to not be visible for very long or you will be considered a trespasser and be charged with it.
Go back to Argine and now you will sent to Guian Stebic and you will use the device on the box there. Get to the HQ and head downstairs and pick the lab lock.
You will have to fight your way through Faer Gortas and get to the Arrivus Engine by going to the back. Get back to Argine and you will get your reward.
Classic Misdirection
You will be directed to Hierophant Shrine by Argine and you will be told by the Hierophant that there will be an execution of the Maun Cointaker and you can get the treasure key from him.
You have to go north of Sun camp to Convict’s Cavern and talk to Maun.
He will let you know the location of the hoard that is in Snaketail Grotto along with giving you the key and inform you that there are a lot of fights between Bandit clans over this.
You need to take every one of these bandit clans out and after building the three part key but once to get to the place where the hoard is supposed to be, you will find a note that says there was never a hoard.
You will go back to Grim Onwig and end this quest.
The Purloined Letters
Find Phasmer Humm in Adessa after talking to Grim Onwig at the exit of Snaketail Grotto. Get to the Livararium after going through the Isles and talk to Phasmer again.
He will instruct you to speak with Missives of Stable using the Shroud of Omission given to you.
When you tell him you are ready, the grate to the Forbidden hall will open.
To get to the Missives of Stable, you have to travel through the vaults. Be as stealthy as you can and get to the room with a central chest and 8 braziers.
You have to light each brazier in a specific way to open the chest and if you make the wrong move, you have to start over.
Now open you open it up, you need to get what’s inside and move towards the exit. You can either sneak or fight and get back to Grim Onwig and quest will be done.
Thick as Thieves
You have to frame the Hierophant for stealing Missives of Stable as said by Grim Onwig. Go into the grave in Sun camp and talk to the Hierophant who will convince you to side with him.
After that you will speak with Crilgarin for further instructions. Then you will pickpocket a bag of wind off the Hierophant’s guard.
Go back to the large rectangular room and go down the stairs at the right but stop at the last step or the alarm will ring if you go into the room with the Watcher Statue.
Use the bag of wind here and the torches will be blown out. Now once in this room, you can take the side of either Grim Onwig or the Hierophant and plant the evidence accordingly.
You will escape immediately and the quest will be completed.