Hyrule Warriors: Age of Calamity has Link and his fellows traveling around the world to prevent the destruction of Hyrule from the upcoming calamity. This guide will help players to complete the mission Daruk the Goron Hero in Hyrule Warriors Age of Calamity.
Hyrule Warriors Age of Calamity Daruk the Goron Hero
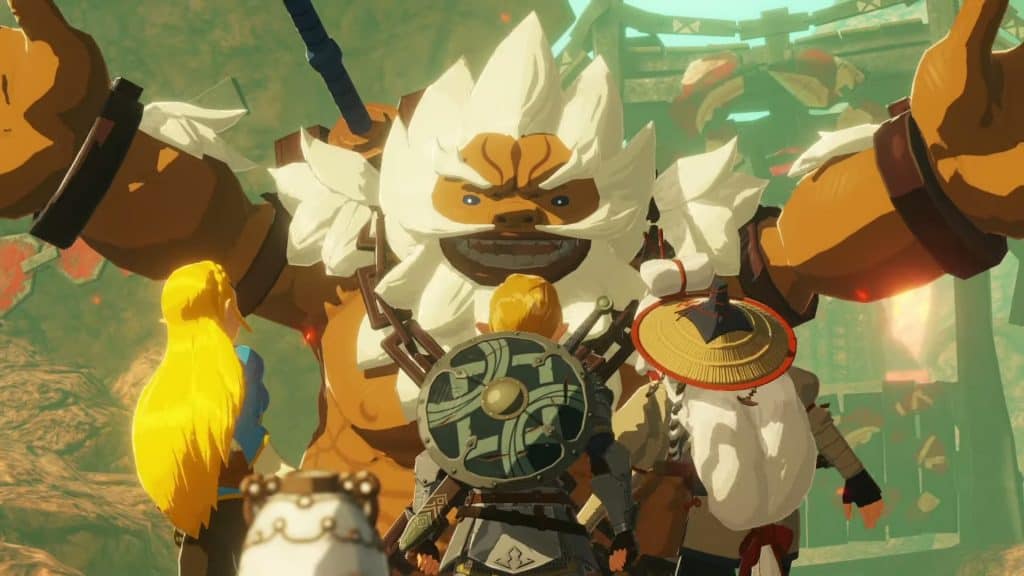
Daruk
Gorons are a strong tribe located at the base of Death Mountain. Link and Zelda need their hero, Daruk, to pilot the Divine Beast Vah Rudania.
They travel to Goron City to ask for Daruk’s cooperation, but Daruk tells them that monsters surround Death Mountain and they need to get to the top to get to the Divine Beast.
Clearing the Base
As the mission starts after the cutscene, Goron Captain announces that Dark Monsters are on the attack.
The Southern Mine has been attacked and you need to clear it out first.
The first objective you get is to rescue the Goron Captains fighting the monster. Follow ahead to the markers on the map, and clear out the enemies.
You will need to defeat two Moblin monsters here. Both of these are mini-bosses and take a lot of effort to take down.
Make sure you use the support of your fellows and Goron Captains. Once you have taken out both of them, push back until the next objective appears.
Capturing the Base
Once you have rescued Goron Captains, you are notified that monsters have started their assault on Southern Mines. You need to go and clear three Bases of monsters.
You can either take the entire party to each base turn by turn or send your teammates to other bases while you go off to storm another.
The latter option makes it quicker; however, it makes this stage a bit harder.
Each base has a Fire Moblin as a boss, who you need to defeat to clear the base. Make these Moblins have more ranged fire attacks, so beware of their range and damage.
While moving to any of the bases, make sure you clear out all the enemies in your path to keep your team moving forward with you.
Otherwise, they will be held back fighting regular mobs and moving much slower.
Clearing out regular enemies allows your backup to arrive quickly to aid you or lets you get to your teammates faster, all while earning more XP.
Once you have cleared all the bases, the last thing to do is to clear the lava monster before you can start moving up the Death Mountain.
Defeat the Monster
Once all the bases have been captured, more monsters appear and the next objective is to just Defeat the Monsters.
The map changes from the complete path to a simple HUD, and you need to follow the path to get to the next objective marker.
This leads you near the lava, and you will face rock enemies and lava blobs. These blobs expand and burst into flames as you damage them, so you need to maintain your distance.
Getting to the main objective, you enter an arena and will face a giant magma golem, Igneo Talus.
The giant golem has a decent range and high damage. If you stay away, it will throw rocks at you, which also deal fire damage.
Staying near them, and you will be hit with a shockwave attack.
Igneo Talus has a black rock on top of it; you need to target it. Destroying this will stun the golem and you can land a heavy attack on it.
Igneo Talus is a hard boss, and you need to learn from this encounter as much as possible because you’ll face it again at the end of the mission, along with aid for Igneo Talus.
Death Mountain
Once you have defeated Igneo Talus, you are finally set for heading up to Death Mountain. Again, all you need to do is follow the objective marker.
Make sure you keep on clearing out enemies in your path to help your teammates and backup to keep up with you. This time, you will face many Moblins and Wizzrobes in your path.
Clear out all of these to keep your teammates to push with you. Not doing so will result in you getting overwhelmed by all the enemies surrounding you.
As you head up the path to Death Mountain, you will face two Fire Mobilns at once in a single arena.
These can easily overwhelm you if you do not have your teammates by your side.
Defeat both of these and Daruk will open the bridge you need to take on your path to the top of Death Mountain.
Final Encounter
At the end of your path, before entering the arena, try to make sure that all of your allies, as well as the Goron backup has made it there.
Once you are confident enough, head into the arena to awaken the Igneo Talus. This time, the golem is supported by a Fire Wizzrobe.
You may have dealt with a few Wizzrobs on your way here, but let us look this Fire Wizzrobe.
This enemy is fast, has a huge health bar of his own and is extremely annoying.
Fire Wizzrobe will move fast and keep on you, distracting you and allowing Igneo Talus to land one of its attacks on you. This makes the fight extremely hard.
Get your teammates to distract the golem while you deal with the Fire Wizzrobe.
Once Fire Wizzrobe is defeated, you can easily deal with Igneo Talus as you already have experience with it.
The golem has the same attacks and the same moves this time. Defeat the golem and a cutscene will initiate, marking the end of the mission.