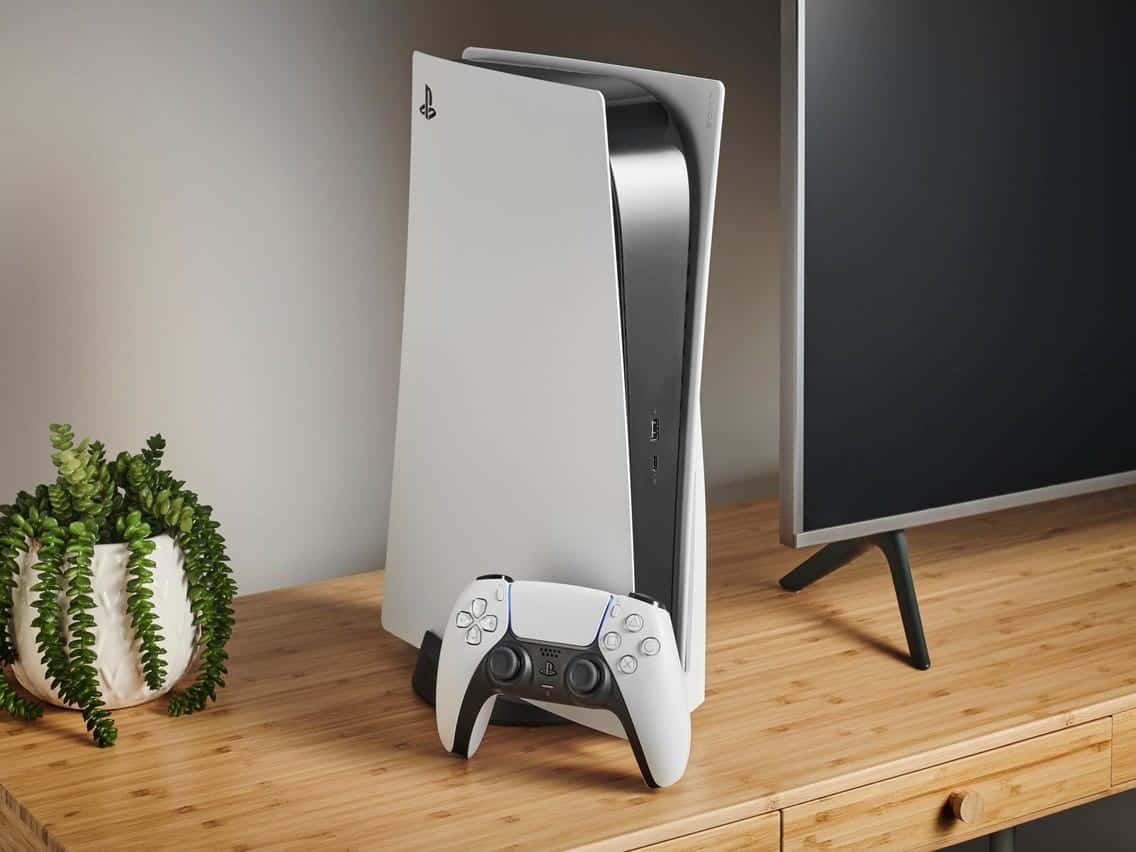
PS5 users participating in the beta can now add an M.2 SSD to their PS5 for extra storage space although the process might seem a bit complicated. In this guide, we will be showing you how to install a brand new M.2 NVMe SSD in your PS5 with detailed steps.
How to Install M.2 SSD in PS5
M.2 are high-speed, Solid-State Dives, or storage units that now users can install in their PS5 to increase their storage capacity. Before you learn how to install an M.2 SSD in PS5, it would be better to check whether you have gotten the beta testing invitation or not.
The new storage device will let you download, copy and launch games as well as media apps. Overall, you will increase the storage capacity of your console. You can freely move games between all the storage devices of your console.
Remember not all types of SSDs will work. Only the expandable storage M.2 SSD which meets certain requirements set by Sony will work with the new software update. The expandable SSD must meet the following requirements:
- Interface: PCIe Gen4 x4 M.2 NVMe SSD
- Capacity: 250GB – 4TB
- Cooling structure: Using an M.2 SSD with your PS5 console requires effective heat dissipation with a cooling structure, such as a heatsink. You can attach one to your M.2 SSD yourself, either in a single-sided format, or double-sided format. There are also M.2 SSDs that have cooling structures (such as heatsinks) built-in.
- Sequential read speed: 5,500MB/s or faster is recommended
- Module width: 22mm width (25mm width is not supported)
- Form Factor: M.2 type 2230, 2242, 2260, 2280 and 22110.
- These numbers can be found on retail listings for M.2 SSD devices. The first two digits refer to the width, the remaining digits to the length.
- Socket type: Socket 3 (Key M)
- In millimeters: smaller than 110mm (L) x 25mm (W) x 11.25mm (H).
- In inches: smaller than 4.33in (L) x 0.984 in (W) x 0.442in (H).
It is best to present your vendor with the exact requirements mentioned here, otherwise, there is a chance the SSD might not work. Even though M.2 SSDs are fast they might not be as good performance-wise as the already built-in SSD that comes with the Ps5.
Adding an M.2 SSD to Your PlayStation 5
Before you begin the process, just make sure that you are in a well-lit space and have a cross-head screwdriver. Also, make sure that you have the beta system update installed before you plug in the SSD (Settings > System > System Software > Console Information). Touch a metal-grounded object to remove any static electricity.
Remove the cover and make sure your console isn’t plugged into an electric socket. Make sure the SSD is formatted before install. This means that you will have to completely wipe any data previously stored on it. Make sure that along with the M.2 SSD you also have a heat-dissipation mechanism, such as a heat sink or heat transfer sheet.
You would want the screw hole to be facing you when you remove the console cover. The PS5 logo should be facedown and the power button should be to your left. Gently grip the cover from the top edge, and pull the cover to remove it.
The SSD expansion slot will be revealed, but it also has another cover protecting it. Remove the screw that is holding it in place. After removing the cover you’ll need to remove another screw and move the spacer to the length of your SSD.
Now take the M.2 and insert it into the slot, make sure it isn’t loose and firmly in its place.
Hold the SSD down and fasten the screws you twisted loose before to lock it into place. Place back the cover and fasten its screw as well. Place your console cover back into place and slide it into its proper place. You’ll hear a slight click sound to ensure you that it’s in its place.
Now connect the power cables and turn on your PS5 and just follow the instructions that the console gives you and you are good to go.
Removing The M.2 SSD from PS5
Follow the same steps as mentioned above until you unscrew the extension slot cover. Now unscrew the holders that are holding the SSD in place. Pull the SSD and remove it.
Now put the screws back, reattach the extension slot cover and the main body cover. Reattach the power cables and turn on the console.
Installing Games And Apps
Firstly, to install new games automatically to the new SSD, go to Settings > Storage > Installation Location, and change the default location. If you want to move a pre-installed game to the new SSD then you’ll need to go to the game library.
Select the data you want to move, and press the options button. From the new menu select Move Games and Apps. If you have both, an SSD and a USB extended storage installed then you need to select the Items You Can Move to M.2 SSD Storage tab. Select the checkboxes of any other stuff you want to move.
Finally, if you want to delete something, check storage or move data you can also go to Settings > Storage > M.2 SSD Storage.
This is all you need to get started with installing your new SSD extension for the PS5. Things may change with the official release, but we believe most of the process will remain intact.
