If you are interested in learning more lore from God of War: Ragnarok, there is nothing better than completing Sigrun’s Curse, one of the many side quests in the game.
You will get a chance to find the secrets of Sigrun’s Curse after arriving in Midgard. Kratos and Freya will be traveling from one location to the next in this favor, finding all sorts of clues and solving puzzles to find a way into the Lost Treasury.
The following guide will walk you through the Sigrun’s Curse favor, including the broken key locations, in God of War: Ragnarok.
How to start Sigrun’s Curse
This quest is automatically activated once the player reaches either the Derelict Outpost, or the Oarsmen. This guide, however, will start with the Derelict Outpost being the starting location. Once Kratos has reached the location, he’ll eventually come across a red crest, upon which Freya will comment saying it belonged to Fjorturlund. Once this dialogue is over, the quest will be triggered.
How to complete Sigrun’s Curse
This section of the quest is broken into two parts, involving Kratos and his companions finding a Sigrun’s Curse Key that is split into two pieces. Both these pieces are located in different areas on the map.
After finding both parts of the Sigrun’s Cruse Key, you must solve the Sigrun’s Curse door puzzle to complete the quest. The door is located in the lost treasury area in the realm of Midgard.
Let us explain the process step by step in this guide, so you can efficiently complete this daunting quest in God of War: Ragnarok.
Broken Key location (1/2)
Move ahead, and you’ll come across a crane allowing you to swing to the other side. Next, you’ll come across a few wisps, and once you’ve dealt with them, you’ll notice another crane. You can turn this crane using your Leviathan Axe, allowing you to swing to the other side.
Travel forwards, and eventually, to your left, you’ll come across a chain. Pulling this chain will raise another crane, which will let Kratos swing to the other side, where he’ll come across some Hel-Raiders. Once you’ve dealt with them, travel forwards where you’ll come across more wisps.
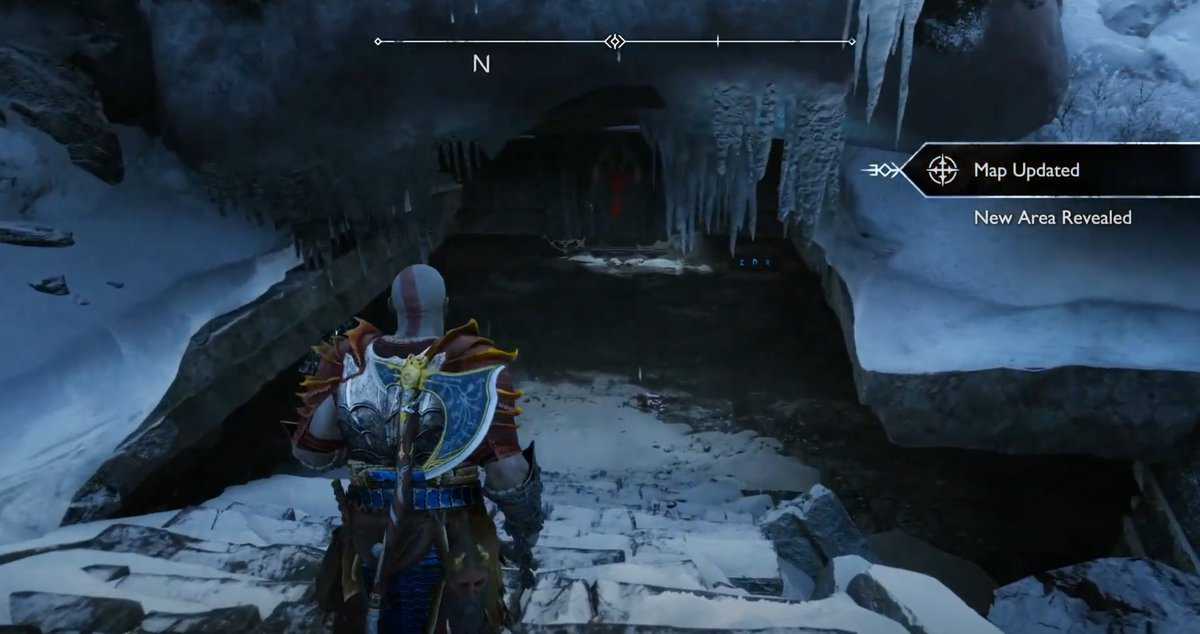
After they’re dealt with, travel forwards until you come across a doorway that is blocked by icicles. Destroy them, and jump down to your left, where you’ll come across a chain. Pulling this chain will allow you to move the crane downwards, allowing Kratos to change its direction with his Axe.
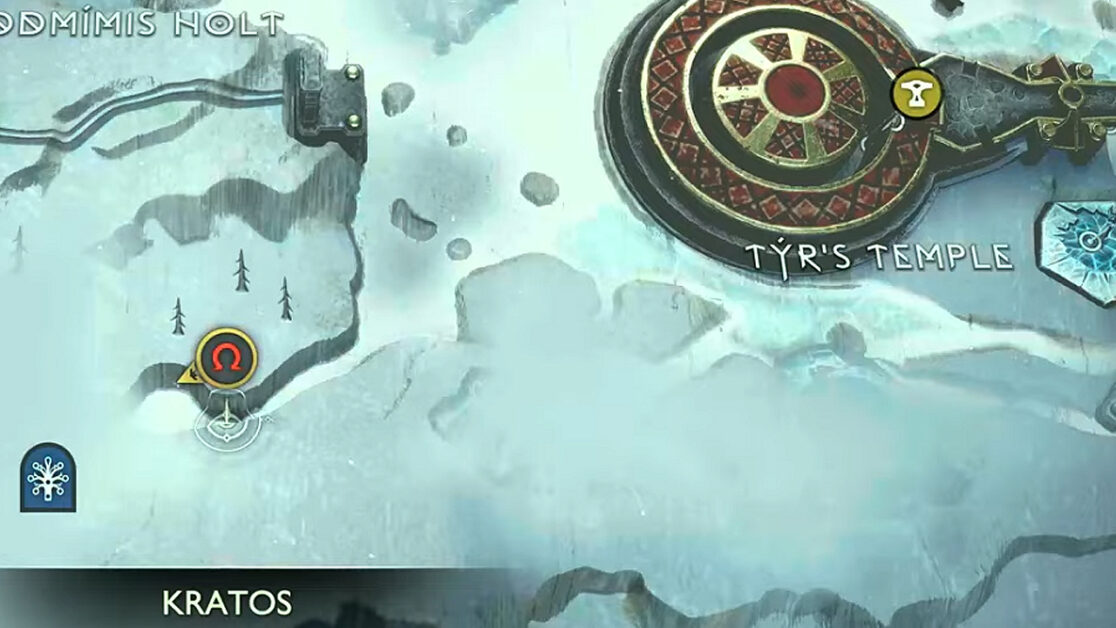
Once its direction has been changed, move it back upwards and travel over to the other side with the help of your Blades of Chaos. Travel upwards until you come across a doorway, where you’ll find the first half of the key.
Broken Key location (2/2)
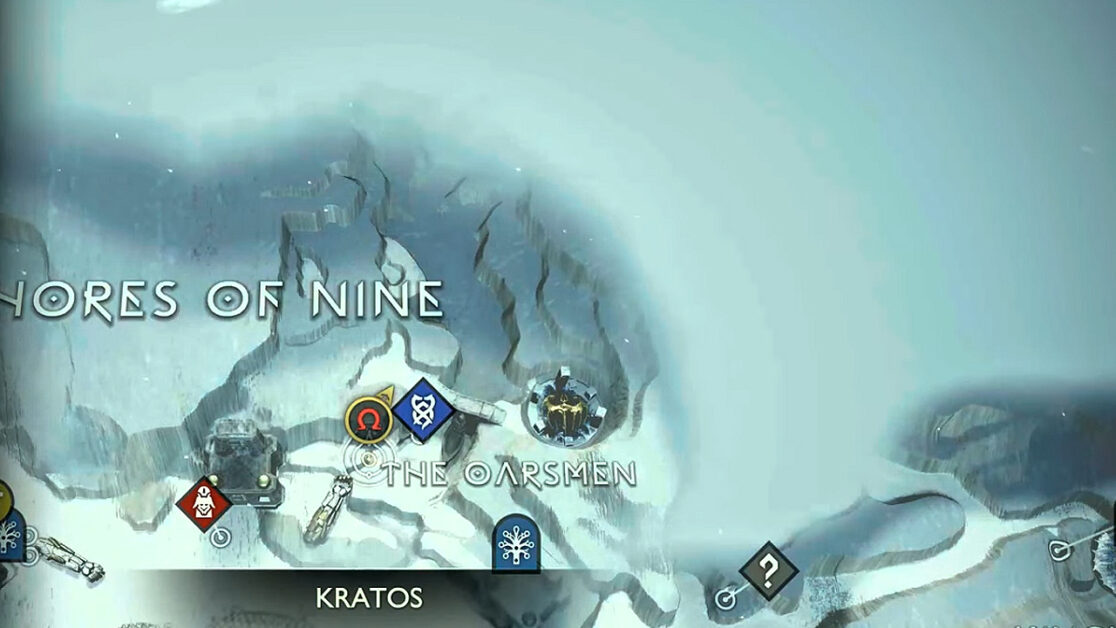
The second half of the key is located near the Oarsmen, near the Lake of the Nine. Travel in the opposite direction to the lake until you come across a giant rock with a red sigil painted on it. Kratos can lift this rock, allowing him and his companions to move forward.
Now you’ll come across some thorned branches, which can be burnt and destroyed using his Blades of Chaos. Once the vines have been destroyed, Kratos will jump to the other side, where he’ll encounter another Fjorturlund marking.
Eventually, you’ll come across a staircase leading downwards and encounter some enemies. Once they’ve been dealt with, travel across the area, and you’ll come across a Stalker. This enemy is the same as the boss variant that Kratos deals with at the beginning of the game.
Once the Stalker has been dealt with, you’ll notice a chain you can use to climb up. After climbing up, you’ll have to jump down again, where you’ll see a huge chain. Interact with it, and Kratos will push it backward, opening a staircase downwards.
In this area, you’ll come across some wisps, and after they’ve been dealt with, explore the area to find the second part of the key.
Open the treasury door
Once you’ve arrived at the lost treasury, you’ll find a giant shield blocking its entrance. Kratos can use his blades of chaos to move this shield, so move it to the right side first, which will allow you to climb up.
Here you’ll come across some ore, which can be destroyed using your Blades of Chaos. The explosion will cause a pillar near it to collapse. This pillar will come into use later, currently, you’re just supposed to shove it into the shield using your Blades of Chaos.
Climb back down, push the shield to the right side, and climb up. Here you’ll come across some wisps, and once they’ve been dealt with, travel to the other side where the pillar is located. Push the pillar further out and climb back down.
Move the shield to the left, which will be blocked by the pillar you’ve pushed out, perfectly aligning it with the door. Now use the wheel to open the gate and freeze the gears on either side using a runic arrow and your axe, and the other one with just your axe. Before the gears unfreeze, rush inside.
Here you’ll notice a chain right beside the door, which can be used to open it up, allowing Freya to join you inside the treasury.
Inside, you’ll notice the treasury door blocked by vines, which can be burnt and destroyed by your blades of chaos. Now, you can use the Fjorturlund Vault Key to open the door which will allow you to go inside.
Secrets of Sigrun’s Treasury
Once you’re inside the treasury, you’ll be greeted by an enemy. Once you’ve defeated him, read the lore marker, located right by the entrance, helping you discover the story of Sigurn, ending the quest.