This God of War Between the Realms Walkthrough Guide will guide you through the 14th chapter of The Journey in God of War and will help you complete all of the objectives easily by guiding you in a step-by-step manner.
We would like to mention here that this walkthrough would strictly focus on the main story progression. There are many collectibles, hidden chambers, and chests found in each chapter but we have different guides especially focusing on each of these collectibles and side missions. You can visit our site and check out all other guides related to God of War posted there.
God of War Between the Realms
From what you have heard from Mimir, you will be able to see that Kratos believes the Unity Stone is responsible for the way Tyr is able to travel from Realm to Realm so easily. For that reason, Kratos and Atreus decide to test their theory and use the stone. However, Mimir is against the idea.
Let us go ahead and see what happens when you explore the realm between the realms and how it ties into the grand scheme of things.
Realm between Realms
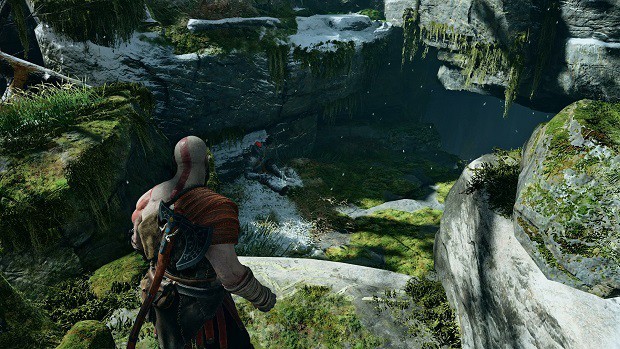
You should upgrade everything that you possibly can for both Kratos and Atreus before you head into the realm. After that, use the mystic gateway to enter the realm between realms. Once you have done that, you need to investigate the Jötunheim Tower.
Follow the path that goes to the entry platform and steps inside. You need to get to the pedestal and place the Unity Stone on top of it. This will drop the pedestal to the floor and the tower will soak up the energy of the stone.
When that happens, you will need to defeat more enemies that you can count. Each wave will originate from a different realm and will come at you one after the other.
You will be able to pick up the items that each wave has dropped after you have defeated the wave since you will be getting a little bit of a rest time whenever you are done with a realm.
At the start of the fight, the hall doors will open and you will get a swarm of Broods attacking you. It is best to use your Leviathan Axe to cut them.
Remember that Broods can latch onto you from behind, so rather than continuously trying to move around, it is best if you back yourself into a wall or a corner so as to erase the danger of a backstab.
If they do overwhelm you, you can use your runic attack to send them flying. Once you are done, remember to pick up the rage stones since you will need your rage for the next wave.
The second wave will have you battling two Dark Elf lords. These guys will be extremely difficult to beat as they fight like all of the other Dark Elves but has a lot more damage and agility.
Due to them having an extremely high amount of agility, it is probably best if you do not enter rage mode against them as it will be very hard for you to chase them down and land a punch. It is best to use your rage mode in the 4th wave of the fight.
The attacks of the Dark Elf lords can end up blinding or dazing you so you need to continuously dodge and rotate around the battlefield in order to save your life.
Two Gloom Nightmares will join in towards the end of the wave and use his deathly projectiles, so it is best to have Atreus fight the Nightmares before they are able to wreak havoc upon you.
Wave 3 will have you fighting the Hel-Viken. For this wave, it is best if you let go of your Leviathan Axe and use your Blades of Chaos since they utilize fire damage and all creatures who hail from Helheim are especially weak against fire. For Atreus, use shock arrows and start killing enemies.
Soon you will have to face a plethora of different Hel creatures such as the Reavers, the Reaver Guards, and more Viken.
Remember that it is essential for you to avoid being pinned into a corner or a wall by the Hel-Viken. They are quite slow so you can use your agility to move around them and deal damage at your pace.
Once you are done with the creatures from Helheim, you will come face to face with the last wave of enemies. This will feature a Fire Troll and an Ogre. These enemies are from Muspelheim and thus they use fire attacks.
Quite a lot of Draugrs will accompany the Ogre and the Troll that you see at the start, so be careful as those little creatures can end up causing a lot of problems if you forget about them.
It is best if you stay as far away as you possibly can from the Troll and the Ogre. Use your Leviathan Axe and fling it at them to deal damage and stun them.
If you manage to stun someone, then rush right in and deal as much damage as you can before they are back to normal.
You can ride the Ogre after stunning it into the troll to deal a lot of damage. This wave is also probably the best place to have your Spartan Rage as it will be easy to catch up to these slow monsters and land a ton of punches to drain their health.
Once you have eliminated everyone, all of the doors in the tower will close and you will be able to see the Jötunheim rune glowing above the exit door.
If you open the door, you will realize that the Jötunheim tower is back in Midgard and is attached to Tyr’s Bridge. Having done that, you can now activate the Realm Travel Room to link with the Jotunheim Tower.