Final Fantasy 7 Remake’s Chapter 5 Dogged Pursuit has a lot to be looked after, in this guide, we will be covering all the important details you are going to need to know about, so as to make sure nothing is left unexplored and unattended to.
Final Fantasy 7 Remake Chapter 5: Dogged Pursuit
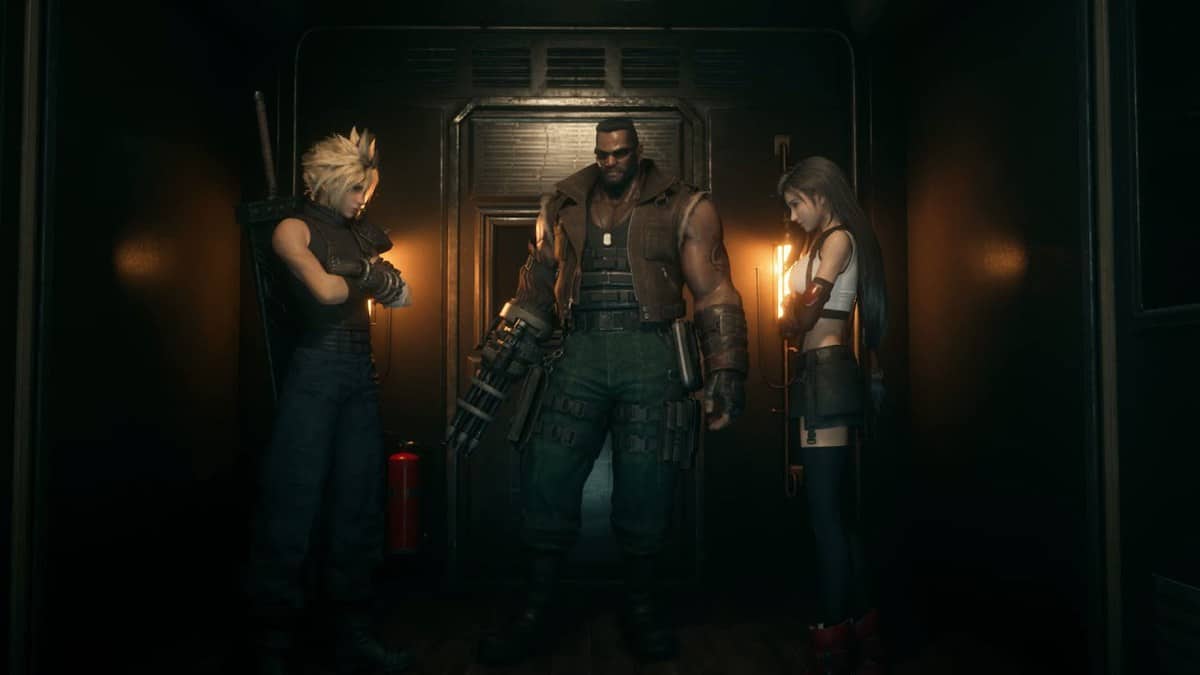
Once you’re on the train, talk to Tifa who will ask you to go and talk to Barret. Go through the door ahead to see Barrett about to get into a fight with a Shinra Manager. Cloud will calm both of them down.
Simply return to Tifa afterwards and after an ID check, the train will be invaded by various Slug-Ray drones.
Fight off the Attack
The wave brings in a lot of enemies, and for the most part, they aren’t as hard; use whatever abilities you have at disposal and you will be able to fend off most of them without any trouble.
After a brief cutscene, you will have dropped off the train. However, the attack doesn’t stop here, you will soon be found by another group of Slug-Ray drones.
Vending Machine and Blue Bench: After defeating them, make note that there is a vending machine and blue bench just to your right from where you dropped off. Use these to acquire any necessary upgrades and/or fill your HP and MP prior to proceeding into the next phase.
Continue to run towards the direction where your friend Barrett jumped off the train. Once the cutscene ends, continue forward only to be attacked by Officers and more Slug-Ray drones.
Chest: A chest can be found on the right side whilst make your way to Barrett, it contains 2 Hi-Potions.
After you defeat the wave of enemies, keep moving forward to find Barrett fighting off enemies to your left. Head up the stairs to your right, and use the platform to get to the other side.
After helping Barrett, you will come to know that Plan E needs to come into action.
Follow the Graffiti
Once the FF7 Remake chapter 5 cutscene with Heidegger ends. It’s time to move forward within the Corkscrew Tunnel.
Chest: To your immediate right will be a storage room with a chest containing an elixir and breakable crates.
Equipment Piece: Further down the tracks, right after fighting off the wave of the drones, you will see a set of stairs leading into a hallway on your left. Go up and defeat the enemies guarding the chest. Within the chest lies a Star Pendant.
Continue through the tracks, where you will encounter an Elite Grenadier, Slug-Ray drones and Guard Dogs.
Chest: Another chest can be found if you go into the white door on your right, it will contain an Ether within.
Proceeding through the tunnel, you will see a graffiti that points to the stairs to your left. Take the stairs where you will find a chest and some enemy Wererats guarding them.
Chest: Open the chest to your left to obtain 2 antidotes.
Down the stairs you will encounter a Grashtrike who is weak to ice. Use that to your advantage and use AoE attacks to take them all out at once.
Chest: To your right, before the stairs, you will be able to find another chest with 2 Hi-Potions.
As you go past the web, you will have to fight off additional Grashtrikes, along with a Queen Grashtrike at the bottom of the stairs.
About the Queen Grashtrike, you will often find your characters webbed up because of her, use alternative characters to free each other, and as always make sure to employ ice attacks as much as possible.
After taking care of this formidable wave of enemies, head off only to find another graffiti pointing to a staircase on the other side of the tracks.
Fight off the Officers and the Flametrooper (Weak to Fire damage) and then continue on through the storage area to make your way to the tracks.
A cutscene will engage as you try to make your way to check the map.
Another graffiti will point to your right, a direction you will very obediently follow in order to get to the next graffiti. Your next path will be through the tunnel to your left.
Chest: Before heading through the right path, make a detour to the right to find a chest in a storage room with a Leather Bracer.
Proceeding down the left tunnel you will reach a security checkpoint.
As you observe the amount of forces being assembled, head through to fend off the Launchers and Flametroopers. Use thunder for the Sentries and flame for the Flametroopers.
Go through the stairs on the left, climb up and go through the gate where you will find a path that leads to two doors.
Vending Machine and Blue Bench: Take the door to your immediate left and rest at the blue bench to restore yourself. Use the vending machine or any necessary upgrades.
Go through the door at the top of the stairs and fight off the Elite Officers. After this, you will have to get ready for a boss-fight. Get Lightning Materia ready for all characters before you go ahead and attempt to fight this boss.
Crab Warden
It’s time for your boss-fight with the Crab Warden, a highly advanced machinery who is actually equipped with Physical, Fire, and Lightning type attacks.
Being a machine, it is naturally weak to Electric attacks. However, it is immune to any of the following attacks:
- Silence
- Sleep
- Poison
- Slow
- Berserk
- Proportional Damage