Far Cry 4 has multiple quests and activities that you can take part in; like Armed Ecsorts, Eye for an Eye quests, Races, Survival Races and more. These are good jobs to keep you busy and improve your play.
For more help on Far Cry 4, read our Alternate Endings Guide, Crafting Guide and PC Tweaks Guide.
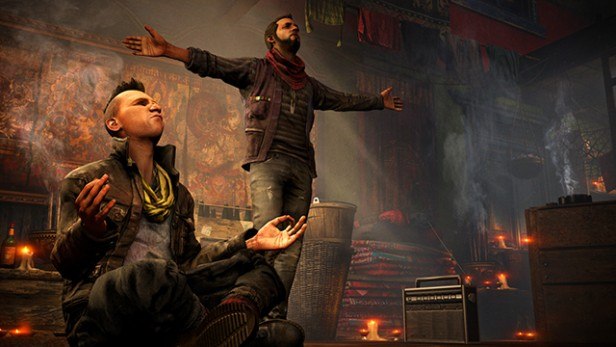
Far Cry 4 Eye For an Eye Quests
Another type of Quests is Eye for an Eye; they are like assassinations but you are also looking for bragging rights.
You go in take down the enemy commanders with specific weapons and then take a picture for proof. We have given you a list of all the Eye for an Eye Quests alongside their map coordinates, required weapon and guidelines that would help you with the task.
Keo Pradhana Mine
Map Coordinates: x:692 y:625
Weapon: Sniper Rifle
What you need to do here is to take down two commanders of Pagan Min’s troops that are taking down cargo trucks. What you can do is go to the top of the gear top and use the sniper rifle there (or your own) to snipe.
You can also scout around taking advantage of the high grass. The first commander is going to be on the higher balcony of the barn on the other side of the street – alongside a rocketeer on top of the same roof.
The second commander is also going to show up around the same area, all you need to do is scout around and wait for him to pop up. After that, just take down the enemies especially the sniper in the barn and go up to take down the pictures required.
Kheta Manor
Map Coordinates: x:447 y:453
Weapon: Handgun
There will be the handgun required at the top of the gear drop. Now focus your attention on the commander who will be on the other side of the river and the other side of the enemy base’s building.
When you cross the river you can use any other gun to take down his allies but remember to take down the commander with the shotgun. Once you lower the head count of the enemies with your sniping skills, it will become easier for you to get to the the commander, shoot him and take a picture.
Namboche Monastery
Map Coordinates: x:804 y:724
Weapon: Assault Rifle
You have to kill down three commanders with an Assault Rifle here. However, the village is full of snipers and so you will need to be very, very careful about how to approach the place.
One way to do so is to bring out the enemies form the village by shooting a few rounds. The snipers won’t come but you will be able to take down the rest.
You might be able to use the curvy passageways to your benefit as you take down the remaining snipers. Also, one of the commanders is a heavy gunner – keep your distance from that one!
Ratu Ghadi
Map Coordinates: x:562 y:604
Weapon: Explosives
There are three commanders that you need to blow away with explosives. The first one is going to be easy to handle as he would probably be lurking around an explosive barrel to the northern side of the hut close to the technical.
The other two commanders are going to be inside the mine but their positions will change so there is no need to mention where they will be on the inside.
All you need to worry about is that you take them down with explosives; so make use of the load you have on every enemy inside.
Royal Guard Kennels
Map Coordinates: x:605 y:708
Weapon: Shotgun
When you are in the area, check out the northeastern cliffs and you will probably locate the heavy flamer and the commander burning up a farm.
It would be great if you have Bull or SPAS-12 like shotgun so that you can snipe some of their party. You can also take down the flamer by hitting the fuel tank on his back.
Moving on, as soon as the commander is killed, the camp will be alerted and more enemies will pop up; so be ready for a really intense fight.
Seven Treasures Ashram
Map Coordinates: x:431 y:388
Weapon: SMG
This one requires you to get rid of a commander who has murdered a radio operator for talking against Pagan Min. He will be around the shed on the east of the homestead – inside or beside the destroyed radio station.
You can go in guns blazing from the drawbridge or you can get to the south, on the slope and snipe down as many of the baddies as you can before taking out the SMG and going down to get the commander.
Shanath Breeders
Map Coordinates: x:380 y:574
Weapon: Shotgun
Two commanders here need to be killed with a Shotgun. Sneak up to the place and you will probably locate both the commanders in the front on the cabin in the north eastern side.
You can use the other buildings for cover and take down the enemies but remember a truck will arrive with more troops. Reduce the number of enemies first and then go in to say hello to the commanders – with your shotgun of course.
Shanath Training Grounds
Map Coordinates: x:255 y:542
Weapon: Knife
You will get the knives at the quest marker from a corpse. Scout around, and you will find a sniper, some defenders and more. Use your sniping skills to get too most of them but make sure not to shoot the two commanders.
Once you have evened the odds a bit in your favor, take the zipline from the north and it will probably take you to your first target. Deal with him here if you can or you can take the grapple down south to the cave.
Be ready for a fight when you do so, take out the gun and get rid of the guards and the other enemies before knifing the commanders.