Bomb Defusal quests follow the same pattern as the “Sleeping Saints” mission from Far Cry 4’s campaign.
Players have to defuse all the bombs without getting caught, however if they do get detected they can still finish the mission if they manage to defuse the bombs before timer runs out.
For more help on Far Cry 4, read our Hostage Rescue Quests Guide, Outposts Guide and Assassination Quests Guide.
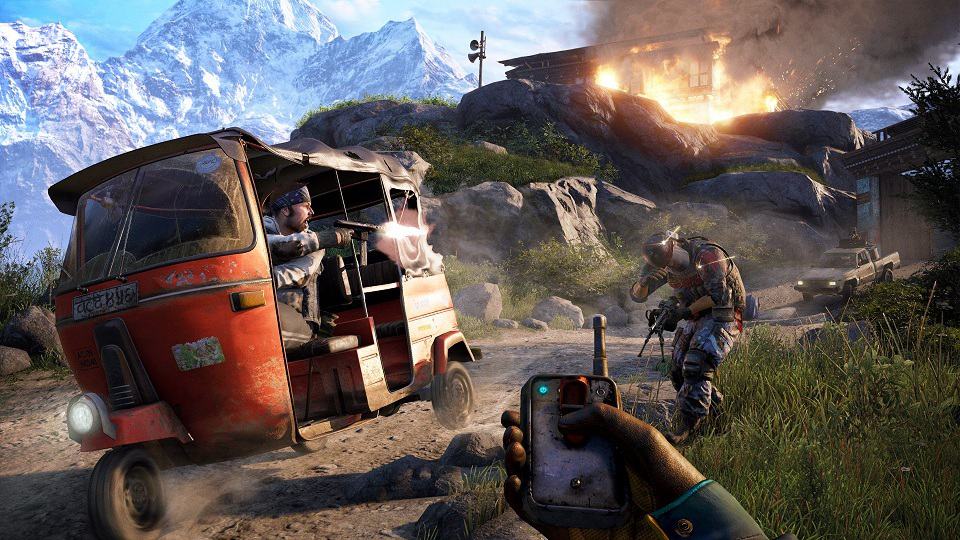
Far Cry 4 Bomb Defusal Quests
Bomb timers are mostly less than a minute so stealth is a better option for these missions. Hunting syringes are highly useful for these missions since players can see enemies through walls thus avoiding any patrolling guard.
Enemies don’t arm the bombs if they see a dead body so players don’t have to hide every person they kill, but it’s a good strategy since it means guards won’t be on high alert.
This guide should help players locate and complete each quest, listed in order of the name of the map area where they take place.
Airport Bomb Defusal
The bombs at the airport (x:273 y:545) are located in the control tower, in a trench between the hangar and the tower and near a yellow plane in the northeast.
Players should begin with defusing the bomb in the control tower. There is a sniper right next to the bomb so he must be killed from a distance before players can approach.
After killing the sniper, players can climb the tower and defuse the bomb. Once the first bomb is defused, they can kill the enemies in the control tower yard from their high vantage point and then use the tunnel under the runway to go straight north.
The tunnel exits out into the trench next to the hangar. The bomb is on the right side inside the trench.
After defusing this 2nd bomb, players can simply run towards east, moving along the edges and passing through the gap in the fence so they can flank the guard positioned near the final bomb.
Brick Factory Bomb Defusal
The factory located (at x:364 y:537) has once again 3 bomb sites: roof at the base of the chimney, entry road to the east, behind the blue shed on north side.
Since players have already cleared this area in the campaign mission, the number of enemies will be few however there will be a couple of snipers on rooftops.
Players need to kill any sniper they see from a distance to avoid detection so it’s better to scout the area through the camera before proceeding.
Once the snipers are dead, players can use the ladder or a ramp to climb to the roof and defuse the first bomb and takedown surrounding enemies.
Once the bomb has been defused and rooftops cleared, players can use this position to snipe enemies in the brick factory area.
If the players get discovered, they just need to rush towards the other two bombs and defuse them. They have plenty of time to reach both sites.
Chal Jama Monastery Bomb Defusal
This is probably the quickest bomb run among them all. The monastery is located at (x:469 y:503) and the bombs are all very close to each other; one beside the shrine, one on crates halfway up the west stairs and the final one just left of main doors.
Trying to stealth this mission is kind of pointless since it will take players a long time and they might even fail a lot because of the broad and open enemy sigh lines.
Players have to use silenced weapons and a hunting syringe for scouting while always sticking to cover spots. It is far better and quicker to just rush through the area with a high powered shotgun and kill any enemy they see.
Bombs might get armed but they are close to each other so defusing them before the timer expires should be easy.
Jalendu Temple Bomb Defusal
This quest is similar to one of Sabal’s missions in the campaign however this time there are four bombs in the temple (x:560 y:644) instead of two.
The bombs are located behind a stone hut to the south, beside the well to the east, on a crate in the north and near a grenade launcher in the tower.
There is a heavy flamer patrolling the area so players should either avoid him or perform a silent takedown because once he gets alerted, the only way to kill him is a RPG.
Players can simply stick to cover while skirting along the edges of the island. This allows them to reach the south, east and north bomb locations without attracting any attention. Some enemies might wander in the area but it’s mostly just one person at a time so takedowns should be easy.
Once the three bombs and have been defused and players have killed the enemies in the yard, they can move up the stairs to enter the tower where a mounted gun and a grenade launcher are in a room.
A sniper is also standing here but it’s just one guy so killing him is as easy as it gets. The bomb is on a crate just inside the balcony.
Kalesh Bomb Defusal
Bomb locations in the area (x:753 y:750) are on crates in upper northeast corner, on rooftop next to mounted gun near town center, on crates in southeast corner, on crates in northeast.
Players can approach the area from the hills to its northeast since that allows them to scan the whole area using the camera and mark all enemies, including multiple snipers on rooftops.
A sniper rifle is useful here as players can take out the enemy snipers as well as any other guards in the open while staying in the hills to avoid detection.
Once the area has been cleared, players can go into the town and defuse the first bomb in the northwest corner, followed by the 2nd on roof top in town centre.
After defusing it, they have a clear view of the area ahead and can mark more enemies. Once players have killed them, they can go through the streets to the last two bomb sites.
It’s best to avoid or kill the two guard dogs while avoiding the heavy flamer. The flamer can be killed with a stealth takedown if players can sneak up to him.
Kyra Tea Factory Bomb Defusal
The bombs are located near a shed to the south, near another shed to the east and on the bottom floor of a house in the factory area (x:399 y:429).
This is a good map on which to remember it takes a moment for an enemy to send up the alarm. So if players get caught, but have a quick trigger finger, they could still be okay. A silenced weapon is very useful here.
The first bomb to be defused should be either one the two located near the sheds, followed by the other shed. Players can use a sniper rifle to take out the guards nearby. A truck comes in to the area carrying more soldiers.
Players can quickly take out these new soldiers or simply sneak past them to reach the front of the house. A few guards are inside along with the bomb but killing them quickly shouldn’t be much of a problem.
Shining Minds Seminary Bomb Defusal
The last bomb quest, located at (x:754 y:685). The bombs are on the rooftop in the south, against the east and on crates to the northwest.
Just like with Kalesh, best strategy to get to a higher vantage point with a sniper, mark the enemies with the camera and the snipe them from a distance to make the area more secure. Almost all the guards are on rooftops so killing them shouldn’t be a problem.
There’s a hole in the northwest corner of the fence, not far from one of the bombs, straight-up entrances on the south and west, and a gap in the wall to the east, right near one of the other bombs.
Guards are pretty densely placed here, so players need to be careful and select their takedown locations beforehand. A hunting syringe works wonders in this area as there are a lot of walls and it allows players to see through them and avoid patrols.
The area is pretty small so after defusing the first bomb, players can just rush towards the other ones and defuse them within time.
Stealth is still the best option especially at higher difficulties so that players don’t die at the hands of a stray bullet while running for other bombs.