In this guide, we will take a look at all the D&D Dark Alliance Attribute Shrine Locations. We will tell you how to get to them step by step. Additionally, there will be tips on how you can get to all of them more efficiently. Let’s get started:
D&D Dark Alliance Attribute Shrine Locations
There are fourteen Attribute Shrines in D&D Dark Alliance. Let’s take a look at the locations for each of them.
Attribute Shrine #1
In the mission “Goblin At the Gates” when you have the main objective Locate the Bridge Camp. You will come across this elevator, there will be some goblins there. Just run past them for now. There will be a cube on the left, right past the goblin.
Now turn back and go straight towards the door on the other side. Just run past the traps. As long as you are sprinting, these traps won’t go off. Open this door and the shrine will be right behind this door.
Attribute Shrine #2
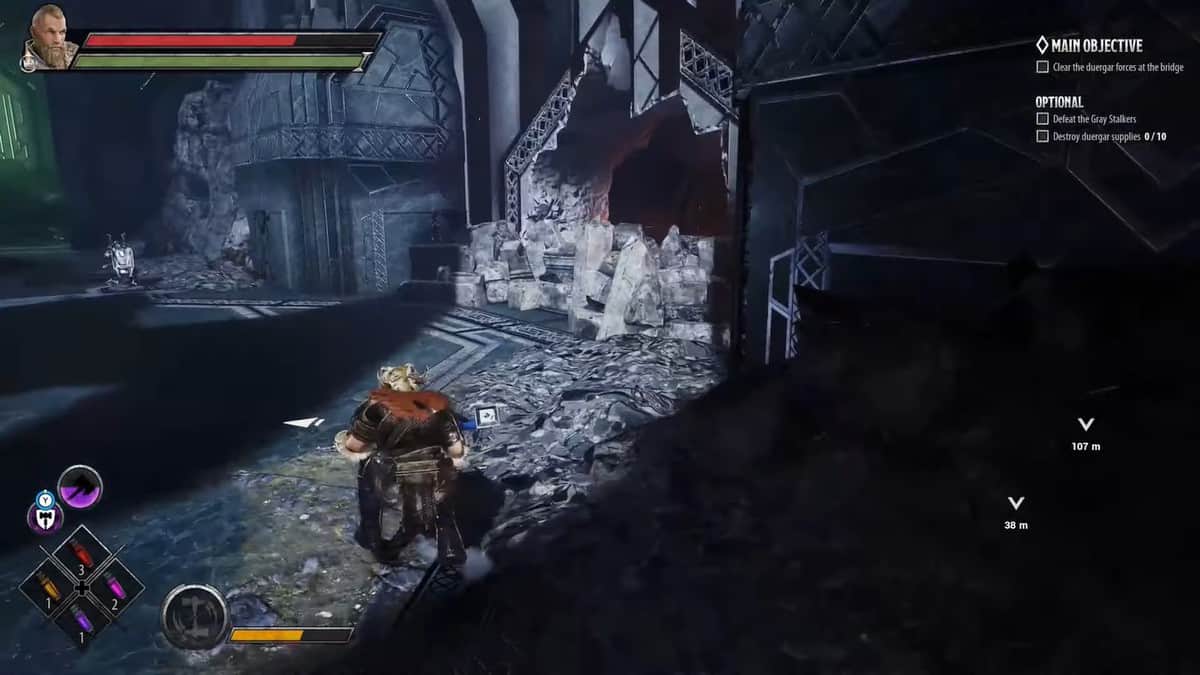
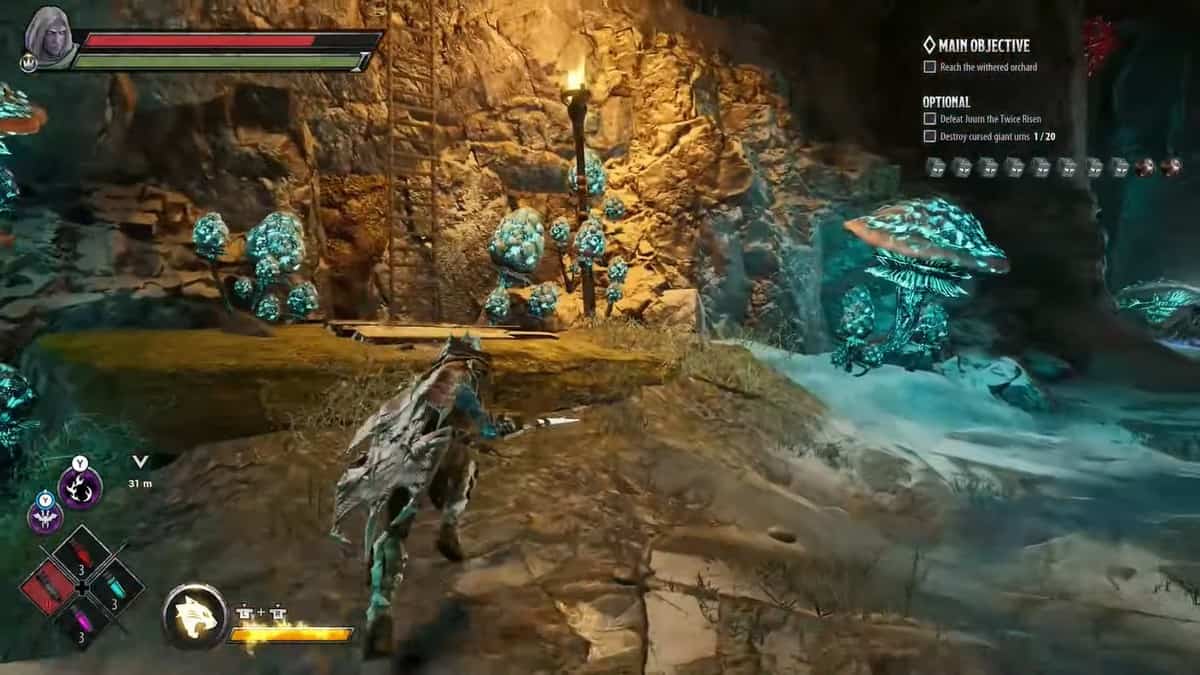
You will find this shrine in the “Halls of Duergar” Mission. When you get to the point where you have to find the Mushroom Cave. Before you go through the last gateway for the cave, there is a hall. There will be some rubble on the right of this hall.
Destroy this rubble using an arrow and you will get through. Jump over the gap and you will find your attribute shrine.
Attribute Shrine #3
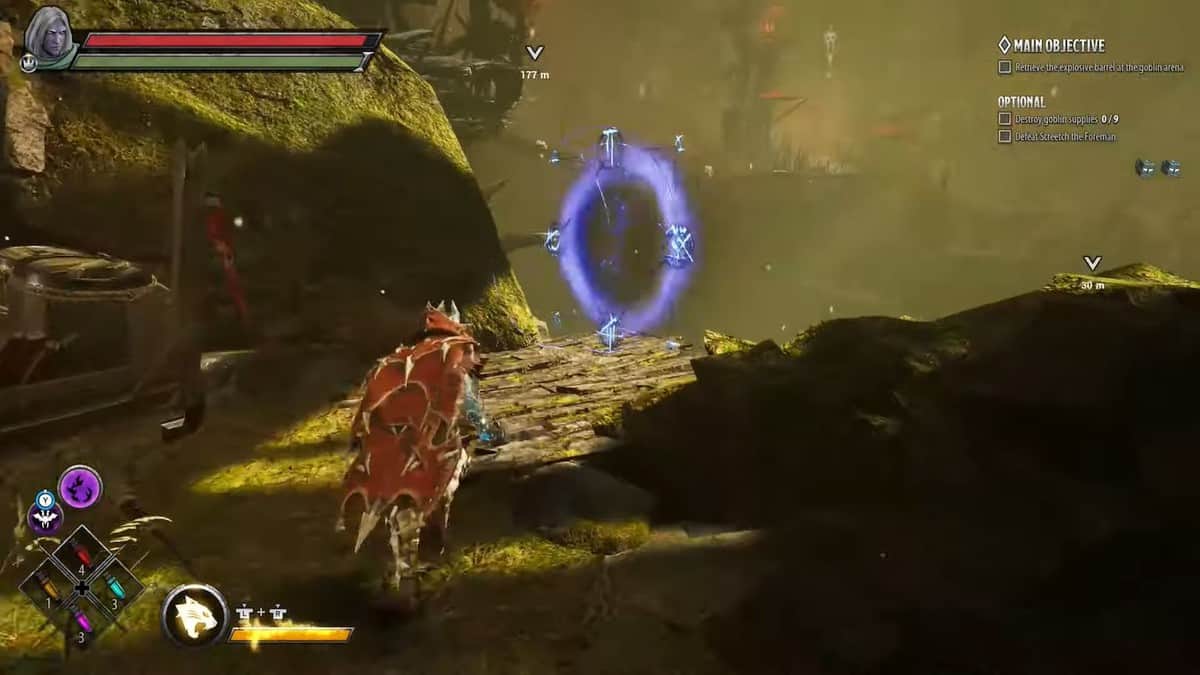
This Attribute shrine can be found in the mission Goblin Valley. When you have all four of the explosive barrels After that when you get to the objective marker, there are some steps that go down before the corridor on the left. Jump down there.
When you get down, there is a portal there. Go through the portal and you will find the shrine.
Attribute Shrine #4
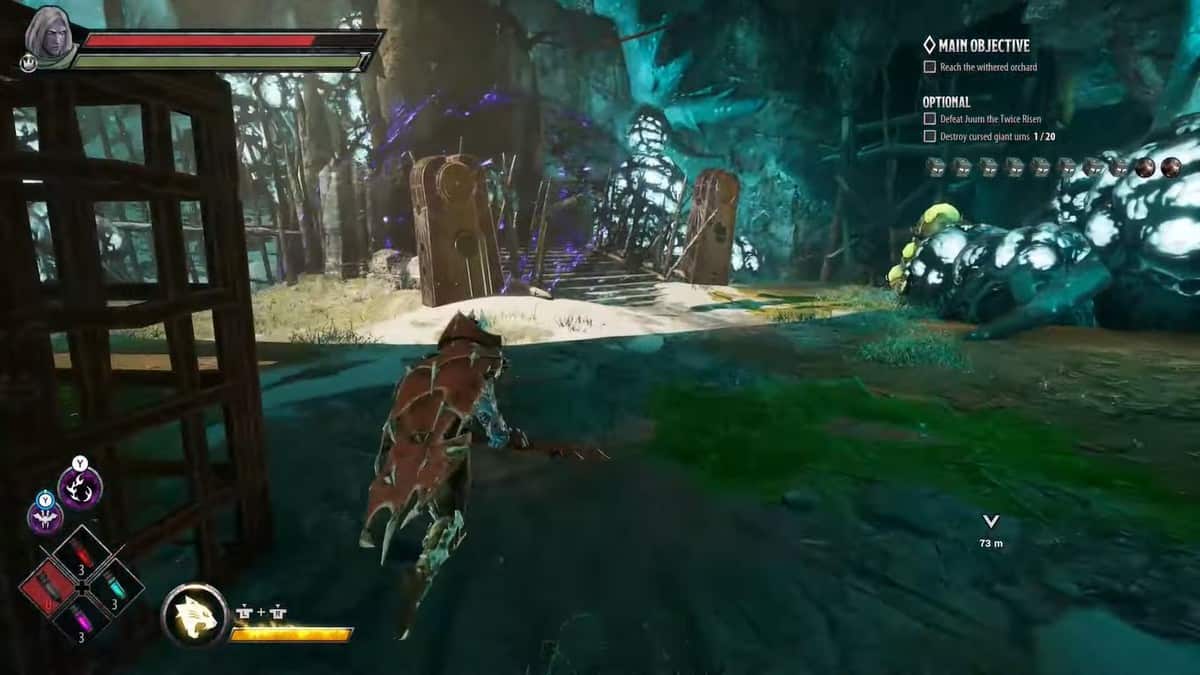
This shrine is in the mission called The Goffin’s Door. When you have collected three of the rune stones, go to the goblin prison camp. You will come across a bridge. Destroy this bridge and go straight. Destroy the metal barricade in the front as well.
Now you will need to solve the puzzle lock. To solve this puzzle, stand on the first platform as you enter this area. Then stand on the bottom right one, then the top left one, and then the top right one. It will open the way to the attribute shrine.
Attribute Shrine #5
This shrine is present in the mission Verbeeg Jamboree. You will have to complete a puzzle lock as well for this. When you reached the second group of goblins. Instead of going right towards the marker, take the path on the left.
There is a platform at the end of this path there is a platform that you need to stand on. The second platform is on the right path that we strayed from before. Just go up the stairs and hit it.
The last puzzle platform comes after you have defeated the mage goblins and the Knoll. Climb up on the left. Destroy the barricade to go through and the puzzle platform will be in front of you.
The last one is after you have defeated the three Verbeeg. Go left and break the barriers and go down the wooden bridge, go right and break the barrier and stand on the platform.
Go back to the objective marker but do not go up the stairs. Turn behind and you will see the Attribute Shrine.
Attribute Shrine #6
This shrine is in the mission called Designs of Duergar. One of the main objectives will be to pick up a rune stone from the table on the rails. Come out of the area and turn right and you will stand on the platform on the left.
Then go towards the other side and stand on the platform on the right. Then come back on the previous side and stand on the platform in the middle. Then go back to the other side and stand on the same platform again on the right. The Attribute Shrine will be there now.
Attribute Shrine #7
The mission “An Infernal Dispute” has this shrine. After you have defeated the elephant you will have access to an orb on the table there. Run up the path on the left. Go straight and beat the enemies and you will get a lever.
Go back to the left path and use this lever. This will raise a platform and the attribute shrine will be in the front.
Attribute Shrine #8
Order of One Light also has one shrine. You will get to a room where some trolls will pop out. Follow the tracks and fight the Wennir. You will find the attribute shrine on the right.
Attribute Shrine # 9
In the mission Ghosts of the Past, after you have reached your first short rest don’t go straight. Instead, turn right and climb up the ledge. Then look left, there is a ladder there. Climb up the ladder.
There is a troll on the right, fight and defeat this troll. There is a green blob on the left, destroy this blob and two pillars will appear on either side of the stairs. Interact with them and you will unlock the way to the shrine.
Attribute Shrine #10
In the mission The Broken City you will progress through and eventually have to fight a frost giant. But before you start this fight turn around, there will be a verbeeg there. Ignore it and go towards the left.
Climb up the ledge and shoot the purplish statue on the right. Run around to the other side of the building and grab the lever.
Drop down on the right side and break the stone door there. There is another lever on the left. Place these levers on both sides and activate them. Then run on every runestone on the ground. Then you can grab the attribute.
Attribute Shrine #11
During the Floating City mission. You will get to a point where you have to fight some enemies after going downstairs. Instead of going towards them go right and turn around. Then go down the path there. Break the barricade and go ahead. Go down the ladder. Run straight and get to the Attribute Shrine.
Attribute Shrine #12
Now we are doing the mission Crystal Harvest Shrine. When you are in the mine tunnels, use ranged attacks and blow up the barrels there.
Now you will have to solve a puzzle to get to the shrine. Stand on the middle runestone, then on the one on the middle left, then top right and then bottom right. Then you will get to the attribute shrine.
Attribute Shrine #13
This is the Hunting Grounds Shrine. You will eventually get to an elevator to go down. When you get down, go down the path on the right. There is an orb down there. Eventually, in the mission, you will get to a circular area with a stone sword in the middle.
There is a ledge on the right. Climb up there and you have to place the orb right in front of the shrine. Then the attribute will be unlocked.
Attribute Shrine #14
This is the Hall of Judgement Shrine. After you have gone through the portals, you have to keep following the objectives. Get some warmth if you need it before heading forward. Go back and there will be a path on the right.
Climb up the ledge and take out all the enemies there. Once you have defeated all the enemies. There is another runestone puzzle. Imagine you are facing the shrine at all times. We will discuss the pattern in relation to the shrine.
Stand on the bottom right one and then the top left one. Then go to the other side and stand on the top left one and then the bottom right one. Now you can get to the Attribute Shrine.