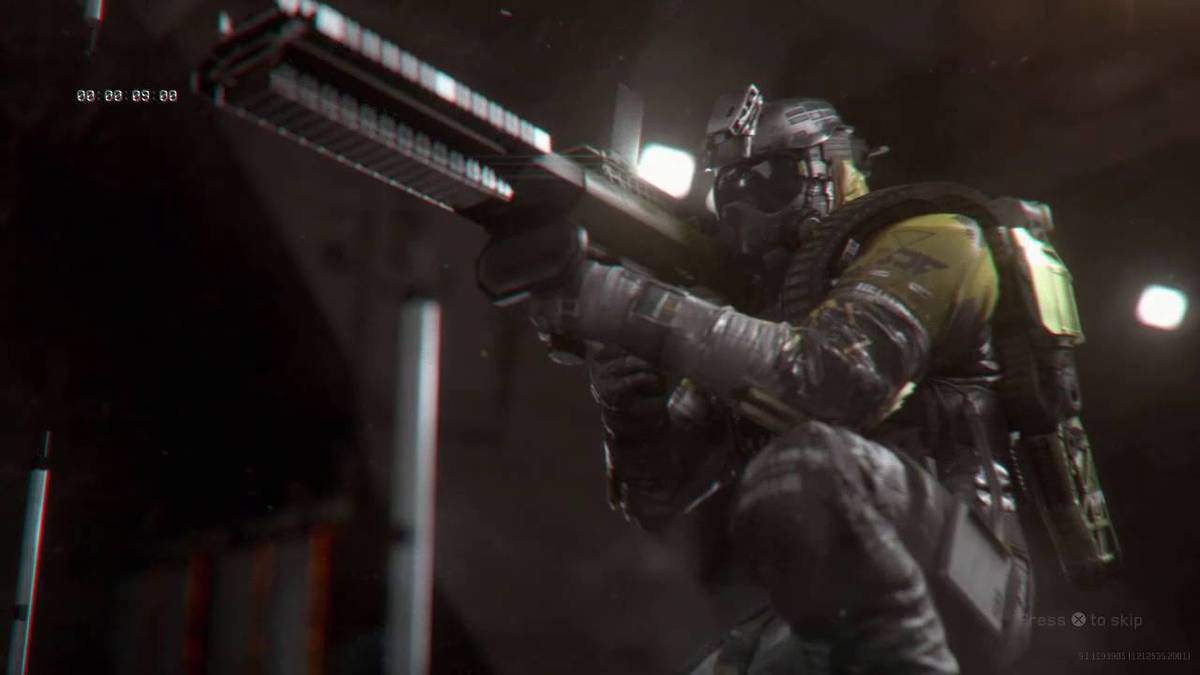
Call of Duty: Infinite Warfare Stryker Rig Class Guide to help you learn everything you need to know about its traits, features, payloads, and tips.
Stryker rig in Call of Duty: Infinite Warfare is meant for players who like to play the objective and strive to be the ultimate support. The rig’s entire equipment set is designed by keeping the objective play in mind.
For more help on Call of Duty: Infinite Warfare, read out our Synaptic Rig Class Guide, Merc. Rig Class Guide, and Warfighter Rig Class Guide.
Infinite Warfare Stryker Rig Class Guide
In our Call of Duty: Infinite Warfare Stryker Rig Class Guide, we have detailed everything you need to know about the Stryker Rig Class.
Infinite Warfare Stryker Rig Class Tips
Stryker is like the support class and is great for clearing areas that are hard to access due to enemy control. The main priority of this rig is map control as it is capable of dealing a significant amount of damage. Stryker prefers using shotguns, rocket launchers, and explosives.
Traits
- Trophy Drone – Goes with the player and self-explodes to destroy one incoming grenade
- Hardened – Drones and other equipment are harder to get destroyed by the enemy. They also persist through your rig’s death
- Relay – You will get an alert from placed equipment when the enemy is in sight
Relay
This trait displays nearby enemies on the mini-map to all of your teammates. The effect is automatic and your teammates do not have to interact with Relay in any way. Moreover, under the effects of Relay, if you manage to hit enemies with projectiles i.e. grenades, trophies, etc.; the enemies are highlighted through the walls which can give your team a huge advantage.
However, one important thing that you need to note is that Hardwired can counter the effects of Relay.
Trophy Drone
Similar to Centurion, this thing can destroy an incoming projectile at any given time. It is important to remember that the Trophy Drone has a small cooldown time before it can destroy another projectile.
If you do not want to run Blast Shield or Centurion, you can simply opt for the Trophy Drone to get the same effects. This thing is particularly useful when it comes to controlling/contesting objectives in objective-based game modes.
Hardened
This is a really good support trait in the game which not only allows your deployed pieces of equipment to have more durability but also lets them persist even if you die. This essentially works well with things like Centurion, C4, Cryomines, etc.
Payloads
- Micro Turret – Compact multi-surface deployable turret that can deal a decent amount of damage
- Gravity Vortex Gun – A slow moving projectile is launched that distorts gravity and causes damage to the enemy
- Centurion – Deals with enemy projectiles and releases an electromagnetic field
Gravity Vortex Gun
I suggest against using Gravity Vortex Gun in a straight up 1-on-1. This payload truly shines when you can flank unaware enemies sitting in tight spaces, at choke points, or near objectives. If you manage to find enemies in locations like these, simply fire the Gravity Vortex Gun and start racking up some easy kills.
The payload is not exceptionally good against scorestreaks, but can work well; depending on the situation. I, however, recommend saving it for enemy players.
Micro Turret
This turret is good and gets the job done, but it is in no way is as effective as the Shock Sentry scorestreak. Due to this, I do not recommend using this payload to guard an area on its own because enemies can easily destroy it without putting in a whole lot of effort.
When it comes to using this turret; you should try to use it to defend an objective or guard an area – of course, there should be a player guarding the turret on the other side. If you manage to set up a perfect defensive zone, you should leave enemies with little to no options in taking you out.
Centurion
This is exactly like Trophy System from earlier Call of Duty games and destroys all incoming Ordnance i.e. grenades, stuns, etc. Apart from this, it can also disrupt enemies’ mini-map – kind of like the EMP effect.
It is, however, important to note that Centurion can be taken out rather easily which is why you need to be extra careful with its placement. You should try and place it behind some cover where it is not easily destroyed. When it comes to its tactical uses, you should try and use it while defending/controlling an objective.
This is all we have on our Call of Duty: Infinite Warfare Stryker Rig Class Guide. If there is anything else that you would like to add, let us know in the comments section below!
