Bravely Default 2 has various collectibles scattered around for the player to find throughout its thrilling adventure. In this Bravely Default 2 Chapter 1 Chest locations, we’ll be showing you the exact location for all quests found during chapter 1 of the game.
Bravely Default 2 Chapter 1 Chest Locations
You’ll find a number of chests in the first Chapter of Bravely Default 2. Each chest contains unique rewards for the player to claim and assist them in their journey forward. The first chapter walks you through the following areas.
Savalon
Chest #1
Go into the Throne Room and head right through the stairs and past the door. You can find the first chest at the end of this short hallway.
Contents: 3x Antidote
Chest #2
The second chest can be found in the casino. Head up the stairs leading to the right and circle around to the back to find a chest at the very end.
Contents: 740 pg
Chest #3
Circle back around from the second chest, and instead of going down the stairs this time, keep going till the very end and exit to the balcony to find the third chest.
Contents: Clothespin
Chest #4
Head to the right of the casino outside and enter the small house with what seems to be alcohol inside.
Contents: Spear
Chest #5
Go back outside from the fourth chest and continue right up the path to enter the cellars. Continue down the right path to find the chest.
Contents: 3x Phoenix Down
Chest #6
Retrace your way back from the fifth chest, and continue North through the path you just missed and keep following it until you can find a chest below you in a cell with a broken door.
Contents: 4x Mini Ether
Chest #7 (Nasty Surprise)
Continue moving forward from the sixth chest to find another chest just above you in another cell.
Contents: Well-Worn Muleta
Chest #8
You can find a chest on the docks next to a house.
Contents: Feather Hat
Underground Reservoir
Chest #9
Go down the stairs in the house next to the previous chest to find yourself in the underground reservoir. Simply continue down the linear path and head left to find a chest behind.
Contents: Ice Talisman
Chest #10 and #11
Go right now, and head up the path in the middle to the little side-area and find two chests.
Contents: Teleport Stone and 1340 pg
Chest #12
Keep moving forward and shortly after take another path in the middle yet again and use it to cross the river. Follow the linear path until you reach a fork. Head left through the wooden pillars and stay on the left path to find a chest.
Contents: Iron Bangle
Chest #13 and #14
Head down the stone bridge now from the fork you recently came to find two more chests.
Contents: 2x Ether and Pitchfork
Chest #15
Head back to the fork again, and now go down the path. Start heading to the left to find a chest at the very dead-end.
Contents: 5x Echo Herbs
Chest #16
Now while staying at the lower level, keep continuing forward through the path on the right (Moving past the fork) to find another chest at the dead-end.
Contents: 3x Antarctic Wind
Chest #17 (Nasty Surprise)
Go back to the fork you just came from in Chest #16 and head upwards this time. At the end of your path, you’ll find the final chest in the Underground Reservoir.
Contents: Bulwark Blade
Savalon Region
Chest #18
The first chest can be found on the Southern end near the beach, hidden in the tropical trees.
Contents: Bronze Bangle
Chest #19
The second chest can be found North-East from the first chest, just beneath the mountain with the weird monster.
Contents: 390 pg
Chest #20
Head up the mountain and you can find the chest next to the deformed monster.
Contents: Fire Talisman
Chest #21 (Nasty Surprise)
Continue North along the shore to find yet another chest hidden amongst the trees.
Contents: Small Experience Orb
Chest #22
Head directly East from the previous chest to find this chest.
Contents: Tent
Chest #23 (Nasty Surprise)
Simply go East from the mountain with the deformed monster, and at the very edge, you’ll find a chest overlooking a beautiful view.
Contents: Mythril Staff
Chest #24 and #25 (Nasty Surprise)
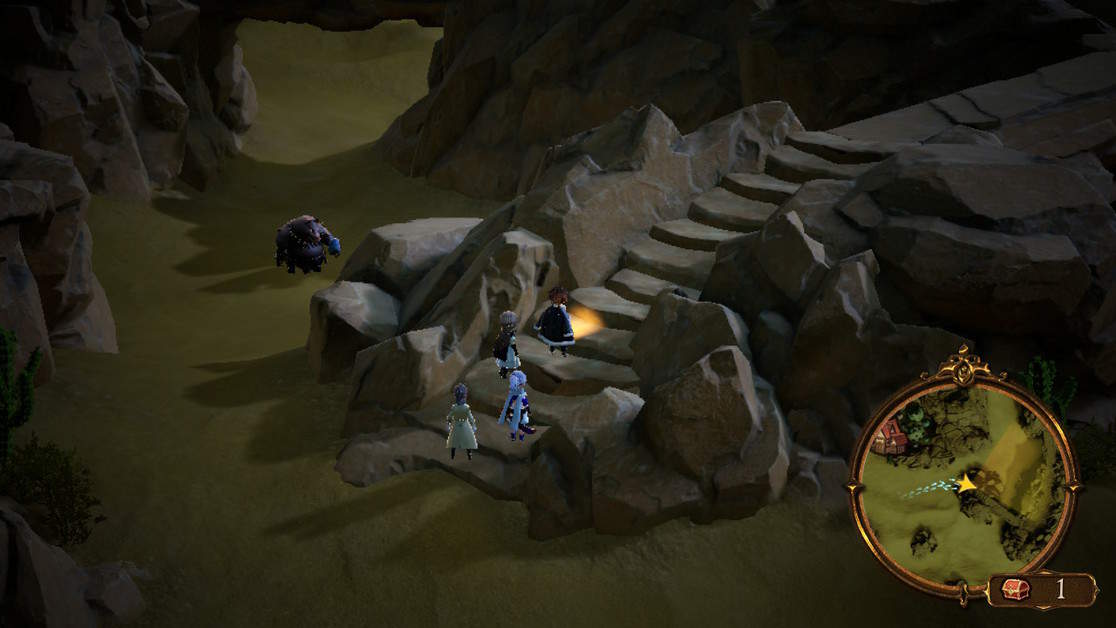
Head back to the Underwater Reservoir. Remember the mine-shaft supported by wooden structures on the North side? Continue going upwards from that path to find yourself emerging in the Savalon region on a small island. Grab both the chests by the shore here. One of them is trapped, so be careful!
Contents: Power Bracers and Force Armlets
Chest #26
In the Savalon Region, head to the very center (North from the deformed monster) to find the chest just by the small pond.
Sandswept Ruins
Chest #27
As you find yourself in Sandswept Ruins, you can find the first chest by continuing forward, taking the immediate left path, then right, and left once again to find the chest in a small square-shaped room.
Contents: Glaive
Chest #28
Go North from the previous chest to find one lying in the sand.
Contents: 5x Antidote
Chest #29
Go South down the path and through the door to find a chest right next to the entrance; on the other side of the wall (You might have seen this one coming in).
Contents: 3x Mini Ether
Chest #30
Go back left, and on the other side of the wall to find this chest.
Contents: Clothespin
Chest #31
Go up the stairs North, and down below until you reach a dead-end with a closed path in between and a chest.
Contents: 1180 pg
Chest #32
Continue back up, left and right. Past the huge monster, you’ll find a chest.
Contents: Mythril Sword
Chest #33 (Nasty Surprise)
Continue to head down and move forward through the path, down the stairs and then to the right. Past yet another monster, you’ll find Gaia Shield.
Bernard’s Mansion
Chest #34 and #33 (Nasty Surprise)
Enter Bernard’s Mansion and head immediately to the left. Go down the stairs from the room and continue to the small library with the two chests.
Contents: 2 Remedy and Medium JP Orb.
Chest #35
Go back up and down through the main hallway with the armors. In the very center, you’ll find a chest.
Contents: Bad Bone
Chest #36
Head down the stairs to the left and go past the bridge on the right downstairs to find a chest.
Contents: Tent
Chest #37 and #38
Go back up and go to the right from the chest in the middle this time. Head up the stairs, and continue through the hallway on the right to find an armory at the very end with 2 chests inside.
Contents: Legion Helm and Stab & Grab
Chest #39
Continue back down the same hallway, and head straight this time without turning to the left. At the very last room, you’ll find a passage and stairs right after that will take you to the basement again.
Follow the path and continue to head right until you see a chest. Simply make your way to it and open it.
Contents: Holy Mitre
Chest #40 and #41
Head South from the previous chest to reach a dead-end with two chests over-looking the water.
Contents: Hawkeye and Teleport Stone
Chest #42
Make your way back from where you came, and head right this time. Go up the stairs on the platform to find the chest at the end.
Contents: 3000 pg
Chest #43
As you head down the small steps from the platform. Continue right, and then take the path down to find a chest.
Contents: Iron Bangle
Abandoned Mansion
Chest #44
Go up the stairs in the center and enter the room at the very top to the left. Continue past the broken furniture to find a chest.
Contents: Star Corslet
Chest #45 (Nasty Surprise)
Come back down, and at the ground level, go through the door on the left. Head left, and then right through the room and right once again to find a chest behind the furniture.
Contents: 4x Remedy
Chest #46 (Nasty Surprise)
Go back to the entrance from which you came and head right this time. Go left into the large room to find another chest.
Contents: Lu Bu’s Spear
Chest #47
Continue through to the right up the stairs, and then start heading left. Follow the path to the left and continue upwards, sticking to the left. Go through the room and downwards from the path. You can find the chest here in this room located on the West-most part of the upper floor.
Contents: Staff of Life
Chest #48
Go further up the stairs now, and collect from the chest to the very right.
Contents: Mythril Shield
Chest #49
Go down to the South-Western corner in this area to find another chest.
Contents: 950 pg
Chest #50
Head down from the stairs to the North-East here. Go through the path on the left and then down to find the final chest in this chapter.
Contents: 3x Hi-Potion
That should be all the chest locations in Chapter 1 of Bravely Default 2, enjoy your loot!