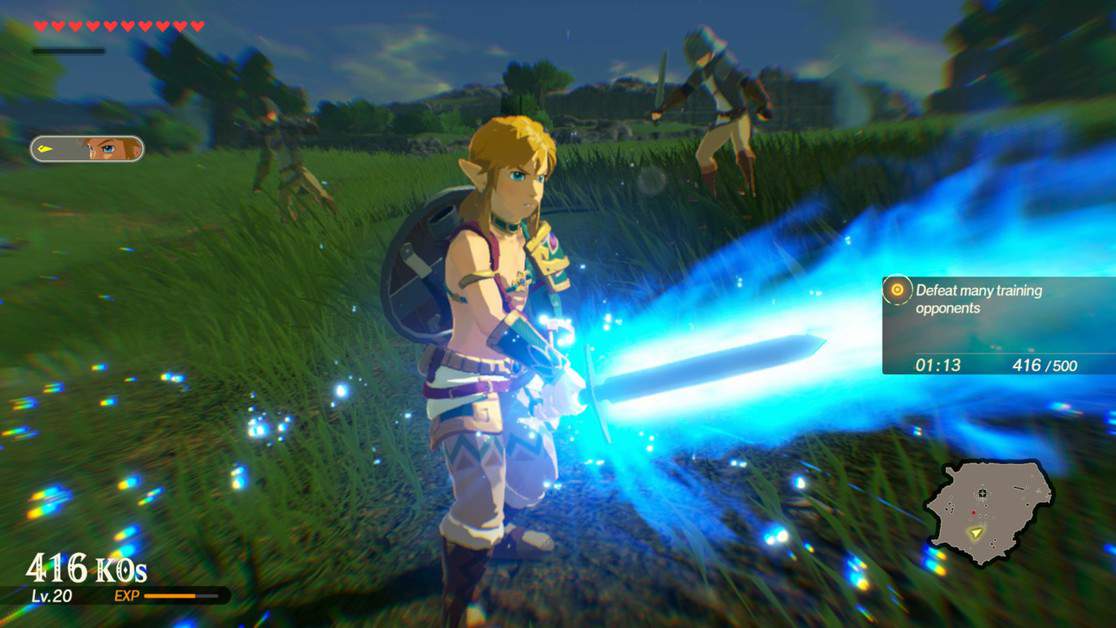
The 3rd level of Chapter 4 in Hyrule Warriors: Age of Calamity is “When Courage Fails.” In this Hyrule Warriors Age of Calamity When Courage Fails walkthrough, we will provide you with complete details of this mission.
Hyrule Warriors Age of Calamity When Courage Fails
At the start of the level, you have to protect Zelda while she is praying at the Spring of Courage.
You will encounter an Ice Wizzrobe and two Blue Moblins there. You have to defeat them to stop them from entering the sacred place.
Capture the Outposts
You have to capture three outposts after you are done with protecting Zelda.
You have to send your other character to the east outpost and then you can go to the western outpost to capture it.
You will encounter Ice Moblin there, defeat it and then switch to the other character.
You can send your first character to the third outpost. On the second outpost, you will encounter the Blue Moblin. Defeat it and captured the outpost.
After that, go for the third and last outpost. You will encounter an Ice Moblin there.
Once you have defeated all Moblins an Electric Moblin will appear close to Zelda’s location. Defeat the Electric Moblin and move forward.
Guide Zelda Out of the Deep Forest
Now you have to help Zelda to get out of the deep forest. For that, you have to continue moving south. You will not have much here to explore except the wooden chest.
Continue moving forward till you reach an area past the loop. Here Impa will notice the broken tree we have walked under.
You have to block that path by using the remote bombs, so the enemies have to take a longer path.
Since the gate is open, you have to block that path. There are no Koroks there, so you don’t have to go back to the gate.
Continue moving forward and you will find another large tree which you have to take down to block the way. There are no koroks here as well, so move forward.
Moving forward, you will find another tree that you have to bring down by using the remote bombs. Before bringing it down, make sure you are on the east side of the tree.
First Korok
You will find the first Korok seed right there. You will find the first Korok flower just before entering the gate.
Again protect Zelda
Two more gates will open as Zelda takes a breather and enemies will attack from both the gates.
You have to kill them all before reaching Zelda. You can send a character to one gate and stay on the other gate and take out the other enemies.
The enemies you have to defeat there are marked with waypoints. You have to defeat four enemies there, including an Ice Wizzrobe, two Electric Moblins, and a Blue Moblin.
Second Korok
You will find this korok after defeating the enemies while Zelda is resting.
For this, you have to go down to the eastern path and you will find a Korok balloon floating on the water. You can use the Stasis to stop it from moving and collect it.
Third Korok
You will also find this korok seed while Zelda is resting. Go down the loop in the east.
You will see a glow underneath a short cliff inside the water. Go and collect this korok as well.
Fourth Korok
You will find this korok after Zelda is ready to move. You have to go to the south and reach the outpost there.
There is an outpost in the bottom right as well; you will find a korok there, which you can collect.
Fifth Korok
After collecting the fourth korok, there is a path which is leading to the pinwheel korok. Follow that path and collect this korok seed.
Now from the outpost, defeat the enemies there and continue to move forward. You will find a block while moving forward.
You will find a relic there which you can investigate to open a path to the final location.
Sixth Korok
Here you will find a sneaky korok inside the wooden crate on the right side. Destroy the crate to collect the korok.
Blue Hinox Boss
After all, you will have to face the Blue Hinox boss. For revealing this boss’s weak-points attack his eyes, which will stun him and you will know about all the weak-points.
Having the weak-points in mind, fight and defeat the boss and the mission will be completed.
