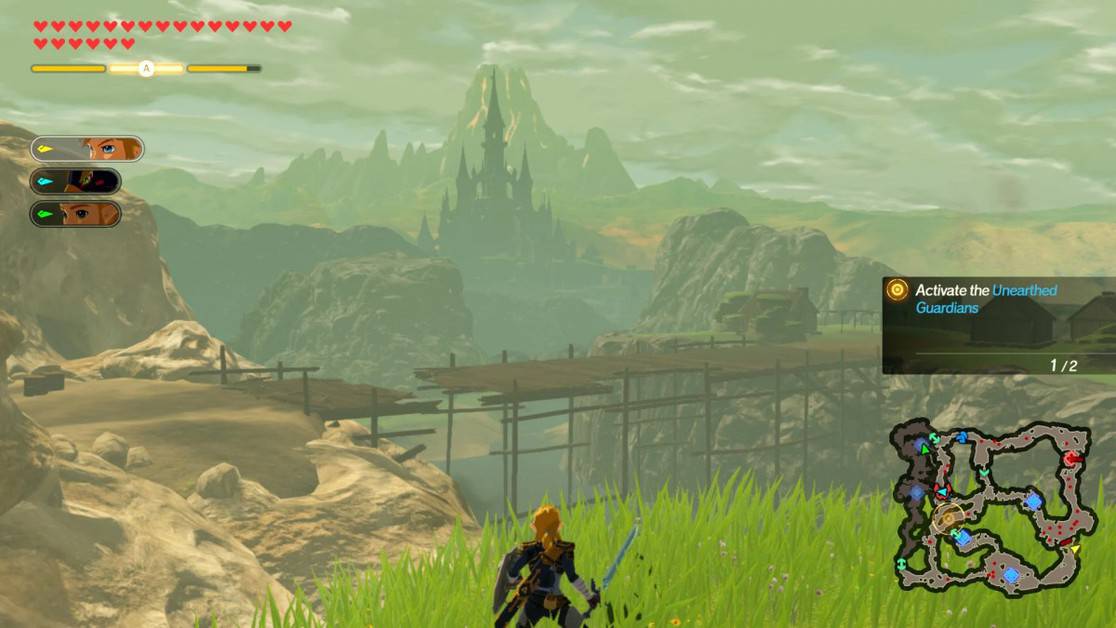
In this Hyrule Warriors Age of Calamity Calamity Strikes Walkthrough guide, we’ll explain how to complete the first level of the fifth chapter in Hyrule Warriors Age of Calamity.
Hyrule Warriors Age of Calamity Calamity Strikes
This level appears in the very beginning in the fifth chapter of Hyrule Warriors Age of Calamity.
Before taking on this level, you’ll need to complete the When Courage Fails level. Completing this level is quite rewarding.
You’ll unlock the Fire and Water, and Air and Lightning missions along with the Territorial Battle, Stronger Yet, and Coliseum: Intermediate challenges.
You’ll also unlock the Training Ground Update, Living Things of Hyrule, Think Yourself Clever?, and Extreme Survival Cuisine quests.
Rescue King Rhoam
Your first point of interest lies in the outpost. There’s a White Bokoblin that needs to be taken care of.
Afterward, resume your journey along the path but expect to run across several Guardians along the way.
You need to look out for their laser attacks. Other than that, you’re powerful enough to take down any Guardian that crosses your path.
If you take a little detour on the grass on the left, you’ll come across a tree stump that happens to be a Karok Seed location.
As far as the laser attacks are concerned, your shield will come in handy to reflect their laser at them and give them a taste of their own medicine.
However, timing is the key here. You’ll have to bring out the shield just at the right time to reflect the laser at them.
You’ll come across two Guardians along the path, one will be waiting for you in the throne room, and two will make an entrance from the roof just when you’re beginning to think there are no more Guardians left.
The two Guardians that drop down on you from the roof will be close enough to be taken down using a single special attack.
If you want to make things a little more interesting, pull their legs from underneath them and then use the same old tactic of reflecting their lasers.
Unfortunately, all that you would be doing during this time is reflecting lasers and chopping legs of Guardians since King Rhoam is not present in the throne room.
Going Underground
Since the throne room is empty, we’ll need to escape through an underground channel.
As you drop down, you’ll see some stairs leading you to the library. However, if you want some Korok Seeds, you’ll need to head to the docks first.
There are two Korok Seeds present in the dock area, and not just that, you’ll also find a white chest. This detour that you take will be well worth your time.
Now, head to the library to put two more Guardians to rest.
Once your business with the Guardians is finished, keep climbing the stairs on to the next level.
Look out for a wooden crate on your way. It contains a Korok Seed.
Guardian Chase
Once you’re in the next room, you won’t be able to make your way back to the docks. All you’ll be left with are all kinds of Guardians.
These guardians won’t be as easy to defeat as the ones you encountered earlier on. They’ll be equipped with advanced weapons.
However, this does not mean they can’t blind you with lasers just like ordinary Guardians.
Begin your Guardian Chase venture by taking out Moblin in the first outpost before carrying on to fight Guardian Scout I.
Always try and take out the bigger Guardian first. Once the region is cleared continue climbing the stairs.
Eventually, you’ll come across some cracks in the wall. These cracks aren’t only for aesthetic purposes but they are meant to blow away the wall.
The wall will then reveal a Korok Seed. There is another Korok Seed in the room with a dead end. You’ll find the room after crossing the dining room.
On your way you’ll find another outpost. However, taking over that outpost is totally optional.
Regardless of your decision, head downstairs to face Electric Moblin in the next outpost.
Make your way to the grand hall, and this is where the biggest fight of the mission takes place.
You’ll be up against the mighty White-Maned Lynel along with numerous White Bokoblins.
Defeat these enemies and head through the doors to complete the mission.
