Our Demon’s Souls Remake: Valley of Defilement guide is here to walk you through the complete Valley of Defilement location.
We’ll detail every enemy encounter and item location in Valley of Defilement in the remake to ensure you don’t miss out on anything. So, let’s get into it.
Demon’s Souls Remake Valley of Defilement
Once at the Valley of Defilement, you’ll find yourself in a pit with a waterfall of leeches in front of you and a wooden ramp mapping the pit, leading the way upwards and around this area.
As you begin, there is a wooden ramp leading upwards on your left. Find 4x Royal Lotus underneath it, then start climbing upwards on the ramp.
Up there, you will encounter a Depraved One; an enemy spammed across the whole area and will get in your very often.
After dealing with the enemy, you will find yourself on a platform with a path leading deeper into the cave.
Stick to the right wall and make way through the ramp there, clearing any debris in your path.
Note: Make sure to steer clear of the holes in the floor and stick to the walls when passing over narrow ramps as you may end up falling down and getting damaged or losing your path.
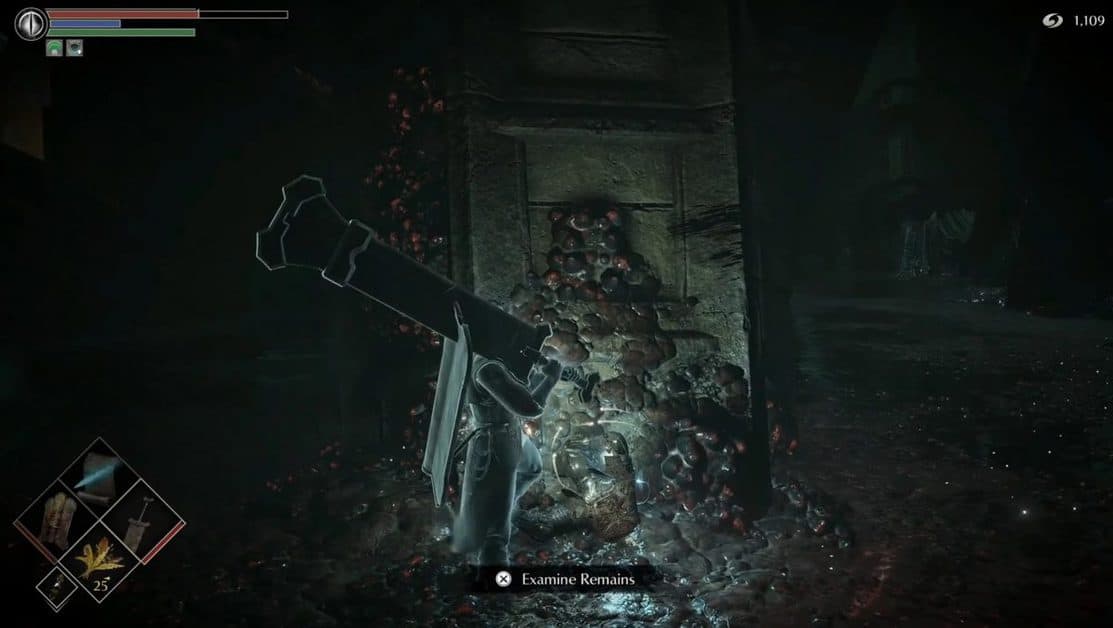
On that ramp, you’ll find a Renowned Hero’s Soul. Clear the debris ahead and you’ll encounter another Depraved One with a flaming pole.
Take care of it and head forwards, staying with the rightmost wall.
A bit ahead, some stones will fall from above and with it, another Depraved One will fall in front of you; there’s also another one right behind it.
Deal with both of them and look for a ramp below, right where the stones fell; there is a collectible down there.
Drop down onto that ramp and collect the Morning Star from the corpse. An enemy will spawn right behind you, kill it and then drop down on to another platform.
Make your way towards the makeshift bridge on the left, deal with the enemies and go across to find a Talisman of God on a corpse along with 2x Widow’s Lotus.
Keep heading forward to drop down and collect an Unknown Hero’s Soul. Follow the path to get to the bridge down there. Deal with the enemies on the path.
As you get on to the bridge, enemies will converge on you from above and behind.
Be careful to keep a gap while dealing with them or you’ll get a lot of damage. Another such encounter will occur after you cross the bridge, so you better be careful.
If you go forward on the left side, you’ll see a ladder heading down. Take it and you’ll find yourself surrounded by a couple of enemies down there.
Try to keep them in front so you can block their attack and kill them one by one.
Having dealt with them, head rightwards into the broken wall segment and through the mist to find 3x Royal Lotus on the left.
At the far end, take the ramp leading down and go all the way to the bottom, where you’ll find another bridge.
Beside the bridge is a haystack that has two enemies in it. Here, you’ll find a Shard of Firestone, a Dark Moon Crescent and a Hero’s Soul.
Head across the bridge to the other side; there is a room on the right and a ramp heading left.
Go leftwards on the ramp clearing your path and you’ll find a saint’s corpse there. Loot it to get a Saint’s Robe, a Saint’s Gloves, a Saint’s Boots and a Stone of Ephemeral Eyes.
Now head back towards the room where you’ll find a red cocoon, stab it and quickly steer clear as it bursts of poison mist.
Once the cocoon has burst, the path behind it will become accessible. Go down the path to find the Filthy Woman there.
She sells items, so buy whatever you want. You will need Lotuses to heal yourself of the plague coming ahead.
As you go ahead, there is a drop with plague infested Rats down there. Use firebombs to clear them. There are a few many, so you’ll need some extra bombs.
If you don’t clear the rats from above, they’ll cause a lot of damage if you fight them up close. They can infect you with the plague but worry not, you can heal it with the lotus.
Loot the body by the wooden pole to get Crescent Moon Grass. Now head leftwards on the ramp by the wall, but wait before you cross as a stone will fall from above.
Across this ramp, there is a Giant Depraved One along with a couple more enemies.
To beat the Giant, you must lure it to the near side as there are a lot of Depraved Ones on the far side that won’t let you move.
Lure the Giant to this side, a couple of enemies will come with it, kill them as well.
Once they’re all done with, go to the other side where you’ll encounter a couple more enemies by the haystack.
Clear this area and then head upwards from the ramp where you’ll find a couple of cocoons.
Stab them and steer clear of the blood mist. You’ll find a Shard of Marrowstone in the corner.
Head across the bridge on the left and you’ll encounter another giant, deal with it on the bridge and then head across it.
Go down the leech infested ramps to the bottom and find a Full Moon Grass around the ramp. Exit through the mist.
Leechmonger Boss Battle
After a cutscene, you’ll have the boss battle against Leechmonger. The battle isn’t very difficult.
You only need to figure out its attack pattern and get close to deal as much damage as possible whenever you have the window. Fire works wonders against it.
After you’re done with it, you can loot the bodies around the area to get 5x Crescent Moon Grass, 1x Chunk of Faintstone, along with 2x Crescent Moon Grass, 2x Shard of Faintstone from 4 different corpses and 2x Shard of Suckersto behind destructible wooden debris.
Finally, interact with the Archstone to complete the Demon’s Souls Remake Valley of Defilement area.