The Third Thing is the second mission for the Control Awe DLC. The objective of this mission is to explore both locations the Eagle Limited AWE and the Fra Mauro AWE in search of Hartman.
As you go about searching both areas you will uncover new secrets relevant to this mission. The following guide will help you complete Control Awe The Third Thing, step by step covering every aspect of the mission.
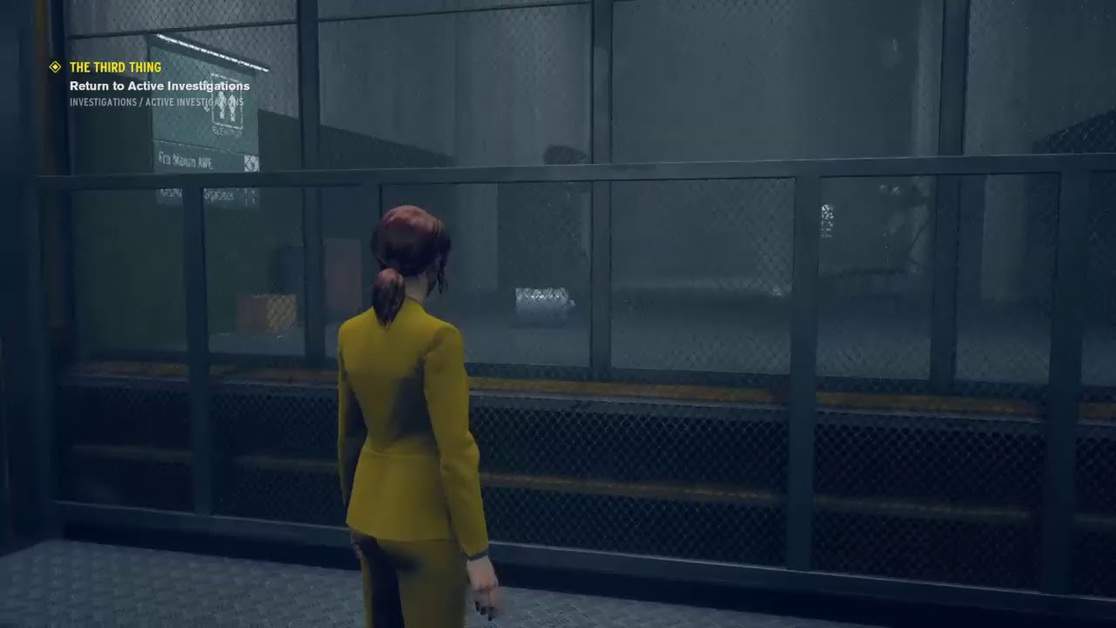
Control AWE The Third Thing
To start the mission, go to the intercom found at top of the elevator. As you speak with Langston, he will assign you to investigate two areas: the Eagle Limited AWE and the Fra Mauro AWE. Both areas can be explored in any order you please.
Eagle Limited AWE
The Eagle Limited AWE area is on the other side of the double doors on the left of the intercom.
Enter the area and take the elevator to the new floor.
Once on the next floor exit the elevator, and you’ll find a Control Point straight up ahead, interact with it. Now flip the switch on the wall for the door to open.
Enter the huge room in front of you, however, doing so will also set off the Floating Hiss.
Clear your exit path by removing the boxes barricading the staircase on your right. Once removed head downstairs.
There is a locked gate at the end of the generator room.
As you find yourself blocked look right to find an alternative route barricaded by boxes. Clear and follow the path to find the Floodlight.
This flood light will be used to destroy the Darkness by the door in the other room so carry it with you.
Enter through and carry the Power Core that you find to the socket next to the gate to open it. Enter the following room with the Control Point on hand.
Take out the enemies that you encounter. A yellow tarp is found at the end of the path going up to the train turntable.
After going up the tarp look for destroyable windows on the wall. Break through them and levitate inside.
Once inside several signs will guide you towards the next area, The Utility Corridor.
The Utility Corridor
The elevator found at the end of the corridor is full of darkness, to eliminate this you’ll have to bring along the floodlight from the previous areas.
Once you jump down the hole, you’ll encounter two Hiss enemies.
After taking down the enemies you will be tasked with solving a relatively simple puzzle.
Interact with the generators below to unlock the doors
To unlock the next gate, you must carry the power cores and set them inside the generators next to yellow cables.
Enter the following room, locate Service Vents, remove the cover, and enter through.
The vent pathing is a straight path, follow it and defeat the Hiss.
When you encounter the Control Point access it and head towards the door controls.
Unlock the door and enter the Eagle Limited Area.
Eagle Limited Area
Once inside the new area access the console which will result in emerging darkness. A train becomes visible which must be removed to clear the path.
Locate the light platform further along the tunnel containing Hiss and activate the red button up ahead.
Repeat the same process on the next platform and at the end of the track.
After pressing all three buttons you’ll notice the train will lower and the whole area will be illuminated.
Fighting Hartman in the Transit Bay
Now you must chase Hartman through the AWE Transit Bay.
Head through the Shifted Passage entrance found towards the left of the lever and follow this path to the area slightly outside the Transit Bay, where you will encounter a control point.
Access the Control Point and take the double doors to face off against Hartman in a boss battle.
The battle will require you to illuminate the area by grabbing all four Power Cores and setting them inside the control room.
The cores are housed in holding rooms in their designated corners.
Eliminate the enemies near each Power Core, doing so spawns red crystals on the outside.
To gain access to the cores these crystals must be shot down, once in possession of the Power Core set them down in the socket in the control room. Repeat the process until all four have been successfully placed.
Turn the lights on using the switch. The emerging light will make Hartman escape.
Fra Mauro AWE
The search for Hartman continues in the Fra Mauro AWE area.
To enter this area, use the double doors to the right of the intercom this time, take the elevator, and access the Control Point.
Clear your path by removing the debris barricading the door. Once you enter you must clear the area of the Hiss and pick up the floodlight that you find.
The floodlight will be used to illuminate the route through the metal detector by destroying the Darkness.
Defeat the Hiss found on this path, reach the end of the room, and collect the floodlight found here.
Use this floodlight on the Darkness in the next room, covering the generator and the Power Core.
Carry the Power Core and set it in the socket.
Now you can access the elevator by using the switch next to it. As you head down you enter the next area, the Trolly Room.
The Solution to the Trolley Room
To locate the Control Point, jump downwards along the shaft and take a right.
Access the Control Point and set the Power Core in the socket next to it. The Power Core can be found on the other side of this room. Push the button which will shift the trolley right.
Align the trolley with the socket and lock it there with the left button.
The wall socket is immersed in Darkness that can be destroyed by removing the core of the previous socket and placing it on the trolley socket.
Now you can place the power Core on the wall socket easily, doing so will open the path to the next area, the Lower Access.
Lower Access
Once inside this area, you must locate a dark corridor where you will be chased by Hartman as he aims to destroy you.
Follow the route as indicated by the yellow items, take a left, and reach the cracked wall. Use the yellow tarps to guide you here.
The area next to the wall is well lit, break the wall, and head through. Continue your way along to the next fully lit area.
Locate the Power Core by sticking to the path indicated by the yellow items.
The core must be placed in the socket found in the room to the left, break the wall and enter the room.
Once the Power Core is set turn the lights on by flipping the switch.
Hartman will be scared off by the lights. You must now access the Control Room found in the rooms up ahead.
Eliminate the Hiss found at the corner of the following room, head through the tracks, and get to the Control Room.
Rotate the tracks by using the controls. As the Hiss spawns the tracks are stopped in their place.
Once you eliminate the Hiss, you will find red crystals spawning, shoot down these crystals and wait for the emerging light to clear out the Darkness blocking your path.
Taking the cleared door will send you to the Shifted Offices. Your path is barricaded by several objects, remove them and grab Power Core on the other side.
By setting this Power Core on the socket, you can enter the next room and grasp the floodlight which you can use on the double doors and open your path to the next area, the Loading Bay.
AWE Loading Bay
Before entering this area, you can call for backup using the intercom found right outside.
Once fully prepared you may exit the Control Room and head toward the following room. Clear your path to the large pipe by eliminating any Hiss that you encounter.
As you go through the pipe continue along to get to the elevator. Take the elevator to get to the new area, the Fra Mauro AWE.
Access the Control Point to face off with Hartman for the second time.
Fighting Hartman in Fra Mauro AWE
In the battle area, some consoles have designated parts of the roof that they open and close.
Accessing these consoles will allow you to control which part of the room the light enters from. Read the note on the consoles to understand how to move the light in the desired direction.
First up, access the console on the left of the entry point. Drag the light anti-clockwise onto the following platform.
Now grasp the Power Core and place it on the top socket.
Drag the light towards the upper left platform by hitting the right button.
After which you must drag the light towards the Power Core by hitting the left button.
Grasp and set the power core into the socket, this will allow you to access the elevator.
Completely illuminate the whole room by hitting the button, this will drive Hartman out of the area.
This will mark the end of the mission; return to Active Investigations by using the Ducts connected with the Control Room.