This guide provides a complete walkthrough for The Last of Us Part 2 Chapter 3: Seattle Day 2 including combat tips to tackle the WLF soldiers and the locations of any important areas found throughout this chapter as Ellie explores Hillcrest hoping to find Tommy.
Read our TLOU 2 Chapter 3 Collectibles guide to know the locations of all the collectibles available here.
The Last of Us Part 2 Chapter 3: Seattle Day 2
We have divided each section of Last of Us 2 chapter 3 under different categories for easier navigation. Do keep in mind that there are TLoU 2 Seattle Day 2 spoilers ahead so proceed with caution.
Hillcrest
Things start off from the last day, inside the theater, Exit the theater and head off to the Projector Room on the third floor to find Dina.
Talking to her will lead to a cutscene and you’ll find yourself on your way to Hillcrest.
You’ll hear gunshots upon entering, head in that direction and search to nearby buildings for loot. Madrona bakery and the natural remedies building are good places to search for loot, supplements and more.
After you’re done looking around, head to the back of the coffee shop, hop the fence and reach the roof by climbing the ladder to the right.
Dropping down from there will lead to an area patrolled by enemies.
This area will be patrolled by the wolf squad, among them will be a dog and it will be to trace your scent.
Using, Ellie’s sight mode, you’ll be able to see a scent trail, which when picked up by the dog, will lead it to you.
So, you’ll have to swiftly change positions in case this happens, or you can use the water to get rid of the scent as well.
Quite a number of strategies can be used to deal with this patrol, including avoiding the enemies and proceeding. Some useful tips:
- Set up a mine trap to eliminate the dog and kill the rest using stealth.
- Killing enemies with a headshot if you have unlocked the silencer on your gun.
- Killing the owner and isolate the dog
Once dealt with the patrol, head out through the red exit doors. Continuing forward, opening a gate will help you get a dumpster out.
Use it to climb to the roof of the building (you’ll need to be quick as it rolls down). Drop down and continue through the hole in the brick wall.
Exit this shop, continue forward to enter Goldstar Liquors. Drop down to the back and you’ll find 2 Shamblers inside, use your shotgun and Molotov to take them out.
Also, loot the bathroom for supplements. After killing them, crawling through the brick wall will lead you to an exit.
On the way you’ll find a magazine which will unlock the precision skill tree for Ellie.
Make your way to the Auto Repair shop. You’ll find a dumpster outside; you can use it to access the door of the shop.
You’ll find some runners behind and the best way to deal with them would be a Molotov, so keep that ready. Search the area for supplements and other loot.
Make your way through the washing station to reach a staircase. Upon climbing up, you’ll find some infected. Vault over the fence once they’ve been dealt with.
Head through the hole in the door next to the kitchen to proceed to the next area.
Here, you’ll engage in battle with a new infected – Stalker. This opponent moves very swiftly, can dodge attacks and is dangerous when it comes to hand-to-hand/melee combat. You’ll have to keep dodging his attacks to eliminate him quickly.
You’ll earn a bow and arrow recipe as a reward; you’ll be able to practice shooting nearby. Jump over the fence to face another round of WLF patrol.
This time you’ll be facing a lot more than one dog and plenty of WLF soldiers.
Go from house to house, moving swiftly, taking out one enemy at a time using stealth. Some useful tips:
- The newly earned weapon, bow and arrows, can be used for subtle kills. Go for headshots and collect back your arrows.
- Use the previous strategies to deal with dogs, remember to change positions in case your scent is picked up.
Continuing on, dealing with the WLF soldiers and looking for exits, things will get pretty rough that’s when a friend, Jesse, will appear to help you out.
Takedown the soldiers nearby with Jesse’s help. Eventually, Jesse will let you know when it’s time to get in the car. On his call, reach the car.
From here on, you’ll have to shoot and escape several soldiers and infected coming after you, even a car which will come by chasing after you.
If the car gets too close to you, shoot its driver. Eventually, you will come across a whole lot of mutants.
Fire at the ones that are in your range, or are able to reach for your car. Once your car lands in the war, a cutscene will be triggered.
Finding Strings
After the flashback starts, head towards your right and sketch the view of Jackson in the valley, in your journal.
At the start, you will have to talk to Tommy. He will ask you if you want to shoot some infected. Here, you will have to hit the sign which will allow you to attract the infected.
You will have to keep notice of the bullet drop because you’ll be firing at a distance here.
Just aim high so that you can easily hit your target, and you will have to kill 4 before he decides to change the spot.
There will be 2 infected near a cabin. They will be feasting on an animal. Track them down and kill them.
Tommy will change the location again and this time, the infected will be very far. You will have to kill them with aiming considerably higher.
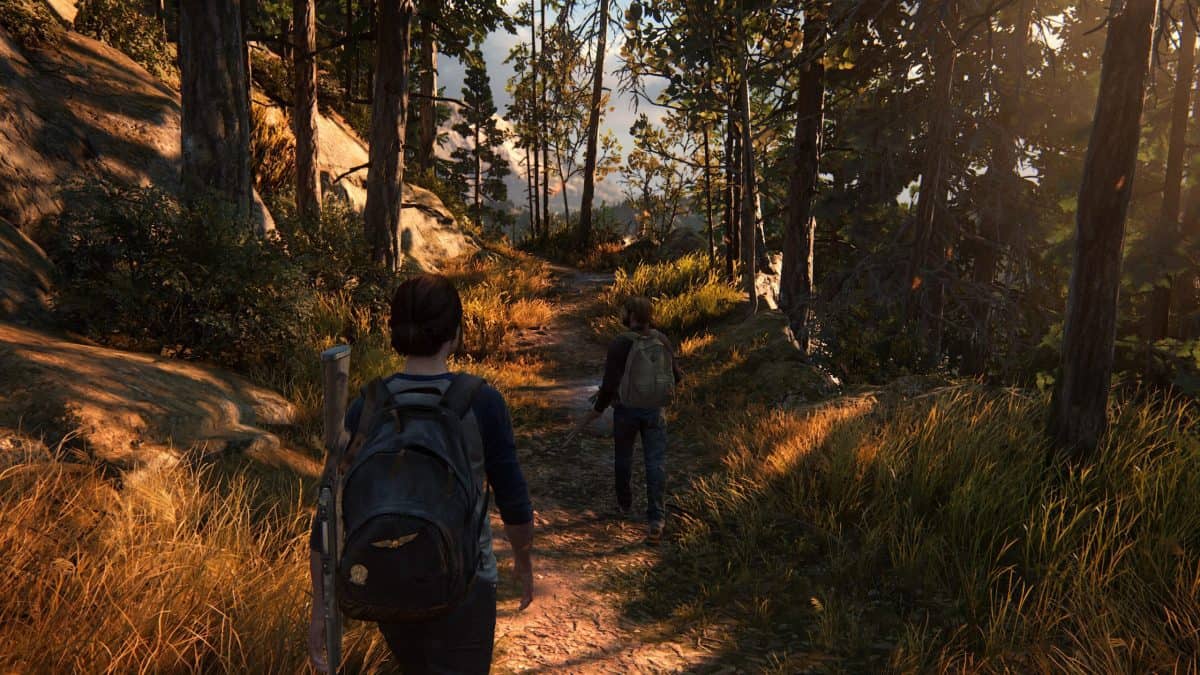
Once you return to the cabin, you will have to go out with Joel to grab more strings.
It’ll be quite difficult to get to the music store, though you’ll be following Joel.
At a point, Joel will suggest that you crawl through debris. Follow the suggestion and continue forward.
Once you reach a vending machine, move it with Joel and go inside the infected area.
Eventually, you’ll reach a hotel with Joel. This will be the hotel through which Joel suggests you to go. You will reach some halls with spore in them.
Joel will stop near a room and he will crouch to check a body here. This will be Room 107.
You will also reach a room with mutants. You will have to kill the one who tries to run.
Use your weapons to kill the enemies when the fight starts. There will also be a baseball bat in a room nearby, grab it to kill them in combat.
While exploring the building, you will run into a Shambler. This enemy will be able to charge at you and throw that gooey stuff at you as well.
This will basically be a gas attack and you will have to maintain a safe distance to dodge its attacks.
Use a shotgun so that you can kite and kill it. There will be some runners as well, you’ll have to watch out from them.
At a point, you will not have any ammo to fire with. That’s when the infected will grab you and Joel will save your life. Continue to follow Joel until the flashback ends.
The Seraphites
You will see a moving door ahead, go through it and make use of the crates to get to the top and proceed forwards and through the shops here.
You will have to climb over the fence in order to get into the shop.
You can loot the store. There will be many other buildings here that you can visit as well. Some of these buildings will have Clickers so you’ll need to be wary of them.
You will find some shotgun ammo near a car here. In order to enter the brewing company, you will have to break in through the window.
Once you’ve dealt with the Clickers, you can loot their bodies as well.
Once you’re done looting, go ahead and climb across the gate by using the red crate here.
You will have to enter through the door and then push the container so that you can move it to the risen platform.
Now use the chain to make it go outside. You will have to place the container in a way that it allows you to leap across the net.
Once you’ve done that, head upstairs and break in through the window. Jump on the stump here and head down.
Continue forward through the door that you run into and head deep into the building. At a point, you will see an infected. Follow him and you will get to a big office with many infected.
Do not try picking on a fight with all of them since it will be very difficult for you to kill too many mutants.
Head on around them and keep yourself to the left side of the room. Sneak through the place while keeping low.
Visit the rooms that have a storage mark. These rooms will help you get out. Eventually, you will run to a big window that you can break out of. The window will have an emergency staircase with it.
Leap towards the other window and go inside it. This will be an open window. You will see more infected over there. Kill the Clicker first.
There will also be creeks, so you will have to stay on the low.
Now, you will have to reach the yellow door, and escape the mutants.
After you reach the sewers, swim a bit until you reach the shelves that will help you get on the platform. The platform will be hanging from a sewer pipe.
Tread towards the other pipe to reach the other side. Climb the ladder you come across here. You will have to remove the vent to get to the next area.
After you reach the forest area, there will be some whistling sound over here. Follow the sound and you will get shot by an arrow.
Pull the arrow out by pressing R1, and you will have to face some incoming enemies. You can also escape this area by crouching or heading left.
Or just use a Molotov cocktail while using some of your guerrilla warfare tactics to fight against the enemies. You can also hide in the vegetation while taking the enemies out one by one.
Once you’ve dealt with the enemies, head off to the hospital and enter the building that goes by the name Garden Suites. Look for any enemies over here and head inside through the ladder.
While continuing forward, you will encounter more members of that faction, Seraphites. Some of its people will kill a WLF member.
We advise you not to intervene the execution and head right into the bushes. You can repeat the hide-and-kill tactics and kill the enemies one by one.
Try to remain on the low key by using the bow, but you can also use your firearms here. Fighting them all at once will be too much for you to handle.
Continue forward while getting rid of the enemies. You will eventually reach a big path, and you will have to jump towards the other side of it.
Proceed forward and you will get to Merci’s Saloon. Enter the red door and you will encounter a big enemy.
This enemy will be very strong and you will have to kill him with a headshot by using a shotgun. Eventually, more enemies will follow after him and you will have to deal with them as well.
Head upstairs once you’re done with the enemies and you will find a manual for explosives laying on the desk. The manual will allow Ellie to construct explosive arrows and upgrade mines.
Go downstairs and get to the rooftop using the door. Head down the ladder and dive into the water. Swim till you reach the land.
St. Mary’s Hospital
Ellie will have to visit the St. Mary’s Hospital. You will have to swim through the place until you reach a tree branch beneath which you will have to swim and go towards the wolf base.
There will be a cutscene, go upstairs once it ends. The enemies here will be loading up an ambulance with supplies.
Use the window to exit and head right towards the tent. Hide here and wait till the guard comes near and kill him while he’s behind the tent.
Once you head inside the tent, kill the enemies here while staying low. If your enemies start to look for you, just hide until they stop, but keep to stealth killing while you’re here.
Roam around the hospital and continue forwards while killing the enemies on your way. Eventually, you will come across a door that’s somewhat open. Head inside and then upstairs.
There will be an open vent here, climb on the shelf below and use the shaft to continue forward in the hospital. Once you’re at the end of this shaft, head on down and you will run into Nora.
Once the cutscene ends, you will have to chase Nora. She will barricade a door during the chase, where you will have to use the window next to it and continue chasing her.
There will be some enemies shooting at you as well, you’ll just want to ignore them during the chase, and keep running.
Eventually, you will get to her, and this will follow a fight between Ellie and Nora. Just spam the Square if you want to win easily. Nora will run off again and you will have to chase her, again.
At one point, Nora and Ellie will fall on an infested floor. Some enemies will also fall down here.
Just use the Molotov to deal with them quickly, since the mutants will be attracted. Wait until they’re done fighting and kill the rest of the enemies.
There will be a door here, head towards it and follow Nora again. After the end of the cutscene, another flashback will occur. You will have to go to the hospital where you will search some rooms.
There will be a bag in one of the rooms with a recorder inside. Watch the rest of the cutscenes and you will be done with Seattle Day 2.