Welcome to a place appropriately named, Super Gore Nest. If you feel like taking a break from hunting down demons and do some good old collecting then, you can find various collectibles hidden which include Codex Entries, Modbots, Records, etc all of which are included in this Doom Eternal Super Gore Nest Collectibles Guide.
Doom Eternal Super Gore Nest Collectibles
The outlay of the Super Gore Nest map is certainly confusing with no uniform structures whatsoever. You might even find yourself lost in some places considering how similar certain sections of the map can look.
Codex Entry #1
Passing through what was supposedly a torn apart subway. After parkouring your way off a halved train, you can find the first codex entry titled ‘The Hellgrowth – Part 1’.
Codex Entry #2
After getting into the decayed city, there will be a codex entry located across a gap in the other building, titled as ‘The Hellgrowth – Part 2’.
Codex Entry #3
After hitting the underground area, you will be able to find the ‘Super Gore Nest’ codex entry lying close to an iron grate next to boxes stacked together.
Modbot #1
Just past the second codex entry, you can find the second Modbot.
Modbot #2
Discovering the automap terminal, you will have to activate a switch in order to unlock a path to the teleporter. Instead of entering the teleporter; head to the hallway to find a hidden Modbot.
Wolf 3D – Wondering About My Loved Ones Record
As you cross the lava below you through the bridge outside, simply jump across the distance to grab the first album record on this map with a really cute front cover.
DOOM III Main Theme Record
Head to the battle arena where you find the totem; do the platforming bit to get to the next area where you will find a hologram.
Simply look through the window to the right of the door where you will locate a question mark in the distance. That’s where you need to dash across to in order to get the record.
Hidden Rune #1
Once you acquire the yellow gore key, you will find yourself in a new area. Talk to the hologram and turn around to find a jump pad which will take you to a hidden area. Here, you will find the hidden rune.
Hidden Rune #2
The second rune can be found up the destroyed buildings. The second rune is easy to find considering its in the path of your main objective.
Infinite Ammo
After inserting all three keys, there will be a passage underneath the main platform. You can only access it from the left side. In order to get in, use the wall on the left of the platform, and proceed to jump and dash your way in. This tunnel has a cheat code titled ‘Infinite Ammo’.
Praetor Suit Point #1
Starting the mission, as you move through, you will enter a lobby where you will see a moving structure with two poles. Climb up and search for a wall with a crack. Breakthrough and grab the
Toy #1
Parallel to the blue MIXOM sign (I suppose that’s what it read), there are poles you can swing on. Use them to get on top of a secret platform above and find yourself a cute little demonic toy.
Toy #2
Delve deeper into the sewers until you can drop down below. Here, you can find the second toy representing a revenant.
Toy #3
After discovering the blue gore key, you will find yourself out in the open. Parallel to the blue MIXOM sign, you can find two poles to swing onto and a small ledge you can climb on the right. On this ledge is the third and final demonic toy of the map.
Empyrean Key
Head to the area with the flesh-covered structure and unlock it in order to use the boost to jump higher to the destroyed building covered by tentacles.
Follow the path to find the slaver key which will be used to unlock the slayer gate; giving you access to a tunnel. Complete the entire arena to get the Empyrean Key.
Sentinel Battery #1
After you discover the Rad suit down in the sewers, you can find the sentinel battery nearby. It’s not far from the suit; just head down through the radioactive tunnels past the machinery until you find a battery hidden behind a gate around the corner.
Sentinel Battery #2
Just past the Empyrean Key, you can find the second Sentinel Battery as you go further down the path.
Sentinel Crystal
Following the objective marker, you will reach the underground area, where you can find the only Sentinel Crystal present in this mission.
Praetor Suit Point #2
When you reach the section of the map covered with acid, you will find the second Praetor Suit Point on a path away from the main objective.
Praetor Suit Point #3
Once you reach the outer area with lava all around you, make a right before heading close to the buildings and break the wall to find the third Praetor Suit Point.
Praetor Suit Point #4
There will be another area with an acidic pool. Here, you will be able to find the fourth Suit Point by simply getting to the phantom guardian’s location by using the climbable walls.
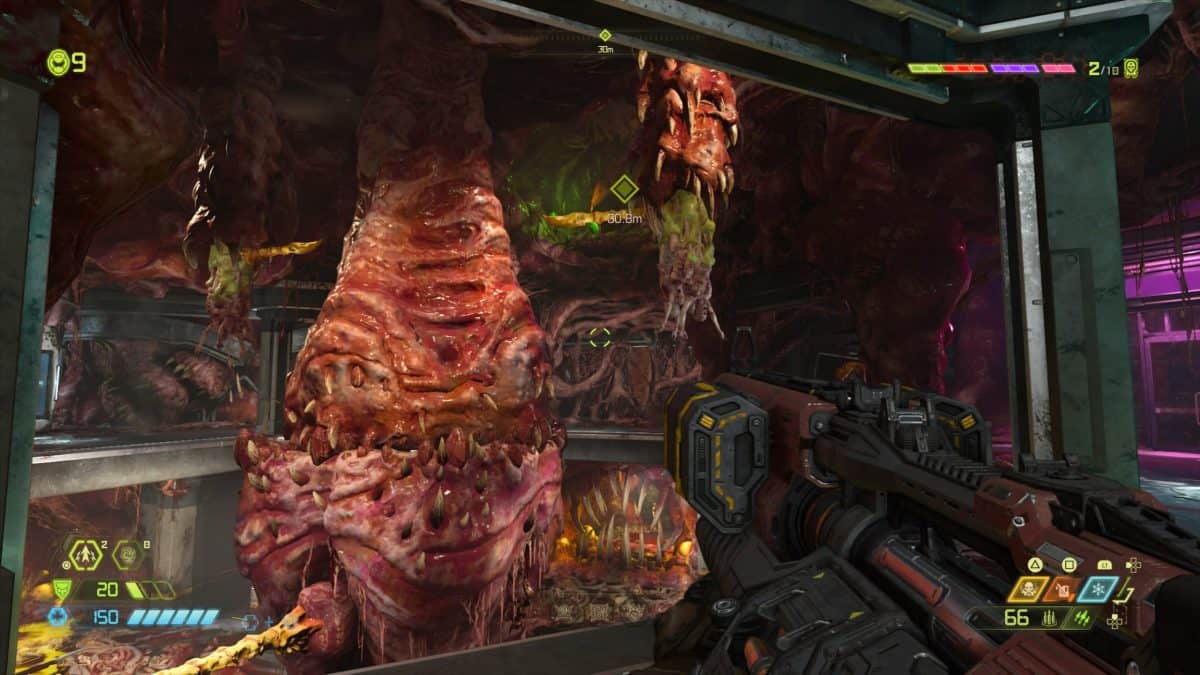
Praetor Suit Point #5
When you come across the monster with the giant mouth, you will be in the indoors section with moving flesh. Simply punch the cracked wall to reach the other side of the car park.
Grab the extra life, and kill the pinky. Enter the hole the pinky came out of and the gate that was previously locked, will now open.