In Jedi Fallen Order, players will have the optional task of gathering all the Tactical Guides spread across the galaxy. Although not necessary for players to complete to progress in Jedi Fallen Order, it is still recommended as it’ll provide you with invaluable information going forward and will earn you the ‘Data Collector’ Trophy. For those of you who are interested, we have all the Star Wars Jedi Fallen Order Tactical Guide Enemy Type Scanning Locations.
There are 45 Tactical Guides that can be located and scanned, many of which are relatively easy to come across; though there are a few that may prove to be trickier to get ahold of. These Star Wars ‘Tactical Guides’ are, in fact, creatures or enemies of some sort – including plants. To attain some of the Tactical Guides, you may have to kill these creatures, as they’ll prove to be too unruly to scan – for the Plants, it’s easier to look for a dead one.
Kashyyyk Tactical Guide Locations
Flame Beetle
The Flame Beetles, which resemble hornets, are commonplace on Kashyyyk. They’re a ubiquitous breed so players will have no difficulty whatsoever in encountering them. Scan one when you’re near (or kill them if you have to) and you’ll get the first Tactical Guide.
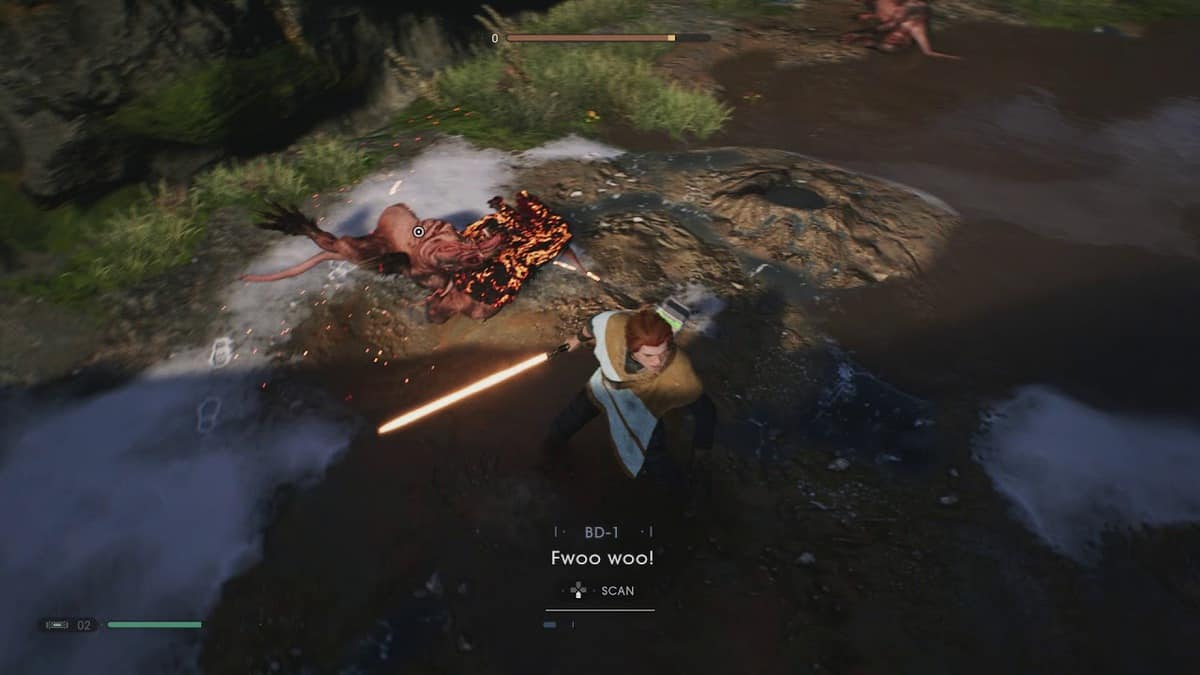
Wyyyschokk
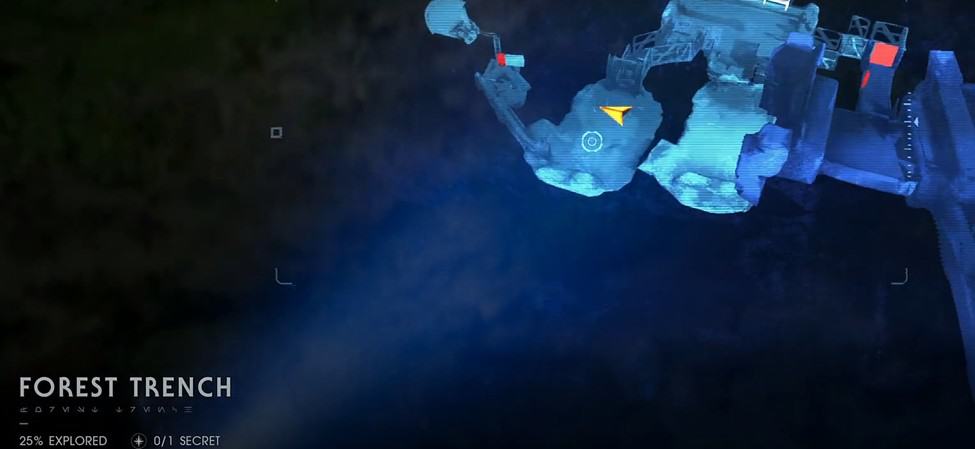
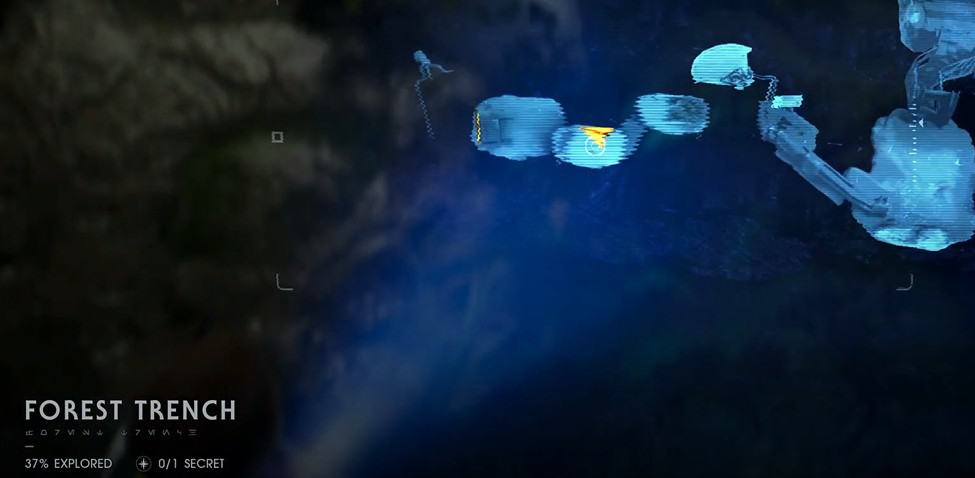
This arachnid creature is also fairly commonplace. You should have no trouble running into one, but if you are unfortunate enough to not encounter one, check out the Forest Trench and you’ll most definitely find one there. Scan the creature during combat to get the next Tactical Guide.
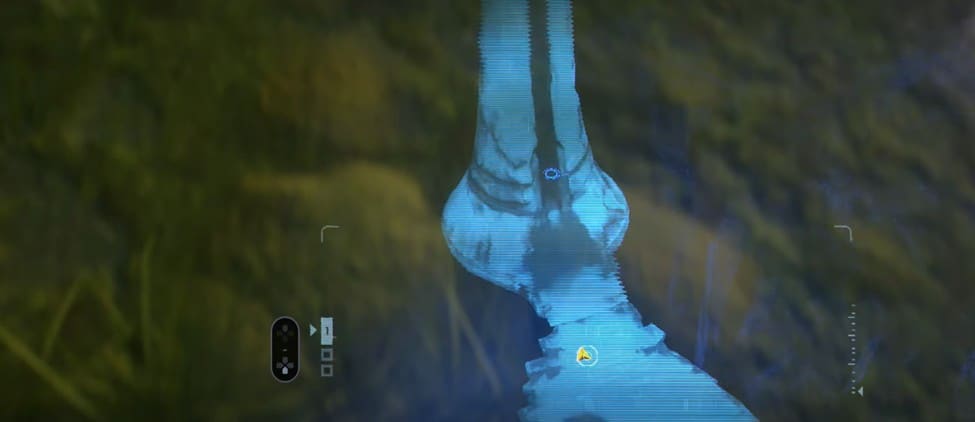
Jaw Plant
This one is a bit trickier. The Jaw Plant, whose design takes obvious inspiration from the Venus Flytrap, is something that cannot be killed. Trying to engage the carnivorous Plantae will most assuredly waste your time (and possibly get you killed). Instead of engaging it, head to Gloomroot Hollow. After exiting the tunnel, go past the save point and begin trekking through a long road filled with Jaw Plants. Evade them as much as possible and keep moving forward; eventually you’ll encounter a dead Jaw Plant – scan this one to get the Tactical Guide.
Slyyyg

The Slyyyg resembles your average, every day slug… except, of course, for the horns that resemble that of a ram – that is a bit more unique. These creatures can be found in the Overgrown Pass, or when you’re en route to the Shadowlands.
Saava
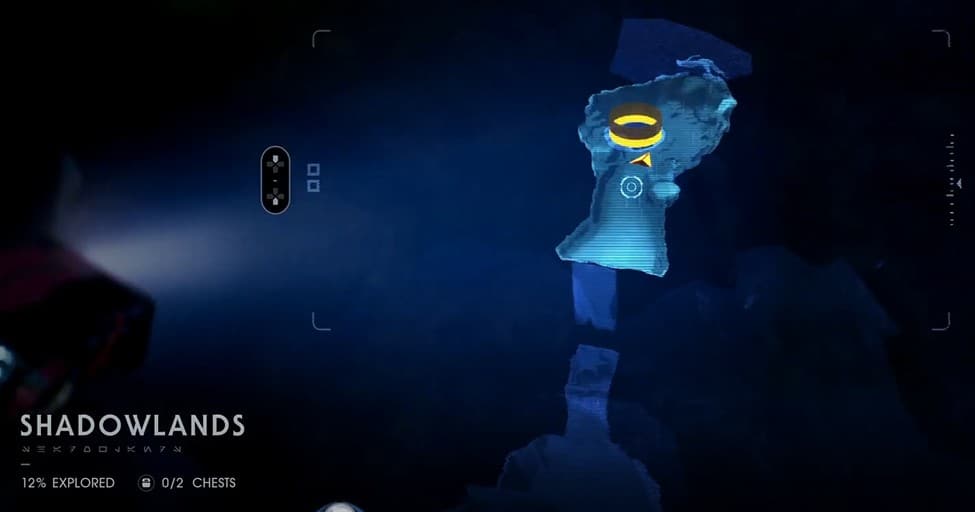
A dangerous bit of flora that stalks its prey as soon as it spots one. This plant, which can be identified by its bright, red flowers, is not one that can be killed. Therefore, much like the Jaw Plant, you will have to locate an already deceased Saava. This can be done after you’ve met with Chief Tarfful; make your way over to the Shadowlands, beyond Origin Lake. After entering the Shadowlands, you’ll come across a small pond – the Saava can be found next to the pond.
Mykal

This is an airborne creature with Pterodactyl like features and a blue color scheme. This creature can be found in the Overgrown Pass. The Mykal reveals itself after you Force Pull a bridge (this is done near the Save Point). You have to be careful as killing the creature may possibly get it to fall down into the depths, and you’ll lose your chance to scan it. Use the Force Pull to bring it towards you so you may be able to scan it without losing your chance to do so.
Albino Wyyyschokk
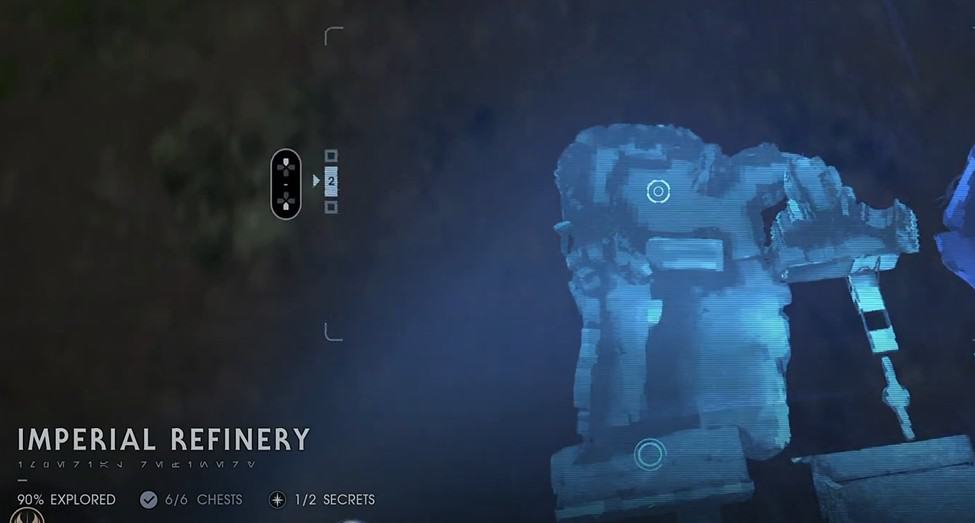
The next Tactical Guide can be obtained by scanning the Albino Wyyyschokk, a different breed of the Wyyyschokk you fought earlier. This one acts similarly to a mini-boss, so may actually prove itself to be the most powerful of the bunch. It can be found in the Imperial Refinery, once you’re there the creature will jump out at you and the battle commences. Take care of the creature and scan it afterwards, and you’ll obtain the Tactical Guide.
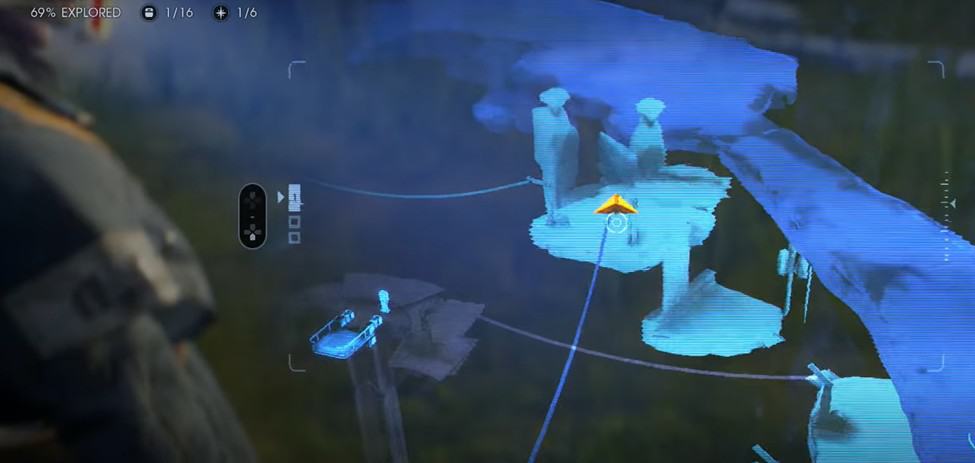
Stormtrooper Commander
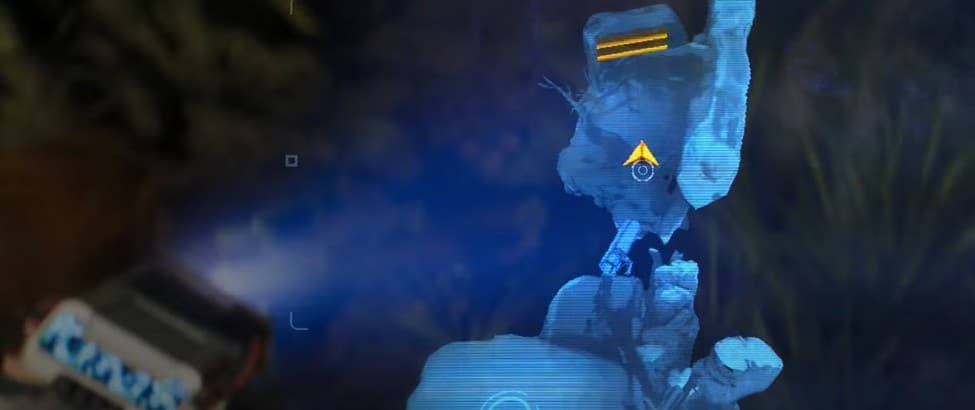
In the Imperial Refinery, search for an Empire base with several Stormtroopers. Engage the Stormtroopers, specifically targeting the one with a yellow shoulder guard – the Commander. Kill the Commander and scan him to get the Tactical Guide.
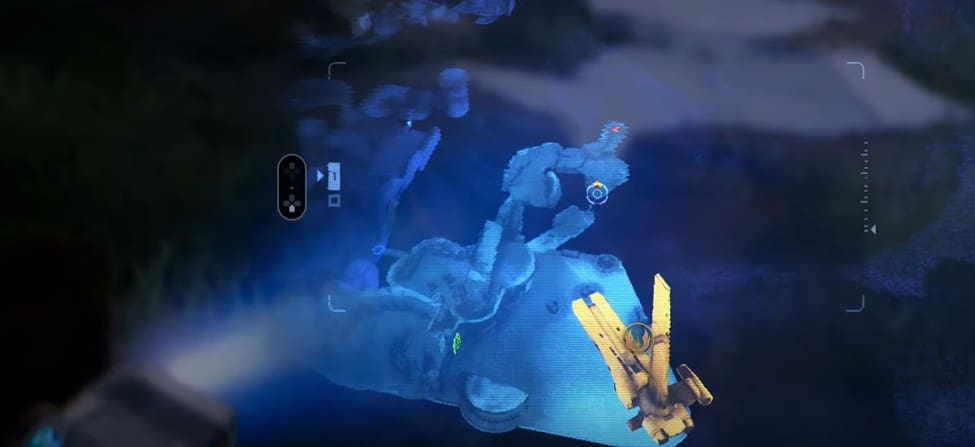
Electrostaff Purge Trooper
Another Tactical Guide that can be obtained further in the Imperial Refinery. Continue further into the Empire base and you’ll eventually come face-to-face with a Trooper sporting an Electrostaff. Beat this Purge Trooper in combat and scan him.
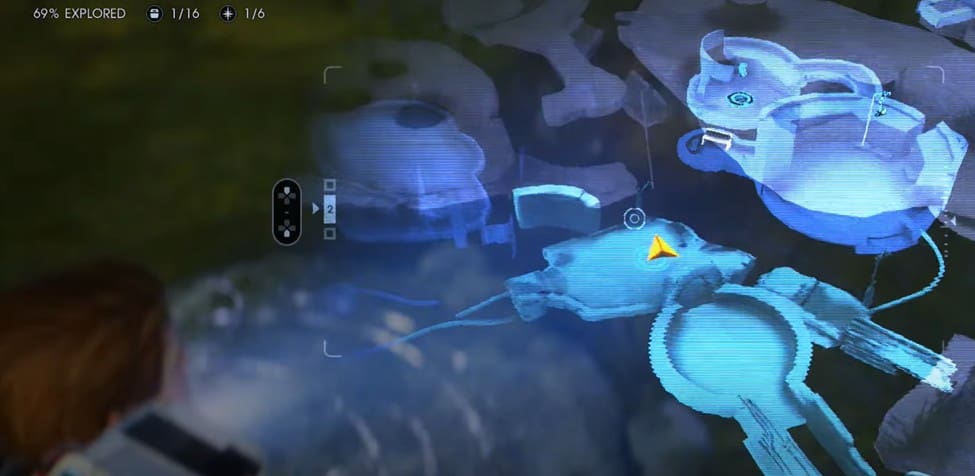
Security Droid
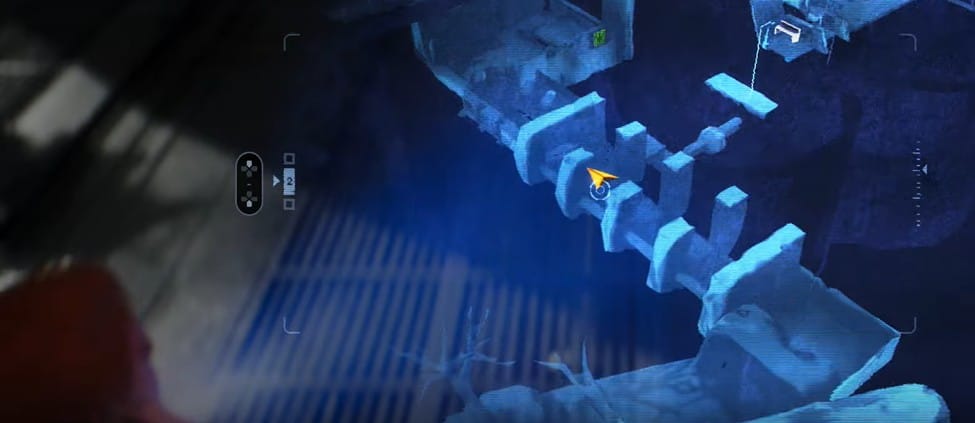
Deeper still into the Imperial Refinery, go into a room filled with water and a spinning turbine. On the side you’ll spot a wall that you can use to climb further up. Cross the room using the wall and hoist yourself up to a hallway with a door on the left; enter it and fight off the Stormtroopers and the Security Droid. Scan the latter.
Flametrooper
Close to the end of the Imperial Refinery, you will be outside the Empire Base and will be in a relatively open area. A duo of Flametroopers will appear to apprehend you; they’ll be using Flamethrowers. Kill them and scan them afterwards.
Purge Trooper Commander
In the Kyyyalstaad Falls, in the Empire Base, take the lift down and move forward in the hallway. You’ll meet the Purge Trooper (recognized by its Gestapo-styled armor); he’ll attempt to blast you – deflect everything and kill him. Scan him afterwards to get the Tactical Guide.
Electrohammer Purge Trooper

The final Kashyyyk Tactical Guide can be obtained in the Deserted Village. Use the plants as trampolines to get to a higher platform. On one of these platforms, you will meet another Purge Trooper, however this one will be carrying a large and imposing Electrohammer. Incapacitate him and scan him afterwards to get the final Kashyyyk Tactical Guide.
Bogano Tactical Guides Location
Slpox
A crab-like creature that can be found anywhere on the planet, but you’ll most frequently encounter them on the Fractured Plains or the Hermit’s Abode. Kill one and scan them afterwards.
Bogg Rat
A white, 4-legged creature that can burrow into the ground. This creature is fairly commonplace, and can be found in areas such as the Hermit’s Abode or the Great Divide. Kill it so you may be able to scan it.
Oggdo
A large, amphibious creature with multiple eyes and a hammered tongue. This creature can be found in either in the Ancient Vault or the Great Divide. Kill it and scan it afterwards.
Oggdo Bogdo
Similar to the Oggdo, however, this one is much larger, enough to constitute it as a mini-boss. It can be found in the Abandoned Workshop and will put up much more of a fight than any other creature on Bogano. Killing the Oggdo Bogdo will get you the last Bogano Tactical Guide.
Zeffo Tactical Guides Location
Stormtrooper
In the Derelict Hangar, near the precipice, you’ll find a deceased Stormtrooper being fought over by two creatures. Kill the creatures and scan the Stormtrooper’s corpse.
Scazz
The two creatures that were fighting over the Stormtrooper, these are the Scazz. They can be found anywhere on Zeffo, but might as well scan them at the same time you do the Stormtrooper.
Scout Trooper
Continue forward into the Derelict Hangar until you come across a large water wheel. Cross the water wheel and you’ll spot a Camp nearby; it’s crawling with Scout Troopers. Kill one and scan it.
Scout Trooper Commander

The Commander (who can be identified by the yellow shoulder guard) can be found in the Abandoned Village.
Phillak
A goat-like creature with obsidian skin, this one can be located on the edge of the Gusty Bluffs. He can do a large amount of damage so be careful when dealing with it.
Rocket Launcher Trooper
This one can also be located in the Gusty Bluffs. They can usually be found on high-up areas, as they don’t want to get caught up in their own blast radius.
Heavy Assault Trooper
Near the Weathered Monument, look for any cave opening. The Assault Trooper frequent those places and you’re most likely to encounter one there.
Tomb Guardian
You’ll encounter this enemy during one of the story missions in the Tomb of Eilram. Just make sure to scan it after killing it and you’ll be golden.
Jotaz
The Jotaz, an ape-like creature, can be found in multiple locations, namely the Crash Site and the Ice Caves. Explore those areas until you encounter one, and then kill it.
Rabid Jotaz
A more feral version of the Jotaz; this one can also be found in the Crash Site. Inside one of the crashed ships, you will have to squeeze into the crevice and make your way over to the red room; after squeezing through another crevice, you’ll enter a room with a large turbine and the Rabid Jotaz, which constitutes as a mini-boss.
Probe Droid
The Probe Droids can be seen floating around in the Crash Site, specifically in the dilapidated thrusters of a crashed ship.
Electrobaton Purge Trooper
The final Zeffo Tactical Guide can be acquired by first heading over to the Imperial Dig Site. Explore the area until you come across a Gestapo-style Stormtrooper wielding dual-handed weapons. Kill him and get the final Tactical Guide of Zeffo.
Dathomir Tactical Guides Location
Bane Back Spider
This large arachnid can be found roaming around in the Strangled Cliffs. Kill a few and scan them afterwards to get the Tactical Guide.
Lesser Nydak
This ape-like creature can be located in the area of its namesake – the Halls of the Nydak. Go into one of the caves and search around for a pit where the Nydak may emerge.
Undead Nightsister
On the Landing Pad, climb onto one of the nearby platforms; you’ll find a bunch of Nightsisters ambling about. Kill them and scan ‘em afterwards.
Nightbrother Warrior
In the Collapsed Settlement, the Nightbrothers can be found huddled around a campfire. Once you’re near, you’ll be able to hear them prattle on about killing us; get to them before they can get to you.
Nightbrother Archer
Further into the Collapsed Settlement (only a bit away from where the Nightbrother Warriors can be found) you’ll encounter a Nightbrother Archer. Use the Force Pull to bring him in and quickly dispatch him.
Nydak Alpha
The final Dathomir Tactical Guide can be located in the Treacherous Approach. On a platform near the Reviktor – this Nydak is a mini-boss and will, therefore, put up more of a fight.
Haxion Brood Tactical Guides Location
These Guides can be found on the planets you’ve already visited.
Haxion Brood Bounty Droid
Return to Zeffo and go to Gusty Bluffs. Once there, remain on the edge of the cliffs and move forward until you come across a droid by the name of the ‘Maestro’. Defeat the Maestro and collect the guide.
Haxion Brood Commando
On Zeffo, go to the center of the Weathered Monument. Head into one of the factories and explore until the Commando engages you. He’s called Crusher Hagop and will put up a decent fight.
Haxion Brood Bounty Hunter
The final Haxion Brood Tactical Guide can be found on Bogano. Go to the Abandoned Workshop, and using the pipes as a guide, follow the path until you spot a cave opening on the side of a large cliff. Go inside and you’ll find Atticus Rex; kill him and acquire the final Haxion Brood Tactical Guide.
The remaining 7 Tactical Guides (Empire Tactical Guides 5, 15, 16 and 17; Zeffo Tactical Guide Number 4; and Dathomir Tactical Guides Numbers 7 and 8) are all part of your story missions. Their location will be added onto the map as you progress through the story, therefore there’s no need to outline them here.
Use this guide to aid you in getting to all the Star Wars Jedi Fallen Order Tactical Guide Locations.