Throughout Ghost Recon Breakpoint you would unlock a total of five signature weapons, each a step up from the previous. These signature or boss weapons in Ghost Recon Breakpoint not only look unique but are also very powerful and can turn the tide of any fight. To help you out in acquiring them, we have compiled this Ghost Recon Breakpoint Signature Weapons Guide.
Ghost Recon Breakpoint Signature Weapons
These Signature Weapons in Breakpoint are guns with interesting perks that are acquired by defeating certain bosses. We have put together this guide which would cover the nooks and crannies of each of these guns to give you a heads up on which bosses you need to defeat for them.
Before we proceed, Tom Clancy’s Ghost Recon Breakpoint provides an interesting feature. As you unlock each of these guns, you would also unlock a blueprint for them. This would enable you to craft them at a higher gear rate, later on in the game, if you want to keep using them.
Also, many players get confused as to how these Signature Weapons work in Immersive Mode. All you need to know is that you have access to these weapons even in Immersive mode. Simply make a blueprint at the shop when you get them
With that let’s get into the details for these Ghost Recon Breakpoint unique weapons.
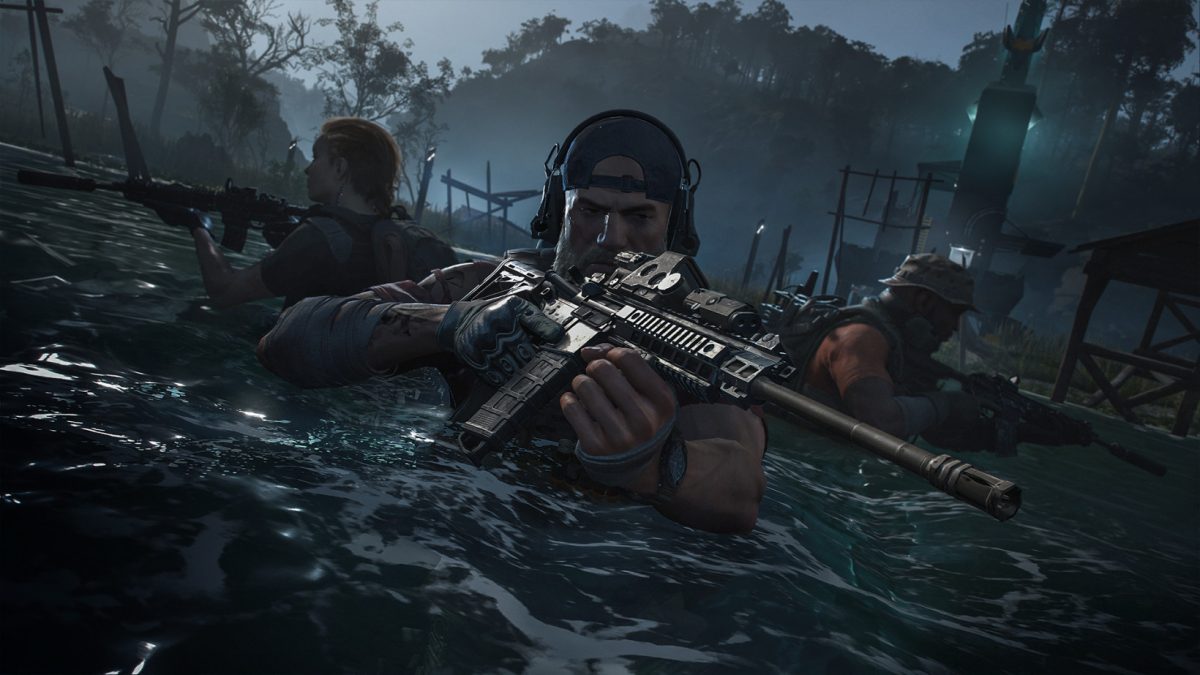
Rosebud’s Zastava M93
Unlocked from the mission Rosebud, where you have to defeat a Sniper, is this long-distance Sniper Rifle boss weapon.
Upgradable to Mark 1 or Mark 2, this beast can kill in a single shot! With the highest penetration in its class as well as high damage, this might be a bit tricky to control.
Quite effective against the armored enemies and vehicles. It packs ten bullets in each mag and immense power in each bullet.
Found in the mission “Speak No Evil”, you must visit the multiple locations on the map to find the intel; two of which are the research colony and a village. Once the Intel is collected, head over to the close located hills to find one of the two survivors.
Talk to her and head to Lake Bulkington in a chopper. Once there, a woman tells you about Rosebud. Visit the place while making sure you’re armed since you’ll be facing lots of enemies before eventually killing Rosebud to get the Zastrava M93 signature gun blueprint.
Flycatcher’s P90
A special P90 variant with high damage and high mag capacity. That being said it does have ridiculous amount of recoil and low accuracy. It is not only made for close combat but can also serve well enough in long range fights. Upgradable to Mark 2 or Mark 3, it comes with the standard muzzle rail cover.
I would recommend using the suppressor if you want to engage in stealthy close combat. It is all fun and games but on higher difficulties, it might seem hard to maintain that stealth. This is why I would not recommend using at such difficulties.
Found in the mission called “Hear No Evil”, you’ll have to be at Gear Level 50 to participate since it’s highly recommended. For this mission, you’re required to visit three different parts on the map. One being a base while the rest being research facilities. Visit all three parts to find Intel then go straight to the Arroe Testing Zone.
Head down the ladder shaft, then inside the head hangar while keeping an eye on the drones and Wolves. Get an access key by hacking into the computers at the middle room.
Return to the shaft, enter through the door to come across multiple Wolves, Automated Turrets and drones. Flycatcher is one of those Wolves holding the intel. Kill it to take the Flycatcher P90 signature gun blueprint and complete the mission.
Silverback’s KSG12
This signature weapon is rewarded by Silverback, one of Walker’s henchman, is the KSG12 variant. It has the largest magazine in its class. However, that comes at the cost of a greater recoil and some reasonable reloading time. Upgradable from Mark 1 to Mark 3. Can be helpful taking out huge armored targets.
You’ll start the mission by invading the research facility and coming across a scientist there whom you must talk to in order to gain information about Silverback. Head to the New Argyll to take out one of the commanders; don’t kill them, just shoot them in the leg to have a brief chat, then shift your focus to the Wolves and other reinforcements to kill.
After interrogating the commander, head straight to the Moon Lake in the Good Hope Mountain. You’ll come across a Lone Wolf Sniper at the main entrance. Take him down and find Silverback to kill. You’ll find the Silverback KSG12 signature gun blueprint there.
Sharp Thunder and Silver Stake Tactical ASR
Defeating Walker would land you his signature revolver. With a one-hit kill prowess, for most body parts, similar to the sniper rifles, it is highly stable but packs in quite a kick. Upgradable to Mark 1 or Mark 2.
Sharp Thunder is a bit hard to aim over the shoulder but is very accurate. Also, don’t feel daunted by the huge reticle, if the shots are lined up properly, you should be able to kill the enemies.
Silver Stake Tactical ASR on the other hand is a tactical variant assault rifle, which is highly suppressed. Highly accurate and with a range of attachments, just like the other guns. Mind you, it would stay suppressed irrespective of the attachments.
Suitable to medium and long-ranged, it is unlocked at the end. Hence, in order to put it to good use, you might have to play some side missions. As it earns you a pretty high gear score, you can always go back to the start and use the blueprints to craft it and clear your way through the game.
This mission takes place at the Howard Airfield where you’ll have to kill Walker. However, reaching Walker is not an easy task as it requires you to destroy the Behemoth, the largest drone guarded by the military.
The best strategy is to kill the guards surrounding it before the Drone gets triggers and starts throwing bombs at you. Head straight to the north-east of the base and shoot anything with a higher level at the drone such as rocket launcher. Continue shooting it while taking cover inside of the building when shots ae fired at you.
Keep shooting, taking cover, healing and repeating the process till you finally blow up the beastly drone. Once destroyed, head inside the communication tower to assassinate Walker.
If you thought making past the drone was a tough job, wait till you try to reach Walker inside the Tower. Walker is guarded by Wolves who won’t let you get near him. The best strategy is to set mines on the staircase, empty your LMG and kill them all before turning your focus back to Walker.
Once you’re one-on-one with Walker, either he runs upstairs blowing himself with the mines you set or a headshot can do it for him. Either way, kill him to get the Silver Stake Tactical assault rifle and the Sharp Thunder.