The final map for Black Ops 4 Zombies has been released, which means the end of the Aether storyline so we have compiled this Tag der Toten Easter Egg guide for you to hunt down. Of course, like all the previous Zombies maps, getting all these easter eggs isn’t as straightforward as it seems so you will have to do a bit of leg work.
Black Ops 4 Tag der Toten Easter Eggs
Before you can start hunting for the easter eggs, there are some other requirements you need to meet as part of the Zombies map challenge which we have given below:
Requirements!
Turn on the power in the Docks and the Bridge, after which you will have to get the Blue Rock which is in the Lighthouse Approach cave. Carry it to the top of the lighthouse. Tighten the ziplines to turn the cranks after collecting the two Zipline Cracks from Stern and Forecastle.
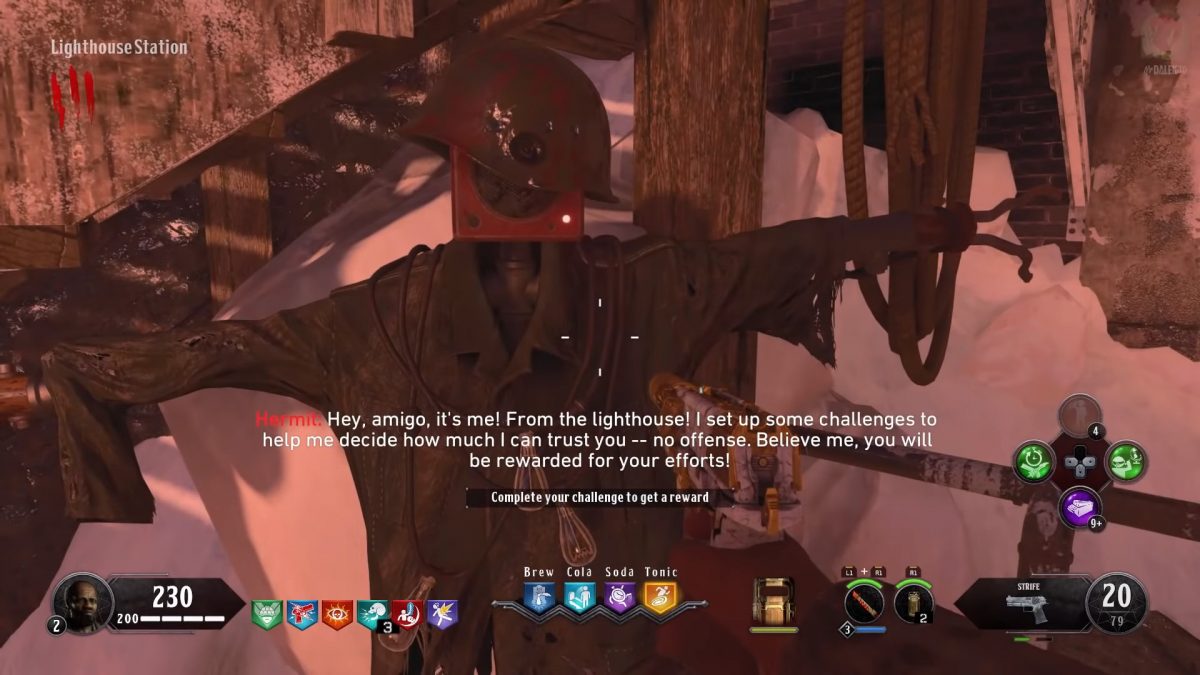
Go back to the top of the lighthouse to get the Zipline Handle from the Hermit. Turn on the Power in the Human Infusion room at the Mountain Base which is at the top of the zipline.
Once you’re done, head to the launcher which is on the Sun Deck. Launch yourself towards the Iceberg island. This includes the basic steps of unlocking the Golden Pack-a-Punch machine and everything that you have to do before you can start the Easter egg quest.
1. Challenge Totems
You will come across scarecrows while roaming around the map. Interact with them so that the Hermit gives you various challenges. These challenges will be different for every location. You will need two challenge totems, and you will complete a totem by finishing three challenges.
Complete both of these challenges and head back to the hermit in Lighthouse Level 4. Once here, you will be able to collect the Dials item from the dumbwaiter.
2. Artifact Storage
Now, you will need to set the dials in the Artifact Storage room. Head to the room and search for four slots in the walls, you will find these in the area of the upper control room.
Set the dials in these slots, interact with the dials to turn them till they light up while producing a bell’s sound effect. The right sequence relates to the bright colored numbers on the walls around the map.
Here’s a list of locations of the colored numbers on walls:
- Purple: Stern
- Yellow: Sun Deck
- Blue: Cargo Hold
- Orange: Forecastle
3. Apothicon Offerings
Once you set all four dials, an Apothicon voice will ask you to bring some offerings, which is why I advise you to use subtitles on this map.
The voice will ask you to bring offerings of bone or meat which you will find at many parts of the map.
The voice will give you a hint, listen to it carefully or even jot it down if you can.
Here is a list of all the hint locations that you’ll be given by the Apothicon.
Locations:
- ‘Where Crows Roost’ – Forecastle: On the barrels opposite the pot.
- ‘Where Mountains Throw’ – Outer Walkway: Near the launcher on the exterior walkway of the mountain base.
- ‘Where Helixes Peak’ – Lighthouse Level 4: At the top of the lighthouse.
- ‘Where Falls Freeze’ – Cargo Hold: Near the stairs.
- ‘Where Feet Slip’ – On the Ice Slide in the cave behind the Boathouse.
- ‘Where Lungs Close’ – Docks: The underwater passage.
- ‘Where Preservation Freezes’ – Forecastle: On a life preserver.
- ‘Where North Is Found’ – Bridge: Across from the boat power switch.
- ‘Where Lightning Aims’ – Mountain Base Facility Lobby: Near the Wunderwaffe DG schematic.
- ‘Where Earth Crumbles’ – Geological Processing: In the minecart room.
- ‘Where Filth Cleanses’ – Decontamination Room: Inside the mountain facility.
- ‘Where Fire Sinks’ – Sunken Valley: By the burning fire.
- ‘Where One Mysteries’ – Lighthouse Level 1: Next to the Mystery Box spawn.
- ‘Where Thirst Dawns’ – Forecastle: Next to the Perk Soda machine.
- ‘Where Lines Berth’ – Docks: Near the zipline to the Lighthouse.
- ‘Where Madness Sleeps’ – In the Prison Cell area of the Mountain Base.
- ‘Where Power Ends’ – Human Transfusion: Near the Power switch.
- ‘Where The Hidden Burns’ – Cargo Hold: On a passage down from the burning fire. You might not realize the path is there.
- ‘Where Bounded Sleep’ – Stern: Near the Soup perk machine.
Once you’ve found all the three offerings, you’ll receive another step from the Apothicon Blood.
4. Seal of Duality
The Apothicon Blood will require you to search for another item called the Seal of Duality. The Apothicon will give you a hint regarding a painting / poster which you will need to find. Once you find it, you’ll have to melee attack it to reveal a safe, on which you will use dynamite so that it opens.
You will find the seal inside the safe.
You can craft the dynamite by killing three frozen fire zombies and collect the parts they drop.
Here are a few of the locations that may be randomly hinted to you by the Apothicon.
- Find a seal of duality in between where humans suffer – go to Specimen Storage and melee an anatomical painting on the wall. Place dynamite and the seal will appear.
- Find a seal of duality where the cages hang – go to the boathouse near spawn (where you found the soup ingredient). Melee the poster board and use dynamite to reveal the seal.
- Find a seal of duality inside an icy hall – slide down the ice slide at the bottom of the lighthouse to enter the Ice Grotto, knife the chalk drawing (sign) on the wall to the right and a safe will reveal itself. Use dynamite to explode the door and the seal is inside.
- Find a seal of duality in the walls where aether was gathered – go to the Geological Processing room (from the security lobby and beside the yellow urn thing). Melee the poster at the far back of the right-hand wall. Use dynamite and the seal will appear.
5. Blood Orbs
Head back to the Artifact Storage room to place the Seal of Duality right under the Apothicon Blood. Shoot the big red orb multiple times, this will cause a yellow orb to fly to a different location over the map.
Find the yellow orb, approach it carefully and hit it with a snowball to turn it blue. Shoot at the blue orb to send it back to the giant red orb. You will have to do this three times.
6. Samatha Music Box
After all of the orbs go back to the Apothicon Blood, take the Seal of Duality to the Sunken Path. Once here, you will see a campfire, place the seal in the campfire.
Now you’ll have to get the Samanta Music Box, for which you need to acquire two keycards from the Mountain Base, for which you’ll need to use the Zipline Handle.
Keycard Locations
Here is a list of places where you’ll possibly find the keycards.
The first keycard
Decontamination: In a dryer.
Decontamination: In the Eye Wash station.
Decontamination: In the sink.
The second keycard
Specimen Storage: At the toilet.
Specimen Storage: At the rack of the canister.
Specimen Storage: Near the mail.
Once you’ve found both of the keycards, head to the Security Lobby and put the keycards into the security panel. You will not be able to interact unless the Human Infusion Power Switch is turned on. After the keycards go inside, head out and collect the keycards again.
Go to the Human Infusion and insert a keycard into each slots on either sides of the vault. Upon doing this, a Lockdown Event will start. You will get the Samantha Music Box from the vault since it will open once the lockdown event concludes. Though you will only be able to do so if you survive the lockdown event.
7. Soapstones
Go back to the Hermit in the Lighthouse Level 4 room. Get the soapstones from the dumbwaiter.
Now, you will have to place these soapstones on the traps, and then activate these traps. Once you’ve done this, place the elementally-infused soapstone into the slots that you saw in the Human Infusion.
To give a soapstone fire, activate the fire trap in the Lighthouse Annex after placing the soapstone into it. To give a soapstone ice, activate the ice trap between the Upper Catwalk and the Decontamination room after placing the soapstone into it.
Once you’re done, place both of the soapstones in the slots under the human-shaped tubes that you find in the Human Infusion. You will see an Agarthan Device with big square slots. Place both of the elemental soapstones and get the fuse from the center.
8. Elemental Shard
Head to the Lighthouse Station and search for the locked door. Place the fuse in a recess at the right side of the door.
You’ll hear Nikolai’s voice telling you about the shortage of power, because of which you’ll have to start the generators by shooting at them with the Wunderwaffe DG which you will acquire from the Mystery Box.
You will also need to kill the zombies near the generators. You will find the three electricity zombies in the Boathouse right next to the Lighthouse trap and in the Lighthouse Approach near the MX9 Wallbuy and in the Lighthouse Station over the upper platform near the barrel.
Shoot the two electric pylons/generators that you will see sparking near the facility. You can do either (zombies or generators) in whatever order you prefer.
Once you’re successful, you’ll hear Nikolai again, which is when you’re supposed to head to the door where you placed the fuse. Though this time, the door will be unlocked and you will be able to collect the Elemental Shard.
9. Apothicon Blood
Go back to the Artifact Storage, place the Elemental Shard underneath the blood orb. This will make the blood orb move around. Blast the blood orb to get it back into its position till you see the screen flash white.
This will make three smaller yellow orbs fly again, and you will have to repeat steps 5 and 6.
Get the Agarthan Device to the Beach, Sunken Path, Boathouse and Lagoon locations. Place it inside and charge it by killing the zombies that find near the area. This will make the lighthouse’s light guide you towards the next location.
You will have to repeat this for each of the four locations. Once you’re done, take the device back to the artifact room and shoot at the red orb, another yellow orb will be release but it will stay inside the room. Hit it with the snowball and get it back inside the red orb. Repeat this three times.
Take the device to the campfire and throw a Samantha Music Box inside, this will turn the campfire blue. Take the device to the Lighthouse Level 4, and give it to Hermit. Delivering the device will start another lockdown event and you will want to prepare yourself to fight in closer quarters in the process of waiting.
Once the lockdown ends, Hermit will give the device back to you. For the next part, I advise you to load yourself up on all the ammo and shields. Use the launcher on the Sundeck to launch yourself to the small island with the Golden machine. The red orb will be in front of the machine. Kill the zombies here and collect their souls. The orb will float upwards, and the sky will turn red.
Protect the device while staying inside the circle till it reaches Human Infusion. If the red orb stops, get some kills to charge the orb. You will also need to watch out for the floor since it’s lava. Once the map turns to normal, the device will now be fully charged.
10. The last step
Head to the top of the ship at Sundeck and a yellow orb will appear from above which you can interact with.
Go to the Forecastle and interact with the Agarthan Device that you see on the floor. This will complete the map which will be the end of the Aether Storyline.