Blair Witch is filled to the brim with puzzles that will give your brain a high-intensity workout. You will need to use your camera and look through all you have in those tapes for something you might have missed. Those will be the clues that solve these puzzles. But in this guide, we will focus on the Blair Witch Sawmill puzzle and how you can solve it and make it as easy for you as possible. Let’s get started, shall we?
Blair Witch Sawmill Puzzle
Your objective here is to remove the log blocking the rail cart since the cart is your only way of escaping. Now, in order to remove the log, you need to activate the sawmill machinery. But the machinery is totally out of order and you need to follow a series of steps to get it back to working.
So, as you start, a marker will be pointing the sawmill close to the rails. There is a table outside the shack on the left side. You’ll find it if you go straight in the direction of the small shack.
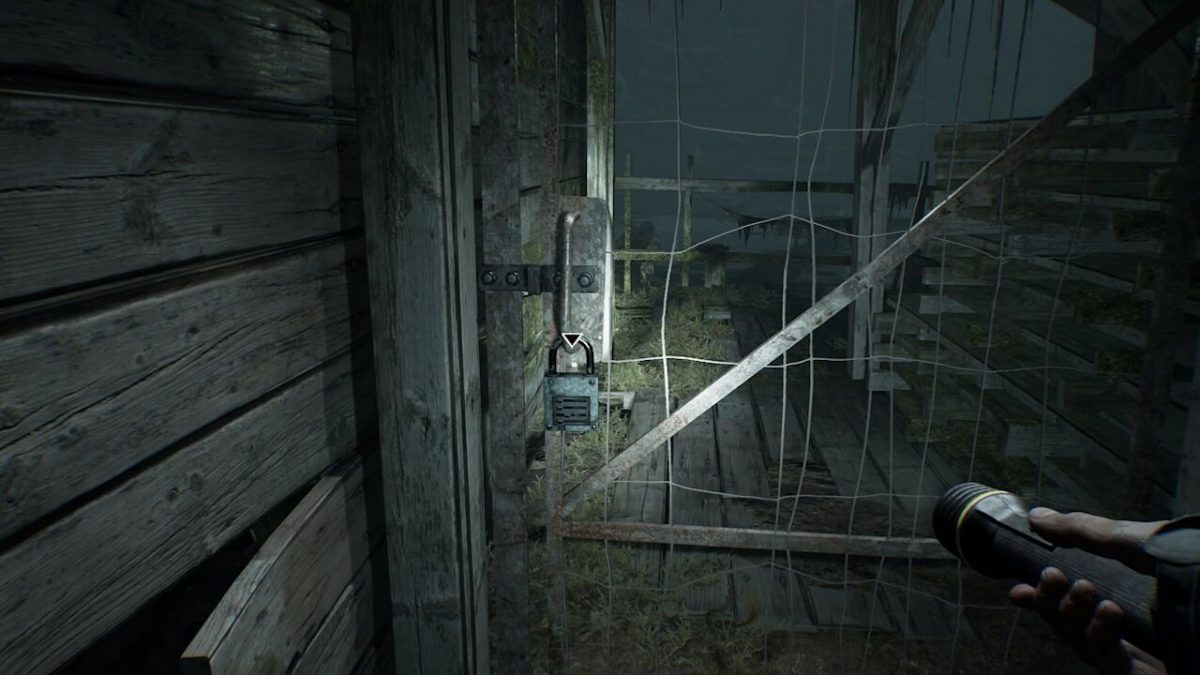
There is a red tape on that table which you need to watch and two notes inside the shack that you need to read. You need to use the red tape to open the door of the hut. For this, play the tape and pause it exactly at 00:44, where the man in the video opens the locked door of hut.
Go inside the hut and you will find the directions towards the spare valve and pressure gauge. You need both of these parts to repair the Steam Donkey, which is the main part of the sawmill machinery.
Finding the Pressure Gauge
Now you need to go to the Maintenance Shed by activating the rail cart. You must stay vigilant of the shadow demons here as they will be ready to attack you. You may either fight them or run away but stay close to Bullet in both cases. Turn the shift the rail tracks to make the path of the cart complete. Then get in it and go forward towards the maintenance shed. Now turn the generator on after you get there.
Once the area is all lit up, you’ll see another well-lit area ahead which is an abandoned shed. There are also some items in there.
The puzzle clues, however, are at the back of this shed. You will need a Bullet at this point, as there is a pressure gauge that he needs to fetch. Walk around the backside of the building and you will see a huge clock-like device. That is the gauge. Once you get Bullet to retrieve that gauge, just go back to the cart and go camping B ahead.
Camp B and the Fuse Box
Head back from the area you are in and instead of going to Camp A, go straight to the other area. You will first face a group of shadow demons. Fight or flee, but get into this Camp B. You will see a broken fuse in the wreckage to the right.
As you did before, just power up the generator on the right, but you need to put that flashlight of yours at work and walk along the dark rails. You’ll get to a place that has some logs on the left side. There is a dirt path on the right from the logs.
There is a steam generator behind a large log which you have to turn on by going over it.
Now just find the valve wheel and bring it back to the place where we started the cart ride and put both the pressure gauge and the wheel back om the machine that need them.
Your next step is to fix and start the Steam Donkey. It can be done in two ways; first is by watching and pausing the red tape you found at 0:13 mark, it’ll light up the steamer.
The second way is by using the wheel to maintain the pressure in the green zone. If you maintain the pressure long enough it’ll move the log and your puzzle will be solved.
This is how you can easily complete the sawmill puzzle. You can find the solutions of other puzzles from this game on our site. Let us know if there’s any confusion. Have fun solving.