In 2017 Nintendo added a free DLC side quest to Zelda: Breath of the Wild, through which the player can obtain the armor of the Xenoblade Chronicles 2 protagonist. This article provides information about acquiring this special armor and an entire quest walkthrough.
How to Acquire the Xenoblade Chronicles X Armor in Zelda: Breath of the Wild
To acquire the Xenoblade Chronicles’ Salvager Armor’, you need to update your Zelda: Breath of the Wild game. After updating, start the “Xenoblade Chronicles 2” DLC side quest of the game and complete it. Upon finishing the quest, you must find the three red shooting stars at night.
They can be found in the southern sky from the middle of the largest bride, the eastern sky from the skull’s left eye, and the southeastern sky from the peak of the tall, snowy mountain. Get to each of these locations and then wait for nighttime. At night, a star will appear and crash into the ground. Now move over to the crash location and find the piece of the Salvager gear.
Salvager Headwear
Salvager Headwear can be found in the middle of the bridge of Hylia in the lake region. Stand on the fountain and face south to get it. This will give you 5 Armor and an increase in swim speed.
Salvager Vest
Salvager Vest can be found in the left eye of skull lake in the Akala Region. This will give you 5 Armor and an increase in swim speed.
Salvager Trousers
Salvager Trousers is at the peak of the Hebra mountain in the Hebra region. This will grant you 5 Armor and an increase in swim speed.
The Salvager armor does not give much protection but grants you a swim speed bonus and the Swim Dash Stamina Up Set Bonus if you have all three parts equipped.
Xenoblade Chronicles X Zelda Quest Walkthrough
At the start of the quest, the description will tell you three clues on what locations you have to visit. After this, you must look in a certain direction to find the red shooting stars.
If you are at the correct location, you will hear a noise and see a shooting star trail in the sky. Remember that the stars are only seen at night, between 9:30 pm and 3 am.
You should carry wood with you and create a campfire so that you can sit by it and fast forward the time until nightfall. If the star does not appear, move around and look at the sky, and the star will appear soon enough.
Lastly, remember that a blood moon could stop the star from appearing, so you must come back another night if you do not see the star. You can collect the stars from the following locations in any order you please.
Shooting Star #1
This can be found on the Bridge of Hylia in Hylia Lake. Move to the lake and get on the hexagonal platform in the middle of it. The star will trigger if you look towards the south. The star will drop to the bridge’s southeast, which will happen anytime after 9 pm. Open the chest to claim the Salvager Headwear.
Shooting Star #2
For this one, move northeast of Death Mountain to find Skull Lake. Stand on the right eye, east, and on the Zena Kai shrine. Now look to the east and waggle the camera around slightly to hear the trigger of the star. The star will drop to the easy, and you will need to glide and run to it. Some enemies will spawn on the way, but you can ignore them. Open this chest to claim the Salvager Vest.
Shooting Star #3
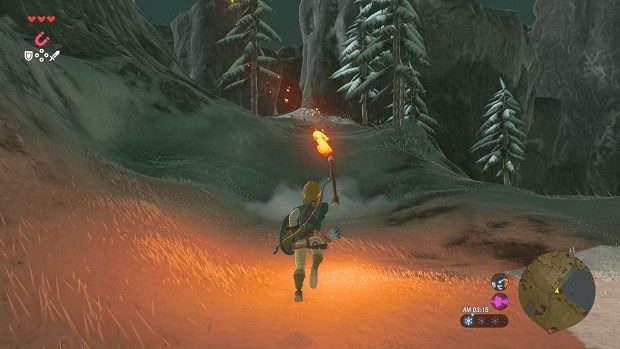
This star will be found at the peak of the Hebra Mountain inside the Hebra Region. It is right above the Goma Asaagh. Approach the mountain and climb to its peak.
You will be in the correct place if you see a rock with a Korok Seed. Now look towards the Castle, and the shooting star will be triggered. Opening this chest will get you the Salvager Trousers.