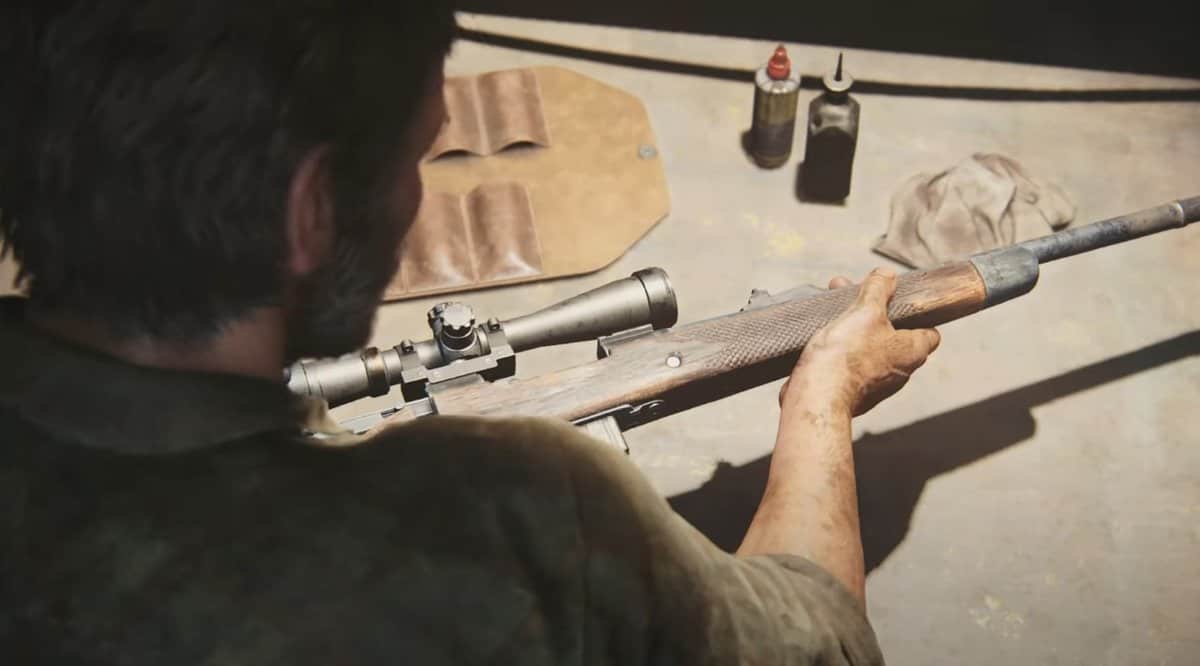
Crafting is an important factor contributing to your survival in The Last of Us Part 1. Unlike crafting equipment and melee weapons, upgrading firepower will require you to find a workbench. You can sit on this bench and craft upgrades for your weapons. These Workbenches, however, aren’t abundant as there are only 11 of them in the entire world of TLoU Part 1; so make sure that you use them whenever there is a chance.
And if you’re struggling to find these Workbenches, then we’ve got you covered with this guide where we’ll be showing you the locations of all Workbenches in The Last of Us Part 1.
For more help on The Last of Us, read our Crafting, Joel Supplements and Weapon Upgrades Guide.
The Last of Us Part 1 Workbench Locations
Workbench #1 Location
The first crafting tale can be found in the third chapter, “The Outskirts”. During this chapter, you’ll find yourself inside the basement of a museum after you escape from the garage.
While inside this basement, look to the left of the truck to find the first Workbench of TLoU Part 1.
Workbench #2 Location
The second Workbench can be found during the fourth chapter, “Bill’s Town”. During this chapter, you’ll enter the basement of a church. A Workbench will be present inside this basement.
Workbench #3 Location
The third Workbench can be found in the fifth chapter, “Pittsburgh”. While you are at the hunter’s camp, go to the upper floor of the second building. Head through the metal door at the end of the hallway and you’ll find a crafting table to your right.
Workbench #4 Location
The fourth Workbench can also be found in the fifth chapter. While you’re inside the hotel lobby, head into the office with the open door to find this Workbench.
Workbench #5 Location
The fifth Workbench can also be found in the fifth chapter. When you’re inside the garage in the Financial District, jump over the green trolley opposite to the door to enter the room behind the wall. You’ll find a Workbench inside this room.
Workbench #6 Location
The sixth crafting table of TLoU Part 1 can be found in the sixth chapter, “The Suburbs”. While you’re in the suburbs, look for a blue house with an open garage door. Go inside the garage to find a Workbench.
Workbench #7 Location
The seventh Workbench can be found in the seventh chapter, “Tommy’s Dam”. A Workbench is located inside the Control Room at the Hydroelectric Dam.
Workbench #8 Location
The eighth Workbench in TLoU Part 1 can be found during the eighth chapter, “The University”. After going through the entrance of the university, head towards the campus entrance up ahead.
After going through the campus entrance, turn right and go into the garage. You’ll find a Workbench to the left of the forklift.
Workbench #9 Location
The ninth crafting table of TLoU Part 1 can also be found during the eighth chapter. Head into the science department building and go up to the upper floor. Head towards the missing wall and then go into the room to your right to find a Workbench.
Workbench #10 Location
The tenth Workbench can be found during the tenth chapter, “Bus Depot”. When you’re at the highway exit area, go inside the tent in the Triage section to find a Workbench.
Workbench #11 Location
The eleventh Workbench can also be found during the tenth chapter. When Ellie allows you to enter for the first time, you can find a workbench in the first room of the hospital tunnel.
