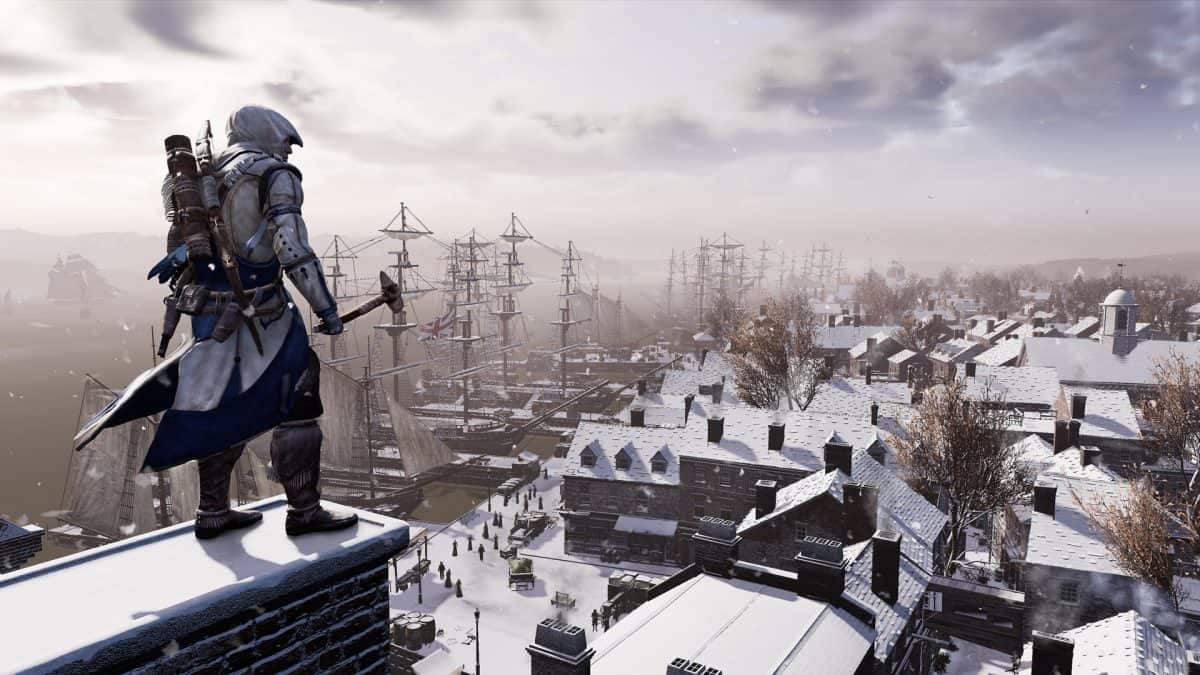
After Sequence 4, Assassin’s Creed 3 actually begins; get to the checkpoint on your map to start the first mission in this sequence. Follow our Assassin’s Creed 3 Sequence 5 100% sync guide to help you perfect each mission.
For more help on Assassin’s Creed 3, read our Hunting, Treasure Locations and Almanac Pages Locations Guide.
Assassin’s Creed 3 Sequence 5 100% Sync
Mission 1: A Boorish Man
You meet with Achilles, after failing to get into his house several times camp in his barn to avoid the rain. Before long, you’ll have to fight off a group of bandits on his lawn, after which he’ll deign to speak to you in his house. He will tell you tales of assassins before leading you down to the basement and ending the mission.
Getting 100% sync in this mission is simple stuff, really. Kill everyone and then head to Achilles’ house for a conversation. Don’t lose too much health in the fight, or you’ll fail the 100% sync requirement. Try to limit your health loss to a maximum of 50% in order to keep the sync. You should be pretty good at combat at this point so just time your parrying and you should do fine.
Mission 2: Trip to Boston
Now you need to go to Boston. Explore the city as much as you wish, but if you’re ready to progress then head to the general store and this will start a cutscene. Once it is over, exit the store and meet Achilles at the marketplace. Follow the him and you will get a look at a historical event which will reveal a target for you to follow. Pursue him in the streets and then on the roof until you get a chance to kill him when prompted.
Now you need to escape so run along the rooftops until you see a hay pile below you to hide in. Birds congregating around the edge of a building rooftop usually denote locations you can jump from into the hay. Make sure you get away within 80 seconds for 100% synchronization.
Mission 3: Boston’s Most Wanted
An associate of Achilles will instruct you on how to reduce your (now) high levels of notoriety. You can track the guards on your mini map, and as long as you stay on the ground, you won’t have to worry about the faded dots that indicate rooftop snipers.
After ripping down two of the posters that are highlighted, go talk to Sam Adams. His friend will help reduce the last level of notoriety off you. The optional objective for 100% sync rate is that you must not get level three notoriety. Luckily you don’t need to be undetected in order to rip down the posters so you can probably get this done without having to reach that level.
Mission 4: Lying Low
This mission consists mainly of a trip through the sewers. You will have to light candles as you progress and observe as the rats move under the walls to find the correct path, then lock pick the door to move on.
Bribe the printer to alter his propaganda then take a boat back to the Davenport Homestead to move on to the next mission.
Mission 5: River Rescue
You need to rescue Terry before he reaches the waterfall, without touching the water if you want full synchronization. Take the path of logs that are jutting out of the river itself.
It’s a fairly straightforward route, and once you have reached the branches at the end of the path; you will be able to jump for him without getting wet.
Afterwards, walk back around the lake to the East to where the fast travel location is. Find Achilles standing out by a shed.
Talk to him to meet Robert Faulkner, the first mate of the Aquila. The Aquila is the broken ship right outside that can be repaired again. After talking with him, return to the manor above the lake. Follow the on-screen steps for learning about the Ledger.
Mission 6: The Hard Way
Fast forward six months and the Aquila is fixed and ready to go. This mission begins at the Homestead harbor during your first time progressing through the story and on the open seas near Martha’s Vineyard when replaying. Head down to talk to Robert in order to set sail in your new ship. After the cut scene head for the steering wheel where Robert teaches you to be a naval officer.
Eventually, you’ll get to use the ship in sea combat but there isn’t anything really complicated here, just follow the on screen instructions, and you’ll do fine. Remember to use the swivel guns on the smaller ships, and the cannons only once the big ships attack.
In order to get 100% sync, it is absolutely essential that you do not take any damage. Avoid getting hit while taking out at least two ships with Keep an eye on your enemy’s targeting meter and then brace when it turns redIf you’ve managed to stick to these criteria then you can get 100% sync.
