Star Ocean Integrity and Faithlessness Cathedral of Oblivion are optional dungeons with exciting rewards. There are a total of 14 instances across 3 tiers – first tier with 3 instances, second tier with 5 instances, and third tier with six instances.
You will be able to view a time-wrap on your mini-map in case a Cathedral of Oblivion spawns at a location. Moreover, if you are confident that an area has a dungeon, you can force-spawn it by leaving and entering the area repeatedly.
Before undertaking one, it is a good idea to replenish your consumables, manage your skills, and assign battle roles. The game will provide you with a tutorial to help you familiarize with different mechanics and other things.
For more help on Star Ocean Integrity and Faithlessness, read out our Combat Mechanics Guide, Crafting and Synthesis Guide, and Private Actions Guide.
Star Ocean Integrity and Faithlessness Cathedral of Oblivion Guide
Our Star Ocean Integrity and Faithlessness Cathedral of Oblivion guide details everything that you need to know about these optional dungeons and what to expect from them.
Cathedral of Oblivion – What You Need to Know
Each instance has multiple room that house enemies and you must pass through them in order to progress to the next room – the final room of all instances contain a high-level boss.
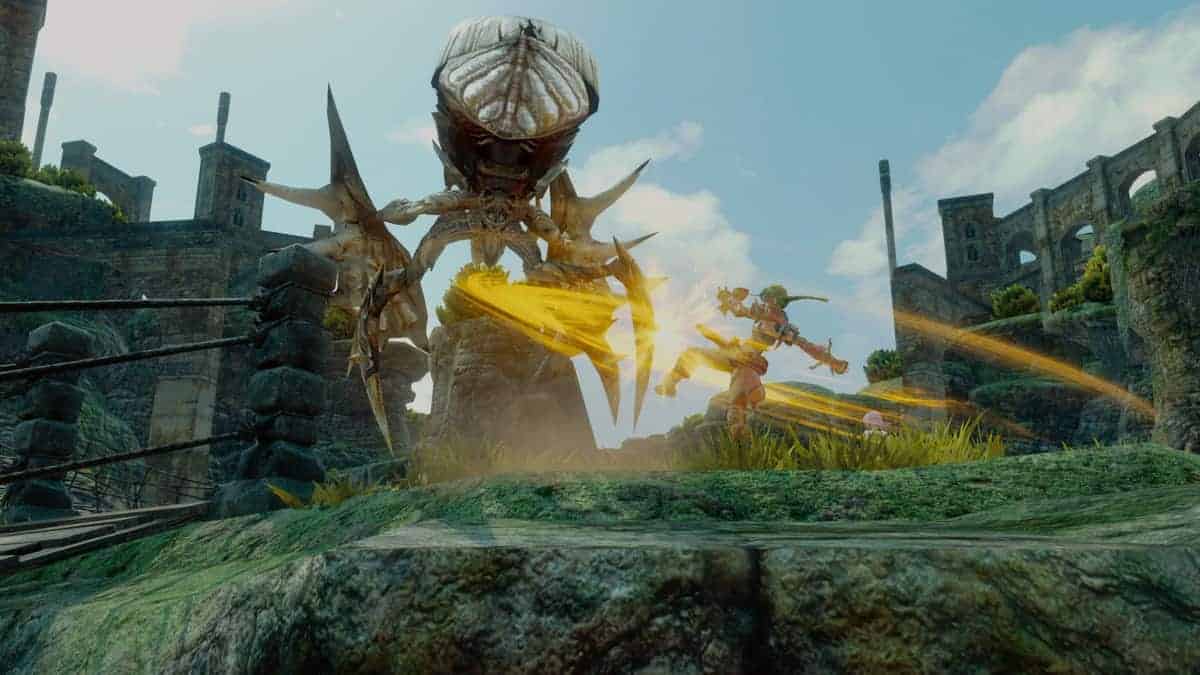
If you enter an instance after progressing far into the story, you will encounter tougher foes, tougher bosses, and more rewards. Coming to bosses, the 1st generation boss is Eyebalone, the 2nd generation boss is Vidofnir, and 3rd generation boss is Storm Dragon.
As a rule of thumb, 1st generation instances are accessible between Chapter 3 and Chapter 6, 2nd generation instances are accessible between Chapter 7 and Chapter 10, and 3rd generation instances are accessible after Chapter 10 – must have reunited Relia.
Another important thing that you should bear in mind is that treasure chests in Cathedral of Oblivion are constant. It essentially means that even if you missed Reward-A inside a chest in 1st generation instance, you will be able to get it during 2nd generation.
As for Cathedral of Oblivion bosses, we have compiled a few tips and strategies to help you deal with them as easily as possible!
Cathedral of Oblivion Bosses Guide
Eyebalone Boss Tips
The first thing that you need to make sure is that your allies and you evade the laser beams from Eyebalone’s eyes. The cone-shaped Dry Eye beam can be evaded by maintaining a distance and Eye of the Beholder is best avoided by manually controlling a character.
The boss also has a ground-pound attack which deals physical damage and can inflict Paralysis status ailment – have someone to cure it ASAP. Furthermore, it has a long-ranged Radiant Lancer attack which can be avoided by moving away the targeted character.
Coming to its weaknesses, you can rely on the Mutant Slayer role or Raven, Beast, Plant, and Insect Slayer maxed out.
Vidofnir Boss Tips
There are three basic attacks that you need to watch out for! These attacks include Divergent Shade, Tornado, and Volcanic Burst.
In order to avoid Tornado, it is a good idea to hit the Pause Menu and moving away the targeted allies from the harm’s way. Volcanic Burst, on the other hand, is harder to avoid and you must try to keep the allies away from each other to avoid collateral damage.
When it comes to weaknesses, you should definitely try and go for someone like Fidel or Anne with Raven Slayer battle role. This will not only allow you to deal significantly more damage, but also receive less.
In addition to having your DEF up, you also need to ensure that you have Miki alive to keep the healing going on.
Storm Dragon Boss Tips
Being one of the hardest bosses to take down in the game, battling Storm Dragon requires extensive preparation and a sound strategy. You need to ensure that you have Healer, Sage, and Savior on Miki.
In addition to this, since the Storm Dragon has a lot of physical DEF, you should consider battle roles such as Berserker, Daemon, and Raven Slayer. Without a lot of ATK, you will be just wasting your time and not dealing any significant damage to the boss.
Another important thing that you need to bear in mind is that the Storm Dragon has Enshelter which largely increases its defense. In order to counter it, you should have ATK boosting food and Void for Fiore.
One of the most important things that you need to keep in mind is that the wind-based attacks are not only ineffective against the boss, but also heal it during some instances. Therefore, you need to avoid Wind Blade, Tornado, Seraphic Thunder, etc.
Lastly, you need to ensure that your characters like Fiore and Miki are not in front of the Storm Dragon when it is casting its Tornado attack since it can easily one-shot these characters. Other than this, stick to the strategy above and you should do fine.
Coast of Minoz Instances
1st Generation Instance
- Room #1 – Apprentice Scumbag x 3
- Room #2 – Axe Beak x 2, Stone Golem
- Room #3 – Level 25 Eyebalone x1
2nd Generation Instance
- Room #1 – Lizard Warrior x 3
- Room #2 – Corpse Bat x 2, Ridiculer
- Room #3 – Adephaga Milies x 3
- Room #4 – Devil Child x 2, Seventh Core
- Room #5 – Level 45 Vidofnir
3rd Generation Instance
- Room #1 – Bone Knight x 3
- Room #2 – Toy Soldier x 3
- Room #3 – Lamia Radix x 2, Welwitschia
- Room #4 – Dinosaurus x 3
- Room #5 – Guiafairo x 2, Jatayu
- Room #6 – Chaotic Cell x 2, Sacred Guard
- Room #7 – Level 80 Storm Dragon
Resulian Plains
1st Generation Instance
- Room #1 – Apprentice Scumbag x 3
- Room #2 – Harpyia x 2, Carnivorous Plant
- Room #3 – Level 30 Eyebalone
2nd Generation Instance
- Room #1 – Lizard Warrior x 3
- Room #2 – Corpse Bat x 2, Ridiculer
- Room #3 – Stroper x 3
- Room #4 – Devil Child x 2, Cursed Horror
- Room #5 – Level 50 Vidofnir
3rd Generation Instance
- Room #1 – Adephaga Prox x 3
- Room #2 – Toy Soldier x 3
- Room #3 – Lamia Radix x 2, Welwitschia
- Room #4 – Dinosaurus x 3
- Room #5 – Guiafairo x 2, Jatayu
- Room #6 – Chaotic Cell x 2, Sacred Guard
- Room #7 – Level 84 Storm Dragon
West of the Eastern Eihieds
1st Generation Instance
- Room #1 – Saber-Toothed Tiger x 3
- Room #2 – Kobold Bandit x 3
- Room #3 – Level 35 Eyebalone
2nd Generation Instance
- Room #1 – Lizard Shaman x 3
- Room #2 – Corpse Bat x 2, Ridiculer
- Room #3 – Stroper x 3
- Room #4 – Devil Child x 2, Cursed Horror
- Room #5 – Level 55 Vidofnir
3rd Generation Instance
- Room #1 – Great Scumbag x 3
- Room #2 – Toy Soldier x 3
- Room #3 – Lamia Radix x 2, Welwitschia
- Room #4 – Dinosaurus x 3
- Room #5 – Guiafairo x 2, Jatayu
- Room #6 – Chaotic Cell x 2, Sacred Guard
- Room #7 – Level 88 Storm Dragon
Trei’kuran Dunes
2nd Generation Instance
- Room #1 – Metal Golem x 3
- Room #2 – Vampire Bat x 2, Cursed Horror
- Room #3 – Hades Crab x 3
- Room #4 – Lesser Dragon x 3
- Room #5 – Level 60 Vidofnir
3rd Generation Instance
- Room #1 – Kobold Ranger x 3
- Room #2 – Skeleton Soldier x 2, Doleful Lord Brahms
- Room #3 – Amber Princess x 3
- Room #4 – Chaotic Cell x 2, Sacred Guard
- Room #5 – Avenger x 3
- Room #6 – Valiant Conscript x 2, Blutgang
- Room #7 – Level 92 Storm Dragon
Northern Territory of Sohma
2nd Generation Instance
- Room #1 – Metal Golem x 3
- Room #2 – Stroper x 2, Cursed Horror
- Room #3 – Adephaga Prox x 3
- Room #4 – Antlered Tortoise x 3
- Room #5 – Level 65 Vidofnir
3rd Generation Instance
- Room #1 – Kobold Knave x 3
- Room #2 – Skeleton Soldier x 2, Doleful Lord Brahms
- Room #3 – Amber Princess x 3
- Room #4 – Chaotic Cell x 2, Sacred Guard
- Room #5 – Avenger x 3
- Room #6 – Valiant Conscript x 2, Blutgang
- Room #7 – Level 96 Storm Dragon
Alcazar of the Garden Age A2
3rd Generation Instance
- Room #1 – Avenger x 3
- Room #2 – Valiant Conscript x 2, Blutgang
- Room #3 – Bane Dragon x 3
- Room #4 – Maidenly Blossom x 3
- Room #5 – Gust Hornet x 2, Polyphaga Gamboge
- Room #6 – Melusine x 3
- Room #7 – Level 99 Storm Dragon
This is all we have on Star Ocean Integrity and Faithlessness Cathedral of Oblivion guide. If there is something else you would like to add, let us know in the comments below!