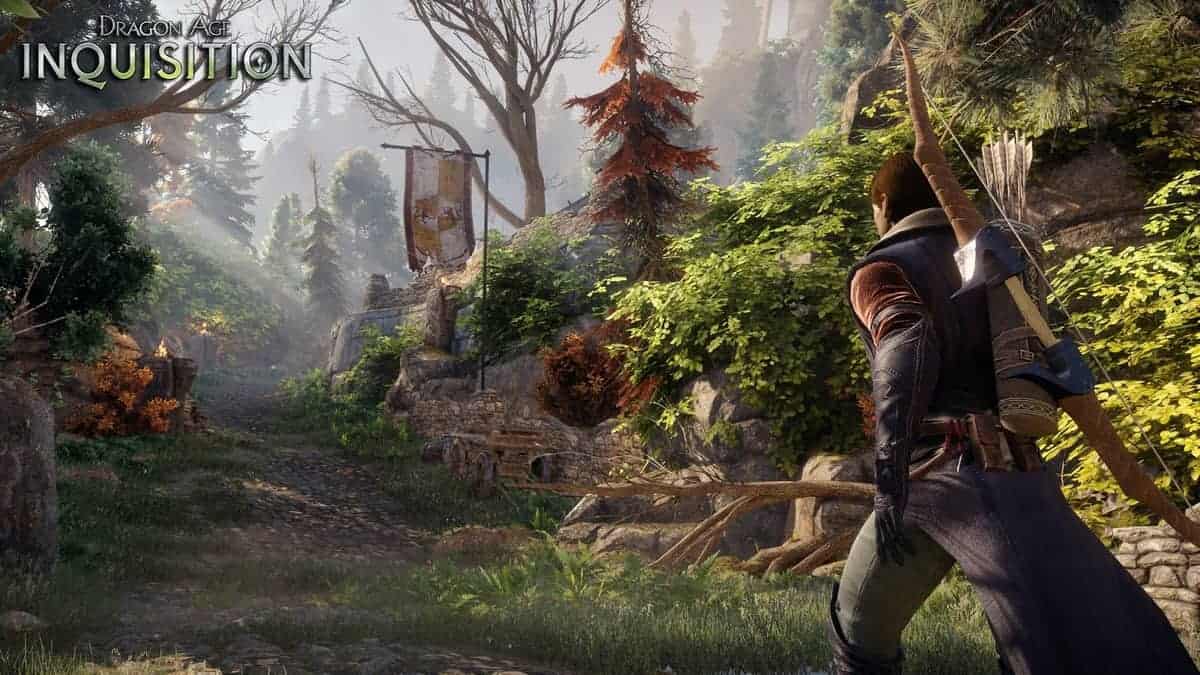
Dragon Age Inquisition has a ton of side quests in different regions that will keep you busy for a while. If you’re having issues in clearing come of the side quests in the Storm Coast, don’t worry.
For more help on Dragon Age Inquisition, read our Rogue Class Builds Guide, Mage Class Builds Guide, Power Farming Tips and Warrior Class Builds Guide.
Dragon Age Inquisition Storm Coast Side Quests
Following guide will tell you everything you need to know about the Storm Coast side quests – Objectives, rewards and walkthrough, we have you covered.
Holding the Storm Coast
Quest Location and Objective: This quest is automatically started when you enter the Storm Coast for the very first time, talk to Scout Harding. Your objective is to establish three camps.
Reward: 1 power per camp (not the first one) and 50 influence
Walkthrough: After the quest is triggered, locations will be marked on your map. They are close to some key objectives, establish three camps as soon as you can. Once the camps are established, your quest will be complete.
Cleaning House
Quest Location and Objective: Speak with Scout Harding after you first arrive in the region to start this quest. Your objective is to locate the rendezvous point and deal with some bandits.
Reward: 1 power, 80 influence and 177 XP
Walkthrough: After you speak with Scout Harding, a search location will be marked on your map. Keep in mind that you are looking for a hut on top of a hill.
Kill a bunch of archers to go inside the hut or cabin. Once inside, you’ll see some bodies and a map. Check out everything and your map will be updated with a new location to the southeast.
You can also find a scroll within the cabin, that’ll offer you an optional objective for this quest. You can either go and take on all the bandits or head towards any camp to craft something called “Mercy’s Crest.”
If you choose to craft this item at the requisition table in the camp, you won’t have to face all the bandits. Instead, you can just challenge their leader and kill him to complete the quest.
This objective is optional, so you can choose to ignore it can head towards the camp of bandits, to kill all of them. Whichever way you choose to go, you’re quest will be complete after the bandit leader is dead.
Wardens of the Coast
Quest Location and Objective: This quest is started after you choose to run a mission through the war table in haven. Your Objective is to locate the four signs of Wardens.
Reward: 1 power, 80 influence and 188 XP
Walkthrough: After the war map mission ends, go to the Storm Coast to properly start this mission. Once you do, four search areas will be marked on your map. Each area contains a clue.
Use your search ability to find it. You’ll need to find all four to complete this quest.
Keeping the Darkspawn Down
Quest Location and Objective: The quest can be started through the war table in Skylord. Your objective is to seal 4 tunnels.
Reward: 2 power, 200 influence and 512 XP
Walkthrough: Head to the Storm Coast and you’ll notice four different search areas on your map. Majority of the search areas contain a cave. You’ll need to enter it and find a black hole.
After a brief fight you’ll be able to close the hole using a mage. However, one of the tunnels is just north of the Driftwood Margin Camp and it is not inside a cave.
Once you get close enough, you’ll see some hurlocks protecting the tunnel. Put them down and close the tunnel to complete the quest.
Red Water
Quest Location and Objective: In order to trigger this quest, you will have to complete “Red Templars on the Storm Coast” mission from the war table. After you complete it, it will unlock a new area in the Storm Coast and the quest will trigger automatically.
Your Objective is to deal with templar stronghold.
Reward: 2 power, 200 influence and 512 XP
Walkthrough: You may have seen a blocked cave entrance close to the Driftwood Margin Camp. The entrance is now unlocked. Go through the entrance to enter the Daerwin’s Mouth. Walk along the beach to reach a large cave entrance.
Not too long after entering the cave you’ll have your first encounter with Templar Knights. To the right of these knights, you’ll notice a small cave that will take you deeper into the fortress.
Climb up a small passage-way to reach a stone walkway, that is connected with a bridge. Enter the treasure chamber on the upper lever by going right from the bridge crossing.
Beyond this chamber is another tunnel that will lead you to a bridge. This bridge will take your party to a larger treasure room. You can see a stairwell leading down.
You’ll see an area that overlooks the water. Kill all the Templars in the area to complete this quest.
