Usage of custom tactics in FIFA 14 is a whole new game. It seems quite complicated but actually it’s rather simple and one can get strategical advantage from it.
If you are up against an opponent who has an aggressive team well organized, he is most probably using custom tactics to do so.
Teams like Barcelona can be hard to control at default settings, but if you customize your on-field tactics, you can have an upper hand. The best part is that you can change these custom plans on the go during the match using D-pad.
If you are wondering that how those options in the custom tactics menu actually work on the field, you have landed on the right place as I am going to discuss those options so that you can choose your playstyle according to your preference.
The custom tactics menu is divided into three main categories/areas: Build-up-play, Chance Creation and Defense.
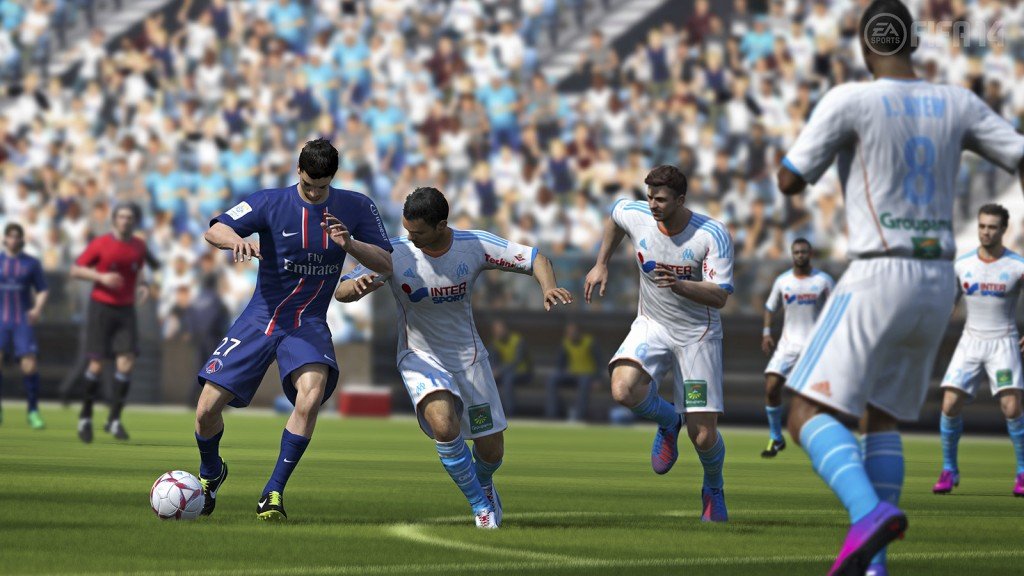
For more help on FIFA 14, read our Formations, Dribbling and Defending Guide.
FIFA 14 Custom Tactics – Build up Play
In each of the above-mentioned categories, you will be able to see sliders (ranging from 0-100) to adjust the respective options. The Build up play category will allow you to customize the way you pass the way towards AI while you are in possession or the positioning.
Speed
The slider for this option will affect the movement of your players off the ball. You should keep in mind that it won’t change anything about the pass speed.
If you like to hit on counters, you can slide it to fast so that your strikers can get to the advanced positions fast to receive the ball. And if you want the possession play, you can keep it slow but obviously, there is always a balanced if you don’t like any extreme.
Since you can save up to four custom tactics for your D-pad, I will recommend that you at least have one tactic with speed to maximum so that you can chase the match if you are lagging behind in the second half.
Passing
Passing can also affect the play while you are in possession. Short passing will allow you maintain the possession well while if you have fast strikers up front you can choose go with the long balls. The long balls tactics will especially work well if you have a habit of using long through balls.
One thing you should keep in mind about long passing is that this option leaves you vulnerable to offside traps so you need to be careful about it. Mixed passing ofcourse will be a blend of the long and short passes.
Free Form or Organized?
It will highly depend on your team. Some teams by default use Free Form and leave the defense opened. It’s just a matter of choice. If you think, you can score more goals by staying aggressive, you can give free form a try as it will provide you more attacking options.
If you don’t want to leave too many open spaces, you should go with organized. Organized game style suits the players who like to maintain possession. Overall, we can all Organized form to be more safer than Free Form.
FIFA 14 Custom Tactics – Chance Creation
Chance Creation will affect your play when you are moving around opponent’s goal.
You can adjust these options the way you want to attack. These settings are more useful for Pro Clubs when AI has a bigger role to play. Following options can be adjusted in Chance Creation menu.
Passing
You can choose to be risky for passing, or you can use it safe.
Risky passing will allow your players to make more dangerous runs into the space frequently, but if you go along with these passes, there are chances that they will be intercepted but if they get through, you will be in a far more advantageous position.
Safe passing, on the other hand, will favor the slow build up play.
Crossing
By changing the settings in this menu, you will be able to control how often your players will expect a cross in from you. If you keep these values high, your players will prefer to run in the box than supporting you on the sidelines.
If you are a good dribbler and can manage the heat alone, you can use high value for this option so that your strikers are ready to receive the ball into the box.
Shooting
Since it will always be you shooting the ball, the setting won’t really have huge impact. However, if you are using players with good stats, you can alter the settings a bit for a little boost, but I haven’t been able to spot any major effect tactically.
Positioning
It’s similar to the one in the build up play, but this option will take effect when you are closer to the opponent’s goal. For instance, it can be used to adjust the positioning of your striker while you are passing the ball towards the opponent’s goal.
If you get these values right, you can have more chances of breaking through your striker from the defensive line.
FIFA 14 Custom Tactics – Defense
Defensive tactics give you a number of ways to organize your back-line and play with a different flow. Overall, it will determine how your players will react when you don’t have the ball.
Pressure
This option will determine how your defensive line will hold at the back (the distance).
If you go with Deep form, you defensive line will stay back and they will rarely cross the midline of the field. This will be good when you are in the lead and want to stay defensive.
Medium is somewhat the neutral option, and if you choose the setting to be high, your defense will be aggressive minded and it will obviously make your defense weaker.
I will recommend that you go with Deep strategy with an attacking formation so that you may not concede too many goals.
Team Width
If you don’t like the congested play and like to play long balls, you can modify the team width. It will determine the distance of your players from each other on the team.
Make it wider or choose it to be narrower, both can be beneficial at different points and again; it will ultimately depend on your play style.
Aggression
It will determine the aggressiveness of your team to take back the ball. If your opponent is taking away the ball from you even before you can react, they must have customized the aggression.
You can either choose to contain the ball, press for it or double it for a more aggressive approach to take back the ball. If you want to go with the contain, players will maintain a safe distance which can help you predict the opponent’s movement before you execute a tackle.
Press, on the other hand, will make your players slightly aggressive in order to take the ball back in their respective areas. However, they won’t chase down the ball if it reaches out of their playing area.
If you choose to double it, the players may go haywire for the ball, and you may end up leaving open spaces in the back line.
Defender Line
You can also adjust the form of your defensive line.
You can either go with the offside-trap or cover strategy. With the offside-trap, your defensive line will be more cautious and try to play the opponent’s strikers offside.
It can be dangerous as if you are controlling a defender, you may end up playing the striker on the side. It can work well if the opponent has only one striker.
The cover strategy, on the other hand, can be used to control through balls. You will be able to intercept them more often than usual. However, cover strategy can allow your opponent more freedom of movement so you need to stay put if you want to use it.
Don’t forget to share your own tips and tricks with us by commenting below!