After Sequence 5‘s naval battles, you wake up as Desmond in Sequence 6. It’s an interlude; part between the sequences in which you play as Desmond. Usually, you wander around, ask for explanations, help or fix stuff. In this case, you need to find a power source for the Animus. Follow the Assassin’s Creed 3 Sequence 6 guide below to achieve 100% sync.
For more help on Assassin’s Creed 3, read our Money, Chest Keys and Pickpocketing Guide.
Assassin’s Creed 3 Sequence 6
Interlude: Desmond on the Skyscraper
You are in control of Desmond now, and your task is to find the power source for the animus. When you gain control of Desmond, your objective is to climb to the top of the very top of the building. Go straight up to the yellow ladder and climb up.
The path is pretty straight forward. Don’t drop down, keep on the same elevation, and you won’t have much of a problem. You will encounter various obstacles, and you just have to jump through most of it. When you find the slightly open shutter, Desmond will slide under it, and now you will be on the outer edge of the building.
Jump to the ledge to the right and climb up. Make your way up the crane and you will find a suspended metal beam. Jump your way across the beams and platforms until there is nowhere else to go. The wall along the platform here is climbable. Climb up until you’re on the top of the platform.
Keep going straight along the right path, slide under the spool and jump through a cylinder. Keep going straight, jump on the beam, jump on the cylinders, climb up, run up the ramp and go straight through the obstacles.
Look at the open sky and you will spot the suspended beam, climb up the beam, keep going along the path until you are on a large platform. Climb up the crane to the very top and you will get a cut scene.
You have to make it to the helipad on the adjacent building. Make the jump and press any button to open the parachute when prompted and aim for the helipad.
Once back, talk to everyone and check your email if you want. Now, go up the stairs in the reactor room. On the second floor, you will find a metal beam. Keep going along the path and you will find a place to put the battery. After placing the battery head back to the animus.
However, before you do so; you should try tackling an optional objective. Make your way through the corridors on the left side and then go up the stairway that is brightly lit. Once you reach the pillars, Juno will show up and a cutscene will start. You can’t skip it so once it is finished, make your way around the pillars via the stairs and then start climbing up.
Once you’re on the top, leap towards the second floor ledge and Juno will reappear for another cutscene. Make your way to the power source control deck and Desmond will automatically insert the power source, and in the process; open up a whole new area in the caves. This is for the second Power Source.
Mission 1: On Johnson’s Trail
You will now be in control of a grown-up Connor. This is an ideal time to explore and complete another side mission, when you’re ready take the mission.
You have to destroy stacks of tea found in the harbor. For 100% synchronization, you have to blow them up using powder kegs, limit your firearm use to five shots or lower and keep your notoriety below level 2.
Place the powder kegs near the tea stacks and aim at them to shoot them with your gun. You can either kill the patrolling guards or observe their route to destroy the stacks when they are not looking.
Once you have destroyed all the stacks you need to kill criminals or tax collector groups to free the area from Templar. Don’t engage in front of guards, or you will raise your notoriety level. Rip down wanted posters to keep low if needed. If you’re not incognito, head to the closeby Town crier and give him a bribe him to become hidden.
Connor should avoid the option of liberating the tormented citizens from their Redcoat oppressors if you wish to get 100% sync.
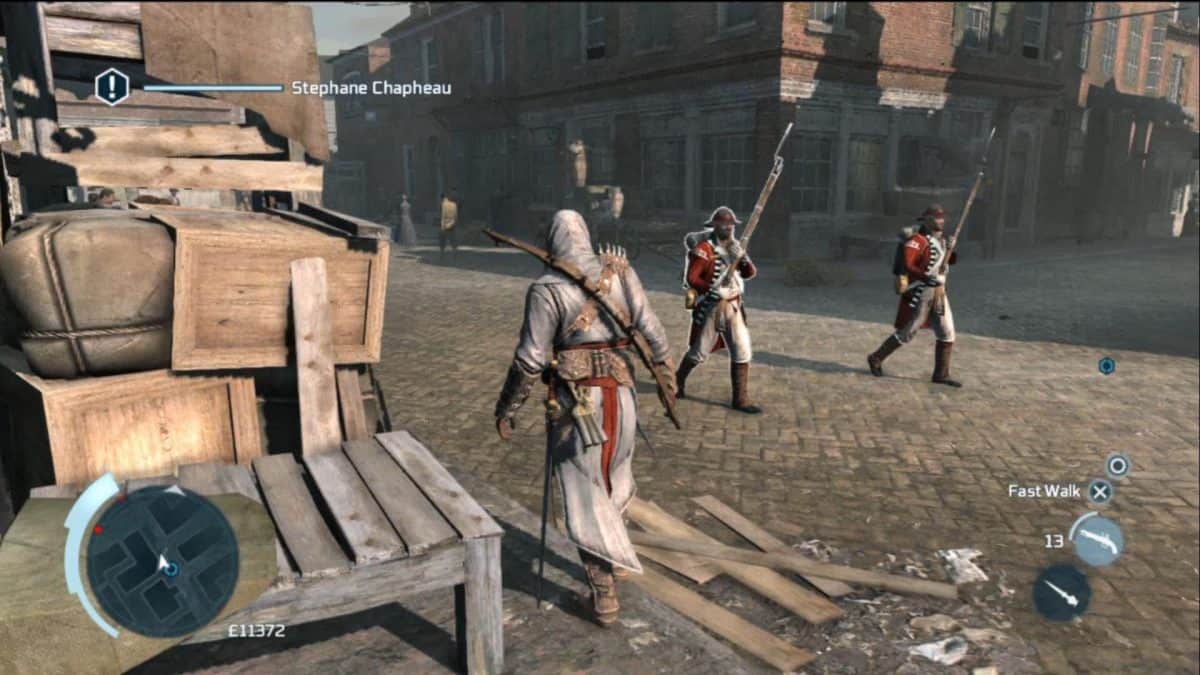
Mission 2: The Angry Chef
Stephan will go rampaging through the streets, and you have to protect him. Your side quests are not to let his health drop to less than 50%, to limit time spent in any open conflicts to 0:15 and to perform five low profile assassinations. You can only perform a low-pro assassination from behind your foe so a frontal attack will not be considered during this mission.
You should aim to assassinate the guards before they reach Stephan and to avoid being detected, and you won’t have a problem with 100% synchronization. Keep your blades equipped or poison dart if needed or in extreme cases your pistol, but you most likely won’t need it.
Connor should avoid letting Stephane engage in combat and should instead take down each group of Redcoats on his own! Run ahead and take down each Redcoat guard you see with low profile assassinations before Stephane can reach them. You’ll encounter them first by some hay, then further down the street, then past the graveyard and then across the street from there.
Once you have gone through all the confrontations you will have completed the mission, and now you will gain Stephan as an assassin in training.
Mission 3: The Tea Party
The difficulty of this part depends on how many assassins you have recruited. You will have no problem if you have all three. Just call in the assassins as needed. Recruit more assassins if you are having trouble.
The following fight has three side quests to it. You must dump 10 crates of tea in the water, throw three redcoats into the water and perform a musket air assassination.
To perform the musket air assassination, pick up a musket, jump on one of the redcoats while they are running up the ramp and press the assassinate button. Dumping the 10 crates is easy, just pick up the crate and toss it into the water.
To throw the redcoats into the water get them close to the edge of the water (the ramp is ideal for this) and counter their attacks, with the right counters at the right positions you should be able to push them into the water.
Mission 4: Hostile Negotiations
Your next mission is to assassinate William Johnson, but first you must get to him. Go straight off the cliff and on to the trees, drop down and keep going straight across the log and jump into the water. Swim across towards the waterfall and climb ashore by the rocks near the waterfall.
Follow the path through the forest, run up the steep rocky slopes where the path ends and climb up the rock wall. Run across the log and make you the way up by jumping onto the ledges on the cliff. Run across another log and climb up another rock wall directly in front of you.
Follow the path along the cliff until you find a crevice which you can use to climb up the cliff. Use the bushes to hide from patrolling guards, and you can kill them any way you like but stay undetected for 100% synchronization.
Follow on the path through the forest by climbing up the rocks along the way and hide in the bushes from the patrolling pair of guards. Keep to higher ground and use trees to clear the path safely without being detected, and you should reach the house without any problems.
After the cut scene, you have to act quickly to avoid any Native American deaths to complete the side quest. Approach the house from the side, making sure not to be detected by the two guards, and you should be able to find the way to climb up on the top of the house.
Perform an air assassination on Johnson and when you regain control run in the direction opposite to the house keeping a bit to the left and perform a leap of faith off the cliff and into the water to complete the final side quest and end the mission.